Sprinter Van Eco-Friendly Upgrades: Ultimate Efficiency
Sprinter Van Eco-Friendly Upgrades: Ultimate Efficiency
Looking to make your Sprinter van more eco-friendly and efficient? Explore practical upgrades like solar power, efficient insulation, LED lighting, and efficient water systems. These enhancements reduce your environmental footprint and often save you money over time, making your adventures greener and more sustainable. Discover how to transform your van into a more efficient and conscientious vehicle.
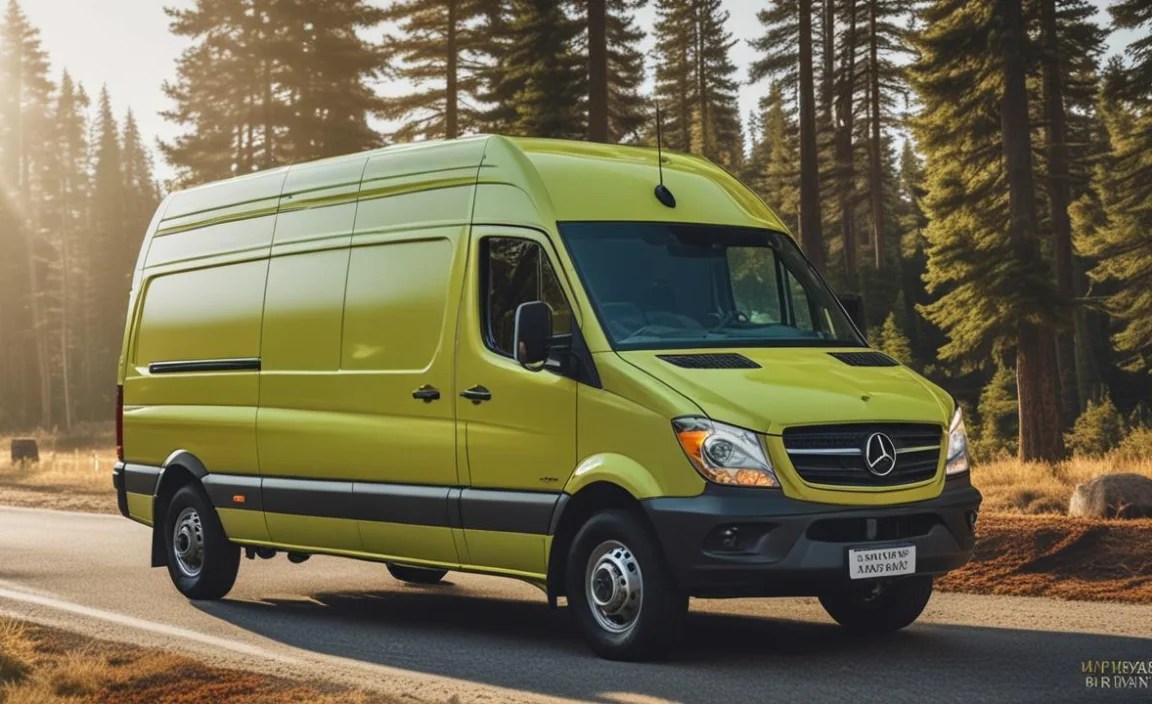
Your Mercedes-Benz Sprinter van is more than just a vehicle; it’s a mobile basecamp, a workshop on wheels, or your ticket to freedom. As you explore highways and backroads, it’s natural to think about reducing your environmental impact. Fortunately, making your Sprinter more eco-friendly and fuel-efficient is entirely achievable, even for beginners. This guide will walk you through practical, impactful upgrades that not only benefit the planet but also enhance your van’s usability and your overall ownership experience.
We understand that navigating the world of van modifications can seem daunting. But don’t worry, we’re here to simplify it. We’ll break down the concepts and offer clear, actionable advice. From harnessing the sun’s power to optimizing how you use water, these upgrades are designed to be straightforward and rewarding. Get ready to discover how to drive greener and smarter with your Sprinter. Let’s embark on this journey to ultimate efficiency together.
Frequently Asked Questions
What are the most impactful eco-friendly upgrades for a Sprinter van?
The most impactful upgrades often involve renewable energy, efficient resource management, and reducing energy consumption. Think solar panel systems for power, high-quality insulation for climate control, LED lighting to minimize electricity use, and efficient water heating systems. These directly reduce reliance on fossil fuels and decrease your van’s overall energy demands.
Is installing a solar panel system difficult for a beginner?
For many DIY enthusiasts, installing a basic solar panel system is a manageable project. It typically involves mounting panels on the roof, running wires to a charge controller, and connecting to your battery bank. If you’re comfortable with basic electrical wiring and have a good understanding of safety precautions, it’s a very achievable upgrade. Many kits come with detailed instructions, and online resources abound.
How much does it cost to make a Sprinter van more eco-friendly?
The cost varies significantly depending on the upgrades you choose. Simple upgrades like switching to LED bulbs can cost under $100. A more comprehensive system with solar panels, batteries, and an inverter could range from $1,000 to $5,000 or more. Insulation can range from a few hundred to a couple of thousand dollars for high-quality materials. It’s best to plan your budget based on what’s most important for your van’s intended use.
Will eco-friendly upgrades improve my Sprinter’s fuel efficiency?
Some eco-friendly upgrades, like lighter-weight materials or aerodynamic improvements (less common for vans), could have a minor impact on fuel efficiency. However, the primary benefit of most eco-upgrades is reducing your reliance on external power sources and minimizing your overall energy consumption from the vehicle’s engine. For example, solar power reduces the need to run your engine to charge batteries.
What is the best insulation for a Sprinter van conversion?
The “best” insulation often depends on your climate, budget, and desired R-value (thermal resistance). Popular choices include:
- Closed-cell spray foam: Excellent R-value, creates an air seal, but can be expensive and professional installation is recommended.
- Rigid foam boards (XPS/Polyiso): Good R-value, easy to cut and install, good moisture resistance.
- Wool insulation: Natural, breathable, good thermal and acoustic properties, but can be more expensive.
Many builders use a combination for optimal performance.
How can I reduce water usage in my Sprinter van?
To reduce water usage, consider installing low-flow fixtures like showerheads and faucets. A greywater diversion system can also help. More importantly, mindful usage is key – take shorter showers, turn off the tap while brushing teeth, and plan dishwashing efficiently. Composting toilets significantly reduce water needs compared to standard RV or cassette toilets.
Harnessing the Sun: Solar Panel Systems

One of the most popular and effective eco-friendly upgrades for any van, including your Sprinter, is a solar panel system. This allows you to generate your own clean electricity, reducing your reliance on shore power or running your engine to charge your house batteries. It’s a fantastic way to power your lights, appliances, and electronics sustainably.
Why Go Solar?
- Reduced Carbon Footprint: You’re using renewable energy, directly lowering your emissions.
- Off-Grid Capability: Enjoy more freedom to camp and travel without needing hookups.
- Cost Savings: Over time, you’ll save money on electricity bills or fuel costs.
- Quieter Operation: No need to run a generator.
Key Components of a Sprinter Solar System:
Understanding the basic components will help you design or choose the right system for your needs:
- Solar Panels: These capture sunlight and convert it into DC electricity. They come in rigid or flexible varieties. For a Sprinter, semi-flexible panels are often preferred for their lower profile and ease of installation on curved roofs.
- Charge Controller: This crucial device regulates the flow of electricity from the panels to your batteries, preventing overcharging and prolonging battery life. MPPT (Maximum Power Point Tracking) controllers are more efficient than PWM (Pulse Width Modulation) controllers.
- Battery Bank: This stores the electricity generated by the panels. Deep-cycle lead-acid batteries (like AGM) are a more budget-friendly option, while lithium-ion (LiFePO4) batteries offer longer lifespan, lighter weight, and deeper discharge capabilities, albeit at a higher upfront cost.
- Inverter (Optional but Recommended): If you need to power AC appliances (like a microwave or standard laptop charger) that run on household current, an inverter converts the DC power from your batteries into AC power.
Installation Considerations:
Mounting solar panels on a Sprinter’s roof requires careful planning. You’ll need to consider:
- Roof Racks/Mounting Systems: Secure, aerodynamic mounts are essential. Many systems integrate with existing roof rails.
- Wiring: Running wires through the roof requires proper sealing to prevent leaks. Use waterproof glands designed for roof penetrations.
- Space: Calculate how many panels can fit, considering existing roof vents, AC units, or other equipment.
For a beginner, starting with a pre-packaged solar kit can simplify the process. Always follow manufacturer instructions and safety guidelines. If you’re unsure about electrical work, consulting a professional installer is wise. For more detailed guidance on electrical systems, the U.S. Department of Energy’s Consumer-Facing Photovoltaics page offers excellent foundational information on solar technology.
| Solar System Component | Function | Beginner Tip / Consideration |
|---|---|---|
| Solar Panels | Convert sunlight into DC electricity. | Consider semi-flexible panels for Sprinter’s curved roof. Calculate wattage needs based on your appliances. |
| Charge Controller | Regulates power flow to batteries, prevents overcharging. | MPPT controllers are more efficient. Match controller amperage to panel wattage and battery voltage. |
| Battery Bank | Stores generated electricity. | LiFePO4 batteries are lighter and last longer but are more expensive. AGM is a good balance. |
| Inverter | Converts DC to AC power for household appliances. | Choose an inverter with a wattage rating higher than your largest AC appliance’s startup surge. |
Superior Insulation: Keeping it Comfortable, Using Less Energy

Effective insulation is key to maintaining a comfortable interior temperature in your Sprinter without constantly running your engine for heat or AC. Properly insulating your van significantly reduces energy consumption for climate control, which is a major energy draw. It also helps dampen road noise, making for a more peaceful journey.
The Importance of Insulation:
- Energy Efficiency: In summer, it keeps the heat out; in winter, it keeps the heat in. This means less need for your propane heater or AC unit.
- Thermal Comfort: Enjoy a more stable and pleasant interior temperature year-round.
- Sound Dampening: Reduces road noise, making for a quieter drive and living space.
- Moisture Control: Proper insulation, when paired with a vapor barrier, helps manage condensation.
Common Insulation Materials for Vans:
There are several types of insulation suitable for van conversions, each with pros and cons:
- Rigid Foam Boards (XPS/Polyiso):
- Pros: High R-value per inch, moisture resistant, easy to cut and fit. Polyisocyanurate (Polyiso) often has a slightly higher R-value than extruded polystyrene (XPS) and can have reflective foil on one side, adding radiant barrier benefits.
- Cons: Can be brittle, requires meticulous sealing of gaps to prevent thermal bridging.
- Spray Foam Insulation:
- Pros: Excellent R-value, expands to fill every crevice creating a superior air seal, providing both insulation and structural rigidity. Closed-cell spray foam is also moisture resistant.
- Cons: Most expensive option, often requires professional installation due to specialized equipment and safety precautions (proper ventilation and PPE are critical).
- Mineral Wool / Rockwool:
- Pros: Good R-value, fire resistant, good sound absorption, breathable, does not off-gas harmful chemicals.
- Cons: Can be more expensive than fiberglass, requires wearing protective gear during installation (can cause skin irritation).
- Sheep Wool:
- Pros: Natural, sustainable, excellent thermal and acoustic properties, breathable, can absorb and release moisture without losing insulating power.
- Cons: Typically more expensive than synthetic options, requires an underlying vapor barrier in certain climates.
DIY Insulation Process:
A common approach for DIYers is using rigid foam boards, often combined with some form of spray foam to seal gaps.
- Clean and Prepare: Thoroughly clean the interior metal surfaces of your Sprinter.
- Cut and Fit Boards: Measure and cut rigid foam boards to fit snugly between the van’s internal structural ribs (the ‘webs’).
- Seal Gaps: use canned spray foam or specialized sealing tape to fill any small gaps between the boards and the van’s metal structure. This is crucial to prevent air leaks.
- Consider a Vapor Barrier: Depending on your climate and insulation type, a vapor barrier (like a heavy-duty plastic sheeting) might be necessary on the interior side of the insulation to prevent moisture from the cabin from reaching cold exterior surfaces and causing condensation.
- Add Sound Deadening: Before insulating, consider applying sound-deadening mats (like Dynamat) to the metal panels to further reduce road noise.
For more on building science in vehicle construction, resources like Building Science Corporation offer in-depth information on thermal bridging, air sealing, and vapor control that can be applied to van builds.
Brilliant & Efficient: LED Lighting Solutions
Lighting is a necessity, but traditional incandescent or halogen bulbs are energy hogs. Switching to Light Emitting Diodes (LEDs) is one of the simplest, most cost-effective, and impactful eco-friendly upgrades you can make for your Sprinter van.
The Advantages of LEDs:
- Dramatically Lower Power Consumption: LEDs use up to 80% less energy than incandescent bulbs, meaning your battery bank lasts much longer.
- Long Lifespan: LEDs can last tens of thousands of hours, meaning you won’t be replacing bulbs frequently.
- Durability: They are solid-state devices, making them more resistant to vibration and shock.
- Versatility: Available in a wide range of colors, brightness levels, and form factors to suit any design.
- Instant On: No warm-up time required.
Choosing the Right LEDs for Your Sprinter:
When shopping for LEDs, consider these specifications:
- Voltage: Ensure they are compatible with your 12V DC (or 24V DC, if applicable) van electrical system.
- Wattage: Lower wattage means less power consumption. Compare this to the equivalent incandescent bulb if listed.
- Lumens: This measures brightness. Decide how much light you need for different areas.
- Color Temperature (Kelvin):
- Warm White (2700K-3000K): Similar to incandescent bulbs, creates a cozy, inviting atmosphere.
- Cool White (4000K-5000K): Brighter, more neutral, good for task lighting or kitchens.
- Daylight (5000K-6500K): Very bright, clear light, best for workspaces.
DIY LED Replacement:
Replacing a bulb is usually as simple as screwing in a new one, provided you’re swapping for a standard bulb base (like E26/E27 or bayonet). For integrated LED fixtures, you’ll need to disconnect the old fixture and wire in the new one. Always disconnect power before working on any electrical components.
Smart Water Systems: Conservation in Action

For Sprinter vans used for extended travel, motorhomes, or even just day-to-day living, efficient water management is a crucial eco-friendly upgrade. Conserving water means less water needed, less wastewater to manage, and less energy used for heating water.
Reducing Water Consumption:
- Low-Flow Fixtures: Install low-flow showerheads and faucet aerators. These mix air with water, reducing the volume while maintaining pressure. Look for fixtures with high efficiency ratings.
- Efficient Water Heaters: Consider on-demand propane water heaters. These only heat water when you need it, unlike tank heaters that constantly maintain a temperature, thus saving fuel and water. These often run on propane or diesel.
- Greywater Systems: While not strictly reducing usage, a well-designed greywater system can filter and reuse water for non-potable purposes, like flushing toilets or watering plants outside the van. Regulations on greywater disposal vary, so check local ordinances.
- Composting Toilets: These toilets use a biological process to break down human waste, requiring little to no water for flushing. This is a significant water saver and reduces blackwater waste worries.
Water Filtration and Storage:
While not directly about conservation, ensuring you have access to clean water can reduce the need for single-use plastic bottles. Investing in a good filtration system for your fresh water tank can give you confidence in your water supply from various sources.
Aerodynamics and Regular Maintenance for Efficiency

While many “eco-friendly upgrades” focus on onboard systems, optimizing your Sprinter’s aerodynamics and maintaining it diligently are fundamental to achieving ultimate efficiency. These aspects directly impact fuel consumption.
Aerodynamic Considerations:
Vans, by their nature, are not the most aerodynamic vehicles. However, you can make small improvements:
- Roof Racks: Remove roof racks when not in use. Even empty, they create drag. If you must use them, opt for low-profile, streamlined designs.
- Underbody Panels: While complex, some custom builds may incorporate underbody fairings to smooth airflow. This is a more advanced modification.
- Tire Choice and Pressure: Choose low rolling resistance tires when available and maintain correct tire pressure. Under-inflated tires increase friction and fuel consumption. Check your tire


