Mercedes-Benz C Class Dash Repair: Ultimate Effortless Solution
For effortless C Class dash repair, focus on common issues like cracks or peeling with specialized kits. Clean thoroughly, use quality fillers and adhesives, and consider professional vinyl dye for lasting color matching. Patience and precise application are key to a factory-fresh finish.
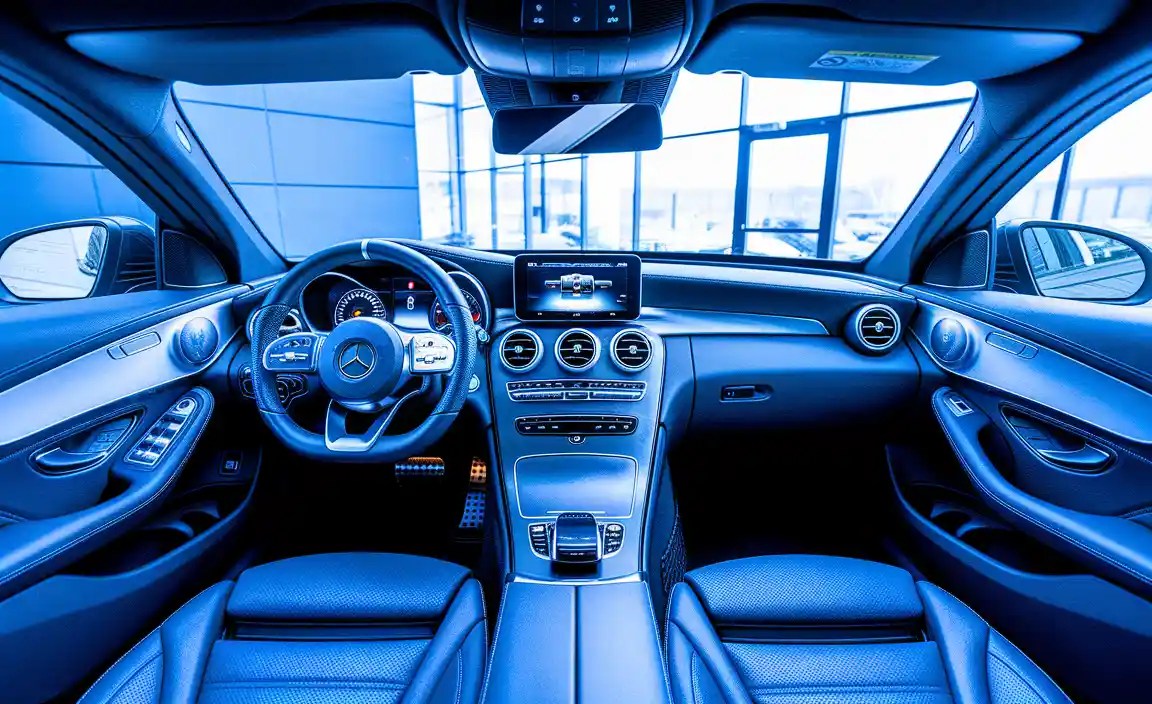
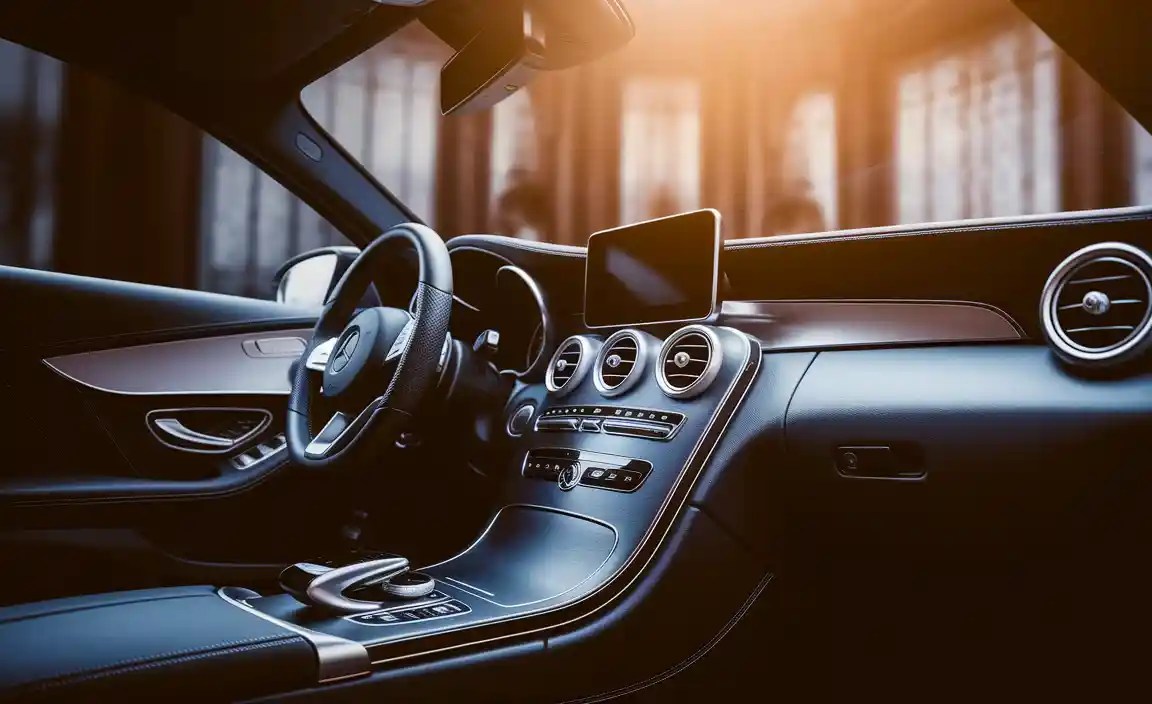
The dashboard of your Mercedes-Benz C-Class is more than just a surface; it’s the command center of your driving experience. Facing a cracked, peeling, or faded dash can detract from that luxurious feel. Don’t let minor cosmetic damage diminish the elegance of your interior. This guide will walk you through accessible, effective solutions for C Class dash repair, ensuring your Mercedes continues to impress, inside and out.
Whether it’s sun-induced wear, age, or a small accident, dashboard issues are surprisingly common. The good news? You don’t always need an expensive professional service. With the right approach and a bit of care, you can achieve impressive results yourself. We’ll cover everything you need to know, from identifying the problem to applying the perfect fix, making your C-Class dash look as good as new.

Understanding C Class Dashboard Materials and Common Issues
Mercedes-Benz C-Class dashboards are typically crafted from high-quality materials designed for durability and a premium feel. The most common surfaces include:

- Soft-touch plastics: These provide a pleasant tactile experience but can be susceptible to UV damage, leading to fading, cracking, or a sticky texture over time.
- Vinyl: Often used for more flexible dashboard components, vinyl can develop creases, peel at the edges, or become brittle.
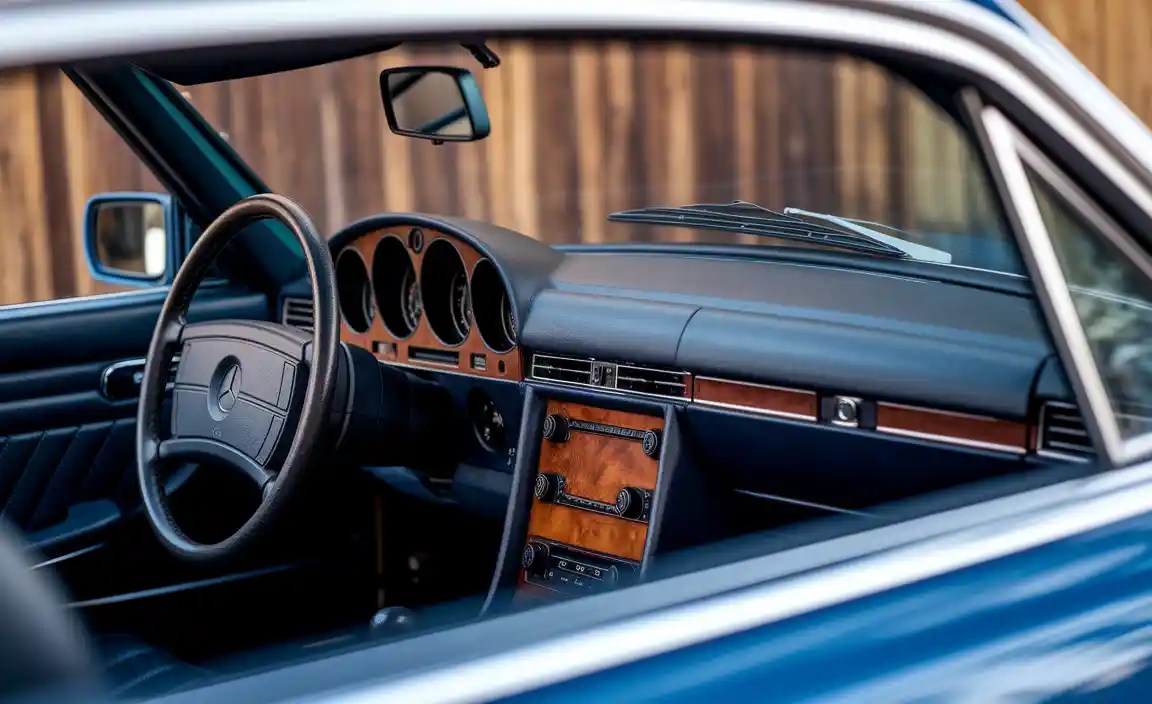
- Leatherette or genuine leather (on higher trims): While luxurious, these materials can also show signs of wear, such as scuffs, small tears, or discoloration.
The most frequent culprits for C Class dash repair include:
- UV Damage: Prolonged sun exposure weakens the polymers in the dashboard materials, causing them to become brittle, fade, and eventually crack. Parking in shaded areas or using high-quality sunshades can significantly mitigate this.
- Temperature Fluctuations: Extreme heat and cold can cause materials to expand and contract repeatedly, leading to stress fractures and deformation.
- Age and Wear: Like all materials, dashboard components naturally degrade over time, especially with frequent use and contact.
- Chemical Reactions: Harsh cleaning products or accidental spills can damage the dashboard’s surface, leading to discoloration or a sticky residue. For recommended cleaning products, consult your Mercedes-Benz owner’s manual or trusted automotive care sites.
Identifying the specific material and the nature of the damage is the first crucial step in choosing the right repair method.
DIY C Class Dash Repair: Your Effortless Solutions
For many common dashboard imperfections, a DIY approach can be both cost-effective and highly satisfying. Here’s how to tackle the most frequent issues.
Repairing Cracks and Punctures
Small to medium cracks, often caused by UV damage or impact, can be effectively repaired using specialized dashboard repair kits.
Materials You’ll Need:
- Dashboard repair kit (choose one specifically designed for automotive interiors, often containing fillers, colorants, and grain papers)
- Rubbing alcohol or an automotive interior cleaner
- Clean microfiber cloths
- Fine-grit sandpaper (e.g., 600-800 grit)
- Plastic spreader or putty knife
- Heat gun or hairdryer (optional, used with caution)
- Gloves
Step-by-Step Guide:
- Clean the Area: Thoroughly clean the damaged area and surrounding surfaces with rubbing alcohol or an automotive interior cleaner. Ensure it’s completely dry, as dirt and oils will prevent the filler from adhering properly.
- Prepare the Crack: If the crack has sharp edges, gently use fine-grit sandpaper to smooth them slightly. This helps the filler adhere better. Avoid over-sanding. You can also use a thin knife to slightly widen the crack’s opening, creating a better channel for the filler.
- Apply the Filler: Follow the instructions on your repair kit. Typically, you’ll mix a filler compound to match the dashboard’s color and texture. Apply the filler into the crack using a plastic spreader. Work the filler in, ensuring it fills the void completely. Overfill slightly, as the material may shrink as it dries.
- Simulate Texture (if applicable): Some kits come with grain papers that mimic the dashboard’s texture. Place the grain paper over the wet filler and apply gentle pressure. This imprints the texture onto the filler.
- Cure the Filler: Allow the filler to cure fully according to the product’s instructions. This might involve air drying or using a heat gun on a low setting from a distance. Be extremely cautious with heat; excessive heat can damage the surrounding dashboard.
- Sand and Refine: Once cured, carefully sand down any excess filler until it is flush with the dashboard surface. Use very fine-grit sandpaper (e.g., 800-1000 grit) and sand gently. The goal is a smooth, seamless blend.
- Color Matching and Finishing: If your kit includes colorants, mix them precisely to match your dashboard. Apply the color using a small brush or sponge, dabbing it lightly over the repaired area. Allow to dry and reapply thin coats until the color is uniform. For a more professional finish, consider using a specialized vinyl dye after the filler and color have cured.
Addressing Peeling or Delaminating Surfaces
Dashboards, especially older ones or those exposed to heat, can sometimes develop a sticky residue or begin to peel. This is often a breakdown of the top coating or adhesive.
Materials You’ll Need:
- Automotive interior cleaner or a cleaner safe for vinyl/plastic
- Rubbing alcohol
- Clean microfiber cloths
- Adhesive promoter (optional but recommended for better adhesion)
- Automotive interior vinyl/plastic adhesive
- Bulldog clip or heavy object
- Leather or vinyl conditioner
Step-by-Step Guide:
- Identify the Peeling Area: Determine if the peeling is at an edge or a larger section. Carefully lift any loose material by hand; if it comes away easily, proceed. If it’s still firmly attached but feels sticky, you might need to clean the surface first.
- Clean the Surface: Thoroughly clean the peeling area and the surface beneath it with an interior cleaner and then with rubbing alcohol. Ensure all residue, dirt, and grime are removed. This is critical for the new adhesive to bond properly. Let it dry completely.
- Apply Adhesive Promoter: If your adhesive requires it, or if you want to ensure a strong bond, apply a thin, even layer of adhesive promoter to both the underside of the peeling material and the underlying dashboard surface, following product instructions. Allow it to become tacky.
- Apply Adhesive: Carefully apply a thin, even bead of automotive interior vinyl/plastic adhesive to the dashboard surface where the material has peeled away. Work in small sections if the area is large.
- Reattach the Material: Gently press the peeling material back into place, ensuring it aligns perfectly. Apply firm, even pressure all over the surface.
- Secure and Cure: Use bulldog clips or place a heavy, clean object (like a stack of books wrapped in a cloth) over the repaired area to hold it firmly in place. Allow the adhesive to cure completely as per the manufacturer’s instructions. This can take several hours to a full day.
- Condition the Surface: Once the adhesive is fully cured, remove the clips/weight. Clean the entire area and apply a quality automotive interior conditioner or protectant. This will help restore the look and feel of the material and protect it from future damage.
Revitalizing Faded or Discolored Areas
Sun exposure can leave your C-Class dashboard looking dull and faded. While deep discoloration might require professional attention, surface fading can often be reversed.
Materials You’ll Need:
- Automotive interior cleaner
- Microfiber cloths
- Automotive interior protectant or dressing with UV inhibitors
- For deeper fading: a high-quality automotive vinyl dye kit in a matching color
Step-by-Step Guide (Light Fading):
- Clean Thoroughly: Start by deep cleaning the dashboard with an appropriate interior cleaner to remove any surface dirt, grime, or old protectants. Rinse and dry thoroughly with microfiber cloths.
- Apply Protectant: Apply a good quality automotive interior protectant or dressing that contains UV inhibitors. These products not only restore the luster but also offer protection against future sun damage. Apply evenly with a microfiber applicator pad or cloth, and buff off any excess.
Step-by-Step Guide (Deeper Fading with Vinyl Dye):
- Clean and Prep: Clean the area meticulously, as described above. For areas requiring dye, ensure they are completely dry. You may need to lightly scuff the surface with very fine-grit (1000+) sandpaper to help the dye adhere, but do this with extreme caution to avoid damage.
- Mask Off Areas: Use automotive masking tape and paper to carefully cover any areas you don’t want to dye, such as buttons, screens, or adjacent trim.
- Color Match: If using a dye kit, achieving the exact factory color can be challenging. Many kits offer a base color and tints to adjust. Test the color on an inconspicuous area if possible, or aim for the closest match. For Mercedes, understanding the specific interior color code is beneficial.
- Apply Dye: Apply the vinyl dye in thin, even coats using a spray applicator or airbrush (as per kit instructions). Hold the can or applicator at a consistent distance and use a sweeping motion. Allow each coat to dry slightly before applying the next. Multiple thin coats are better than one thick coat.
- Cure and Finish: Allow the dye to cure fully according to the product’s instructions. Once dry, remove the masking. You may want to apply a clear coat sealant or a UV protectant over the dyed area to enhance durability and appearance.
When to Call the Professionals
While DIY repairs are often successful, there are times when professional expertise is the better choice for your C-Class dash repair:
- Extensive Damage: Large cracks traversing significant portions of the dashboard, widespread delamination, or deep punctures are often beyond basic DIY kits.
- Structural Issues: If the dashboard’s structural integrity is compromised, it may require professional assessment and repair to ensure safety.
- Complex Materials: Some luxury vehicles feature unique dash materials, such as carbon fiber inlays or specialized wood veneers, which require specialized knowledge and tools to repair without causing further damage.
- Perfect Color/Texture Match is Crucial: For concours-level restorations or if you desire a flawless, factory-original appearance, professional restoration services often have access to superior matching tools and techniques.
- Airbag Integration: If the damage is near or affects areas involved with airbag deployment, it’s paramount to consult professionals certified in automotive safety systems. Improper repair could impede airbag function.
Professional services typically offer more advanced techniques, including color-matching systems and material reconstruction, ensuring a higher likelihood of a seamless repair. For highly specialized needs, look for reputable automotive upholstery and restoration shops.
Choosing the Right C Class Dash Repair Kit
The market offers a variety of dash repair kits. Selecting the right one is crucial for an “effortless” repair experience.
Types of Kits and Their Applications:
Here’s a quick comparison of common kit types:
| Kit Type | Best For | Pros | Cons |
|---|---|---|---|
| Color & Filler Kits | Cracks, small holes, deep scratches | Addresses cosmetic flaws, can re-tint faded areas | Requires careful color matching; texture simulation can be tricky |
| Adhesive & Patch Kits | Peeling vinyl, tears, delaminating edges | Strong bond for reattachment; good for flexible materials | May leave a slight seam if not done perfectly; texture match is important |
| Vinyl & Leather Dye Kits | Surface fading, minor discoloration, changing color (advanced use) | Restores color and UV protection; can revitalize large areas | Precise color matching is difficult for beginners; requires careful application to avoid overspray |
| All-in-One Kits | General wear and tear, minor damage | Convenience, supplies for multiple common issues | May not be specialized enough for severe damage; quality can vary |
When selecting a kit, always check reviews and ensure it’s compatible with your Mercedes C-Class’s interior materials (e.g., “flexible plastics,” “vinyl,” “ABS plastic”). Reputable brands often provide detailed color-matching guides or even custom color mixing services.
Preventative Measures: Protecting Your C-Class Dashboard
The best C Class dash repair is often preventing the damage in the first place. Implementing a few preventative habits can significantly extend the life and pristine appearance of your dashboard.
- Consistent Sun Protection: Use a quality windshield sunshade whenever parking outdoors. This is perhaps the single most effective way to combat UV damage. Consider side window shades too.
- Regular Cleaning and Conditioning: Clean your dashboard regularly with mild, automotive-specific interior cleaners. Follow up with a high-quality protectant that contains UV blockers. These products replenish essential oils, maintain flexibility, and shield against sun damage. For a deeper dive into Mercedes-Benz interior care, resources like the Meguiar’s consumer site or Chemical Guys tutorials offer excellent guidance.
- Avoid Harsh Chemicals: Never use household cleaners, ammonia-based products, or solvents directly on your dashboard. They can strip protective coatings, dry out the material, and cause discoloration.
- Temperature Management: While not always controllable, be mindful of extreme heat. If possible, park in the shade or a garage.
- Gentle Handling: Avoid placing abrasive objects on the dashboard or applying excessive pressure to its surface.
By adopting these simple practices, you’ll significantly reduce the likelihood of needing extensive C Class dash repair down the line, preserving the luxury and value of your C-Class.
Frequently Asked Questions
Q1: How much does C Class dash repair typically cost?
A1: DIY C Class dash repair can cost anywhere from $20-$50 for a basic kit to $100-$200 for more comprehensive or professional-grade kits. Professional repair services can range from $150 for minor cosmetic fixes to over $500 for extensive restoration work, depending on the damage and labor rates.
Q2: Can I repair a cracked dashboard without affecting airbag deployment?
A2: For cracks near or on covers of airbag deployment zones, it is strongly advised to consult a professional. DIY repairs in these sensitive areas can be risky and may compromise safety system functionality. Professionals have the expertise to repair without interfering with airbags.
Q3: What’s the best way to match the color of my C-Class dashboard?
A3: Many repair kits include a range of tints to mix a custom color. For the best match, try to find your vehicle’s interior color code (often on a sticker in the driver’s side doorjamb or owner’s manual). Test the mixed color on an inconspicuous area first. If you’re unsure, professional automotive paint shops or specialized interior restoration services have advanced color-matching capabilities.
Q4: My dashboard feels sticky. How do I fix it?
A4: A sticky dashboard is often due to the breakdown of the plasticizers under UV exposure or the residue from harsh cleaners. Try cleaning it with a gentle interior cleaner, followed by a thorough wipe-down with isopropyl alcohol (rubbing alcohol). If the stickiness persists, you might need a specialized dashboard cleaner or consider a light application of vinyl dye to seal the surface.
Q5: Can I use a general plastic repair kit on my Mercedes dashboard?
A5: While some general plastic repair kits might work for very minor repairs, it’s best to use kits specifically designed for automotive interiors. These kits use materials and adhesives formulated to be flexible, UV-resistant, and compatible with the specific plastics and vinyls found in car dashboards. Using the wrong product could cause further damage or an unsightly finish.
Q6: How long does a DIY C Class dash repair typically last?
A6: The longevity of a DIY repair depends on the severity of the original damage, the quality of the products used, and the application technique. Minor repairs, if done correctly with quality materials and followed by preventative care, can last for several years. More extensive repairs might require touch