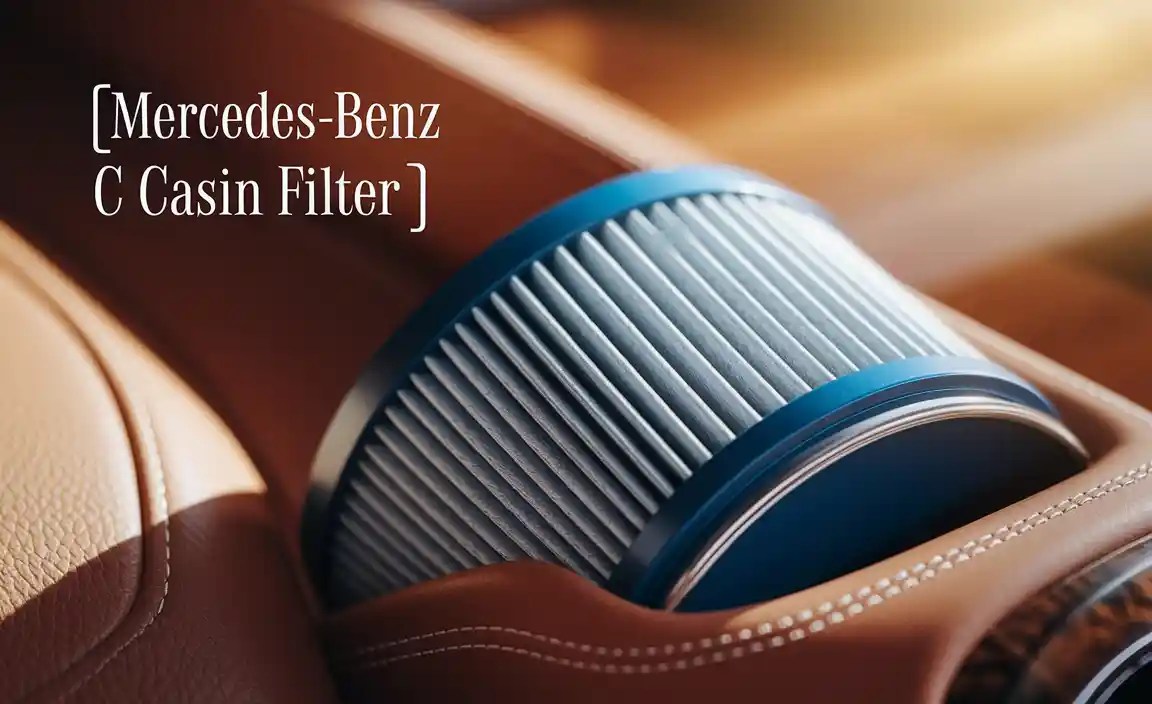
Mercedes-Benz C Class Cabin Filter: Your Ultimate Essential Upgrade
Upgrade your Mercedes-Benz C-Class cabin filter for cleaner air and a healthier drive. This essential maintenance step improves air quality, reduces allergens, and ensures your luxury vehicle’s interior remains a sanctuary. Easy to replace, it’s a small change with significant benefits for you and your passengers.
C Class Cabin Filter: Your Ultimate Essential Upgrade
Is the air inside your Mercedes-Benz C-Class not as crisp as it used to be? Do you notice unusual odors or find yourself sneezing more often after a drive? You’re not alone. The cabin air filter, often overlooked, plays a crucial role in the air quality you breathe inside your car. It’s a simple yet vital component designed to keep dust, pollen, pollutants, and even tiny insects out of your vehicle’s interior.
When it gets clogged, it can lead to reduced airflow, unpleasant smells, and a less comfortable driving experience. But don’t worry! Replacing your C-Class cabin filter is one of the easiest and most cost-effective maintenance tasks you can perform, and I’m here to guide you through it.
At MercedesBlue, my passion is to demystify the world of Mercedes-Benz ownership. We’ll explore what a cabin filter is, why it’s so important to keep it in top condition, and how you can perform this essential upgrade yourself. Get ready to breathe easier and enjoy every drive in your C-Class even more.
Understanding Your C Class Cabin Filter
Think of your cabin air filter as the lungs of your Mercedes-Benz C-Class’s interior climate control system. Its primary job is to trap airborne particles before they enter the cabin through your air vents. This includes a wide range of unwanted guests:
- Dust and dirt
- Pollen and other allergens
- Soot and exhaust fumes
- Mold spores and bacteria
- Insects
Over time, these particles accumulate on the filter material, much like a sieve getting filled up. As the filter becomes saturated, it can no longer efficiently capture new particles. This leads to several noticeable issues:
- Reduced Airflow: A clogged filter restricts the amount of air your HVAC system can push into the cabin. You might notice your fan doesn’t blow as strongly, or it takes longer to heat or cool the interior.
- Unpleasant Odors: Trapped pollutants, moisture, and organic matter can begin to decompose, leading to musty or unpleasant smells circulating in your cabin.
- Allergens and Irritants: A degraded filter can no longer protect you from allergens like pollen, which can exacerbate allergies and respiratory issues for you and your passengers.
- Increased Strain on HVAC System: When the filter is blocked, your car’s fan motor has to work harder to push air through it, potentially leading to premature wear and tear on the system.
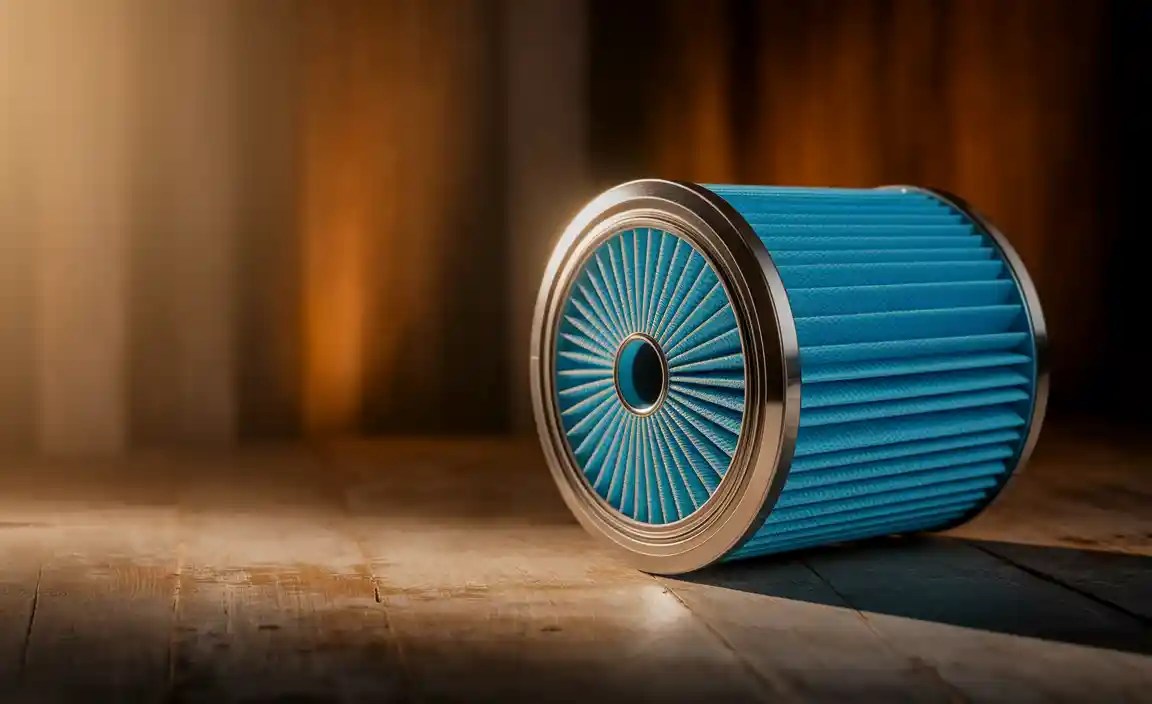
The specific type of cabin filter your C-Class uses can vary depending on the model year and trim level. Most modern C-Class vehicles come equipped with either a standard particle filter or an activated carbon filter. Activated carbon filters offer an additional layer of protection by adsorbing odors and gases, making them a popular upgrade for those seeking the purest possible air.
Standard Particle Filters vs. Activated Carbon Filters
It’s worth understanding the difference, especially if you’re considering an upgrade during replacement.
Standard Particle Filters
These filters are designed to trap solid particles like dust, pollen, and soot. They are highly effective at improving general air quality and are the standard in many vehicles. They typically consist of layers of fibrous material that physically catch these contaminants.
Activated Carbon (or Activated Charcoal) Filters
These go a step further. In addition to trapping solid particles, they contain activated carbon, a highly porous material that can adsorb gases and odors. This makes them particularly effective at neutralizing smells from exhaust fumes, industry, and even organic sources. If you live in a high-traffic area or are particularly sensitive to smells, an activated carbon filter can be a significant improvement.
The good news is that replacing your standard filter with an activated carbon one is usually a straightforward process, as they are often designed to be direct replacements. Always check compatibility for your specific C-Class model.
Why is the C Class Cabin Filter an Essential Upgrade?
While replacing the cabin filter is a routine maintenance item, many owners view it as an “upgrade” because of the tangible benefits it brings, especially when opting for a higher-quality filter. It’s not just about replacing a part; it’s about enhancing your driving experience and protecting your health.
Benefits of a Fresh, High-Quality Cabin Filter:
- Improved Air Quality: This is the most significant benefit. A new filter effectively removes airborne irritants, ensuring the air you breathe inside your C-Class is clean and fresh, reducing exposure to allergens, pollutants, and particulates.
- Odor Elimination: Especially with activated carbon filters, you’ll notice a dramatic reduction in unwanted smells, whether it’s from traffic, surrounding environments, or residual odors within the car.
- Enhanced HVAC Performance: With unobstructed airflow, your heating and air conditioning systems will operate more efficiently. This means faster defrosting, quicker cooling, and a more consistent cabin temperature.
- Reduced Allergy Symptoms: For individuals with allergies or respiratory sensitivities, a clean cabin filter can make a world of difference, minimizing triggers like pollen and dust.
- Protecting Your Investment: A well-functioning HVAC system is part of maintaining your luxury vehicle. Ensuring the system isn’t overworked due to a clogged filter contributes to its longevity.
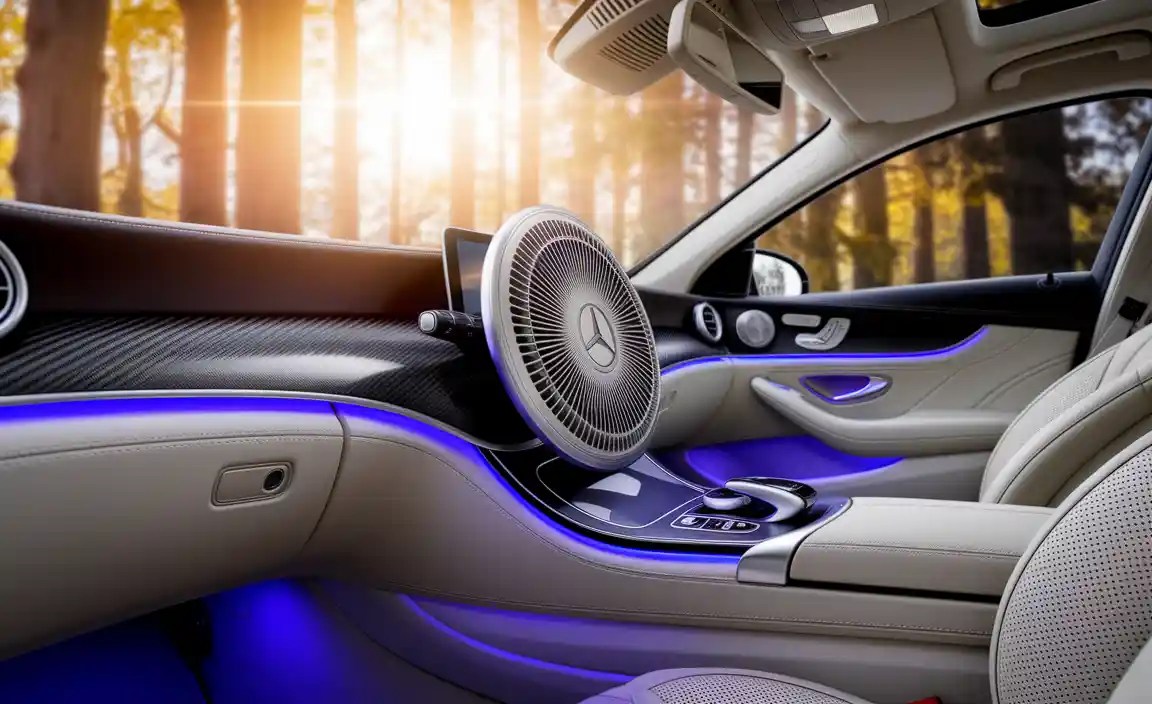
- Fresher Driving Environment: Simply put, a cleaner cabin air makes for a more pleasant and relaxing driving experience. It contributes to the overall luxury feel that Mercedes-Benz is renowned for.
Think of it this way: you invested in a luxury vehicle for comfort and refinement. Ensuring the air you breathe inside aligns with that standard is a logical and essential step in maintaining that experience.
When to Replace Your C Class Cabin Filter
Mercedes-Benz typically recommends replacing the cabin air filter every 1-2 years or around 15,000 to 25,000 miles. However, this is a guideline, and several factors can necessitate more frequent replacement:
- Driving Conditions: If you frequently drive in dusty areas, on unpaved roads, in heavy traffic with poor air quality, or in regions known for high pollen counts, your filter will clog faster.
- Allergies: If you or your passengers suffer from allergies or respiratory issues, replacing the filter more often (e.g., annually or even every six months) can provide significant relief.
- Lingering Smells: If you start noticing persistent or new odors inside your car that aren’t related to spills, it’s a strong indicator the cabin filter is overloaded and needs changing.
- Reduced Airflow: A noticeable decrease in the strength of air coming from your vents is a classic sign of a clogged filter.
- Visible Grime: In some cases, you might be able to see dirt and debris accumulating on the filter.
Regularly checking your owner’s manual is always the best practice, as recommendations can vary slightly by model year. However, a visual inspection and listening to your HVAC system can provide clear clues.
How to Replace Your C Class Cabin Filter: A Step-by-Step Guide
Replacing your C-Class cabin filter is a satisfying DIY project that requires minimal tools and about 30 minutes of your time. The exact location can vary slightly between C-Class generations (W204, W205, W206, etc.), but it’s commonly found behind the glove box or in the engine bay near the windshield cowl. For most modern W205 and W206 models, it’s located behind the glove compartment.

Tools and Materials You’ll Need:
- Replacement Cabin Air Filter (ensure it’s the correct part number for your year/model)
- Phillips head screwdriver (often #2 size)
- Flathead screwdriver (for prying, if needed)
- T20 Torx driver (sometimes required for specific screws)
- Gloves (optional, to keep hands clean)
- Flashlight (to see in dimly lit areas)
- Rag or shop towel
Step-by-Step Replacement Process (Typical for Glove Box Location):
Step 1: Locate the Cabin Filter Housing
The cabin filter is usually housed in a compartment accessible by removing or manipulating the glove box. For W205 and W206 models, this means working inside the passenger cabin.
Step 2: Access the Glove Box
This is often the trickiest part. Most glove boxes don’t just pull down. You’ll need to release tensioners or stoppers.
For W205 (C300, C43, etc.):
- Open the glove box fully.
- Locate the damper arm/cable on the right side. Gently push this arm inwards towards the glove box to disconnect it.
- On the sides of the glove box, you’ll see small tabs or stoppers. Push these inwards, and the entire glove box should be able to drop down, giving you access to the panel behind it.
For W206 (Newer models): The process is usually similar, albeit with slightly different trim pieces. Consult your owner’s manual or a specific YouTube tutorial for your exact year for precise details on how to lower the glove box.
Step 3: Remove the Access Panel/Cover
Once the glove box is lowered, you’ll see a plastic cover or panel. This panel often has clips or a few screws holding it in place. Remove these screws using your Phillips head or Torx driver. Carefully pry off the panel if it’s clipped.
Step 4: Identify and Remove the Old Filter
Behind the panel, you’ll find the cabin air filter housing. It’s typically a rectangular slot. There might be a clip or a small lever to release the housing cover. Slide the cover off or open the latch. The old cabin filter will then slide straight out. Note its orientation – there’s usually an arrow indicating airflow direction (often pointing downwards towards the cabin floor). You might be surprised by how dirty it is!
Step 5: Install the New Cabin Filter
Take your new cabin filter. If it has an airflow direction arrow, make sure it matches the orientation of the old filter (pointing down). Slide the new filter into the housing. Ensure it’s seated correctly and snugly. It should slide in without much force.
Step 6: Reassemble
Slide the housing cover back on or secure the latch. Then, reattach the access panel you removed earlier. If it had screws, replace them. Finally, carefully lift the glove box back into its original position. You might need to reattach the damper arm/cable if applicable and ensure the side stoppers engage correctly. Test the glove box operation to make sure it opens and closes smoothly.
Step 7: Test the HVAC System
Start your car and turn on the fan. Test different fan speeds and modes (fresh air, recirculate) to ensure that airflow is strong and that there are no unusual noises. You should notice an immediate improvement in air volume and quality.
Important Considerations for Different C-Class Generations:
While the glove box location is common for many W205 and W206 models, older generations like the W204 might have the filter located under the hood, near the base of the windshield, often behind a plastic cowl. Replacing it there may involve removing wiper arms and windshield trim pieces, which is slightly more involved but still a manageable DIY task.
Always refer to your specific C-Class owner’s manual or find a reputable YouTube video tutorial for your exact model year and generation. This ensures you have precise instructions and avoid damaging any trim or components.
Choosing the Right C Class Cabin Filter
Not all cabin filters are created equal. When selecting a replacement for your C-Class, consider these factors:
OEM vs. Aftermarket Filters:
- OEM (Original Equipment Manufacturer): These filters are made by or for Mercedes-Benz. They are guaranteed to fit perfectly and meet the manufacturer’s specifications for performance and filtration. They often represent the highest quality but can be more expensive.
- Aftermarket: Many reputable third-party manufacturers produce cabin filters that are designed to fit Mercedes-Benz vehicles. These can offer significant cost savings. When choosing aftermarket, opt for established brands known for quality and look for filters that explicitly state they are designed for your C-Class model year.
Filter Types and Features:
- Standard Particle Filter: Good for general filtration of dust and pollen.
- Activated Carbon Filter: Recommended for enhanced odor and gas adsorption.
- Electrostatic Charging: Some advanced filters use electrostatic charges to attract and trap smaller particles more effectively.
- Multi-Layered Filtration: Higher-end filters often have multiple layers, each designed to capture different sizes of particles.
Where to Buy Your C Class Cabin Filter:
- Dealership: The most straightforward option for OEM parts, but usually the most expensive.
- Online Retailers: Websites like Amazon, AutoZone, Advance Auto Parts, and specialized Mercedes-Benz parts sites offer a wide selection of both OEM and aftermarket filters. Ensure you’re buying from a trusted seller.
- Auto Parts Stores: Many local auto parts stores carry cabin filters. It’s best to call ahead to check availability for your specific model.
When purchasing, always double-check the part number against your vehicle’s VIN or owner’s manual to ensure compatibility. For example, a W205 C300 might use a different filter than a W206 C300.
Maintaining Optimal Air Quality in Your C-Class
Replacing the cabin filter is a critical step, but optimizing the air quality in your C-Class involves a few other considerations:

Regular HVAC System Checks:
Beyond the filter, the entire HVAC system should function optimally. Listen for unusual noises from the blower motor or any leaks. Ensure your AC is performing efficiently.
Using Recirculation Mode Wisely:
When driving in areas with heavy pollution or unpleasant external smells, using the recirculation mode can help. This mode prevents outside air from entering the cabin, relying instead on the air already inside. However, for fresh air and to prevent moisture buildup, it’s essential to switch back to fresh air intake periodically.
Cleaning the Interior Regularly:
While the cabin filter handles airborne particles, keeping your car’s interior clean from dust, dirt, and spills will further contribute to better air quality and prevent the filter from clogging too quickly.
Using the “ECO” or “Fresh Air” Settings:
Your climate control system has various settings. Understand how they work. The “ECO” mode might prioritize fuel efficiency by reducing HVAC system load, while dedicated “Fresh Air” settings ensure you’re not constantly breathing recirculated air.
Consider an Air Purifier:
For those with extreme sensitivities or in areas with persistently poor air quality, a small, portable car air purifier can provide an additional layer of filtration. However, this is an addition, not a replacement, for a clean cabin filter.
Conclusion
Your Mercedes-Benz C-Class is a sanctuary on wheels, and the air you breathe inside plays a pivotal role in that experience. The cabin air filter, while often an afterthought, is a powerful shield against the elements and pollutants outside. Upgrading to a high-quality filter, especially an activated carbon variant, is one of the most impactful and straightforward maintenance tasks you can undertake.
By following the steps outined, you can confidently replace your C-Class cabin filter and restore crisp, clean air to your driving environment. You’ll not only breathe easier but also ensure your HVAC system works more efficiently and your Mercedes-Benz continues to offer the refined, healthy, and luxurious experience it’s designed for. Happy driving, and more importantly, happy breathing!
Frequently Asked Questions (FAQ)
1. How often should I replace my C Class cabin filter?
Mercedes-Benz generally recommends replacing the cabin filter every 1-2 years or around 15,000-25,000 miles. However, if you drive in dusty conditions, high pollen areas, or notice reduced airflow or musty smells, you may need to replace it more frequently.
2. Can I replace the cabin filter myself in my C-Class?
Yes, absolutely! Replacing the cabin filter is a common and relatively simple DIY maintenance task for most C-Class models. It typically requires basic tools like a screwdriver and about 30 minutes of your time.
3. Where is the cabin filter located in a Mercedes-Benz C-Class?
For most modern W205 and W206 C-Class generations, the cabin filter is located behind the glove box. In some older models, it might be found under the hood near the windshield cowl. Always consult your owner’s manual or a specific tutorial for your model year.