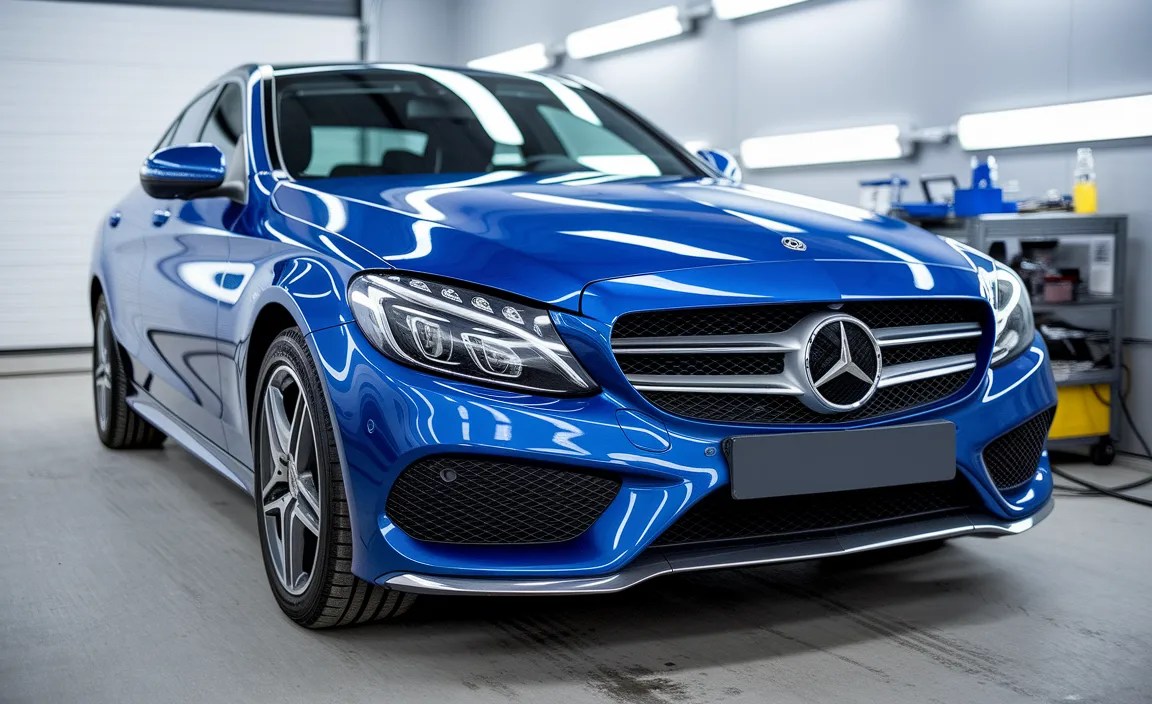
Mercedes-Benz C Class Bumper Repair: The Ultimate Effortless Fix
Tired of unsightly scuffs and minor dents on your Mercedes C-Class bumper? This comprehensive guide offers an effortless, step-by-step approach to C Class bumper repair, empowering you to restore its pristine look with confidence and achieve professional-quality results right at home.
Even the most meticulously cared-for Mercedes-Benz C-Class can encounter minor bumper damage. A stray shopping cart, a tight parking spot, or a simple misjudgment can lead to scuffs, scratches, or even small dents that detract from your vehicle’s elegant lines. It’s a common frustration for C-Class owners who value their car’s flawless appearance.
But don’t let these imperfections diminish your driving pleasure or send you straight to an expensive body shop. Restoring your C-Class bumper is more accessible than you might think, and with the right guidance, it can be an incredibly rewarding DIY project. We’ll walk you through the process, from assessing the damage to achieving a seamless finish, making C Class bumper repair feel truly effortless.

Understanding Your C-Class Bumper and the Damage
Before diving into repairs, it’s helpful to understand what your C-Class bumper is made of and the types of damage you might encounter. Modern C-Class bumpers are typically constructed from thermoplastic materials, like Polypropylene (PP) or Polyurethane (PUR).

These materials are designed to absorb impact, offering a degree of flexibility and resilience. However, they are also susceptible to cosmetic damage. The most common issues include:
- Scratches: Superficial abrasions that mar the paint surface. Depth varies from light surface marks to deeper gouges.
- Scuffs: Often caused by rubbing against another surface, these can transfer paint from another object onto your bumper or remove paint from your bumper.
- Dents: Minor indentations where the plastic has been pushed inward. Often, these can be popped back out, especially on flexible bumpers.
- Cracks: Small fissures in the plastic. Minor cracks can sometimes be repaired, but larger or structural cracks usually require professional intervention or bumper replacement.
Your approach to C Class bumper repair will depend on the type and severity of the damage. For this guide, we’ll focus on fixing common scuffs, scratches, and minor dents, aiming for an “effortless fix” for beginners.
The DIY Approach to C-Class Bumper Repair: What You’ll Need
Embarking on C Class bumper repair yourself is achievable with the right tools and materials. The key is preparation and using products designed for automotive plastic. Here’s a breakdown of what you’ll likely need:
Essential Tools and Materials:
- Cleaning Supplies: Car wash soap, water, microfiber towels, isopropyl alcohol (IPA), and degreaser.
- Repair Products (depending on damage):
- For Scratches/Scuffs: Rubbing compound, polishing compound, automotive touch-up paint (color-matched to your C-Class), clear coat, masking tape, and painter’s tape.
- For Minor Dents: Heat gun or powerful hairdryer, plastic trim removal tools, gloves, and a clean cloth.
- For Small Cracks (optional, for advanced DIYers): Plastic repair kit (epoxy or adhesive specifically for automotive plastics), and a plastic welding kit for more robust fixes.
- Sanding Supplies (if applying paint): Fine-grit sandpaper (e.g., 800, 1000, 2000 grit), sanding block, and water for wet sanding.
- Protective Gear: Gloves and eye protection.
- Optional: Bumper repair putty or filler for deeper gouges.
Choosing the correct color-matched touch-up paint is crucial for a seamless repair. You can often find your C-Class’s paint code on a sticker located in the engine bay, driver’s side doorjamb, or owner’s manual. Reputable automotive paint suppliers can mix paint based on this code.
Step-by-Step C-Class Bumper Repair Guide
Let’s break down the process for the most common types of C Class bumper repair. We’ll start with the simplest and move to slightly more involved techniques.

Step 1: Thorough Cleaning and Assessment
This is the most critical first step for any repair. You need a perfectly clean surface for any product to adhere correctly and for you to accurately assess the damage.
- Wash the entire bumper thoroughly with car wash soap and water. Rinse well and dry with a clean microfiber towel.
- Wipe down the damaged area and its surroundings with isopropyl alcohol (IPA) on a clean cloth. This removes any wax, grease, or residue that could interfere with the repair.
- Carefully examine the scuffs, scratches, or dents. Determine their depth and how much paint is affected. This will guide your repair method.
Step 2: Repairing Superficial Scratches and Scuffs
Many light scratches and scuffs can be buffed out, making for a truly effortless fix.
- For very light clear coat scratches: Try a good quality automotive polishing compound. Apply a small amount to a microfiber applicator pad and rub it into the scratch in a back-and-forth motion. Slowly increase pressure until the scratch disappears. Wipe away residue and inspect.
- For deeper scratches that have removed paint:
- Clean and Mask: Ensure the area is clean and dry. Use painter’s tape to mask off the surrounding undamaged paintwork, creating a clean edge for your repair.
- Rubbing Compound: Apply a small amount of rubbing compound. This is more abrasive than polish and can level out minor paint imperfections and remove haziness. Work it into the scratch with an applicator pad.
- Apply Touch-Up Paint: If the scratch is still visible and has gone down to the plastic or primer, carefully apply a thin layer of color-matched touch-up paint using the applicator provided or a very fine artist’s brush. Apply only to the scratch itself. Allow it to dry completely according to the product instructions (this can take several hours). You may need multiple thin coats.
- Apply Clear Coat: Once the color coat is dry, apply thin layers of clear coat over the painted area. This protects the color and helps to blend it with the surrounding original paint.
- Wet Sanding (Optional, for blending): Once the clear coat has cured for at least 24 hours, you can very carefully wet sand the repaired area to make it perfectly smooth and flush with the surrounding paint. Use extremely fine grit sandpaper (2000-3000 grit) with a sanding block and plenty of water. The goal is to level down any slight raised edges from the paint.
- Polish and Protect: After wet sanding, the area will look dull. Use a polishing compound to restore the shine, followed by a finishing polish. Finally, apply a coat of wax or sealant for protection.
Step 3: Repairing Minor Bumper Dents
Thermoplastic bumpers are often surprisingly resilient and can be gently pushed back into shape.
- Access the Dent: For dents on the back of the bumper, you might need to remove the bumper cover temporarily. Consult your C-Class owner’s manual or a reliable online resource like Mercedes-Benz USA owner’s section for instructions specific to your model year. For dents from the front, you may be able to access them by working through wheel wells or under the car.
- Apply Gentle Heat: Using a heat gun on a low to medium setting, or a powerful hairdryer, gently warm the dented area from the outside. Keep the heat source moving constantly to avoid overheating or damaging the paint. The plastic needs to become pliable, not melt.
- Push or Pull the Dent Out:
- From the inside: Once the plastic is warm and flexible, gently push the dent outwards from the back. You might be able to use your hand, a clean rag-covered tool, or a specialized dent-pulling tool.
- From the outside (suction): If pushing isn’t possible, you can try using a suction cup dent puller on the warmed exterior of the dent to gently pull it outwards.
- Cool and Harden: Once the dent is mostly out, you can cool the area rapidly with a damp cloth or compressed air held upside down. This helps the plastic retain its new shape.
- Inspect and Repeat: If the dent isn’t fully removed, repeat the heating and pushing/pulling process. Be patient and avoid excessive force. If the dent remains stubborn, it might be too deep for this method.
- Minor Refinishing: If the heat process slightly affected the paint (e.g., made it hazy), you might need to follow the scratch repair steps above (using rubbing compound and polish) to restore the finish.
Step 4: Addressing Small Cracks (Advanced DIY)
Repairing cracks on a C-Class bumper is more challenging and requires specific products. For a beginner, it’s often best to consult a professional for cracks.
- Clean and Prepare: Thoroughly clean the cracked area with soap, water, and IPA.
- V-Groove the Crack: Use a Dremel tool or a fine-grit sandpaper to create a small V-shaped groove along the length of the crack on both the inside and outside of the bumper if accessible. This gives the filler or adhesive more surface area to bond to.
- Apply Repair Material:
- Plastic Adhesive/Epoxy: Many kits come with a two-part adhesive designed for specific plastics. Mix and apply it within the V-groove. For cracks on the back, you might use a reinforcing mesh that comes with the kit, embedding it in the adhesive.
- Plastic Welding: For a very strong repair, plastic welding involves melting the edges of the crack together, often with a special welding rod matching the bumper material. This requires a specific tool and practice. Refer to resources like Plastics Magazine’s Fundamentals of Plastic Welding for detailed principles.
- Cure and Sand: Allow the repair material to cure completely as per the product instructions. Once cured, carefully sand the repaired area smooth, starting with a coarser grit (if needed) and finishing with finer grits.
- Fill and Paint: If the sanded area isn’t perfectly smooth, you may need to apply a thin layer of automotive bumper filler or primer, sand again, and then proceed with touch-up paint and clear coat as described in the scratch repair section.
Choosing the Right Repair Method for Your C-Class Damage
The “effortless fix” for your C Class bumper repair hinges on correctly identifying the damage and selecting the appropriate method. Here’s a quick guide to help you decide:

| Type of Damage | Severity | Recommended DIY Method | When to Consider Professional Help |
|---|---|---|---|
| Scuffs/Light Scratches | Clear coat or very shallow paint | Polishing compound, rubbing compound | If extensive and difficult to blend |
| Deeper Scratches | Down to primer or plastic | Touch-up paint, clear coat, wet sanding, polishing | Extensive deep scratches covering large areas |
| Minor Dents | Indentation without cracks or creased plastic | Heat gun/hairdryer method (push/pull) | Deep creases, sharp edges, or if plastic is brittle |
| Small Cracks | Under 1-2 inches, isolated | Plastic repair kit (adhesive), potentially plastic welding (advanced) | Longer cracks, cracks near mounting points, or if structural integrity is a concern |
| Large Dents/Cracks/Tears | Significant deformation, large cracks, or material loss | N/A (not recommended for beginners) | Immediate consultation, likely requires bumper replacement |
Remember, the goal of an effortless fix is to address common, minor imperfections. For damage that compromises the bumper’s structural integrity or is too extensive to correct with simple DIY methods, seeking professional assistance from a reputable auto body shop is always the wisest choice. They have specialized tools, trained technicians, and the expertise to handle more complex repairs or replacements, ensuring your C-Class remains safe and visually impeccable.
Tips for Achieving a Professional Finish
Even with the simplest C Class bumper repair, a few pro tips can elevate your results from DIY to dazzling.
- Patience is Key: Rushing any step, especially drying times for paint, will lead to a subpar finish.
- Thin Coats are Best: When applying touch-up paint or clear coat, multiple thin layers are always better than one thick one. This ensures even coverage and reduces the risk of runs or drips.
- Work in Good Lighting: Natural daylight is ideal for assessing damage and ensuring consistent paint application. Avoid direct sunlight if painting, as it can cause uneven drying.
- Practice on a Test Piece: If you’re using a new product or technique, like plastic welding or significantly repainting, try it on a piece of scrap plastic first to get a feel for it.
- Feather the Edges: When sanding or buffing, work the compound or sandpaper beyond the immediate repair area to create a smooth transition (feather edge) between the repaired and original paint.
- Proper Masking: Use high-quality painter’s tape and ensure it’s pressed down firmly to prevent paint bleed.
- Beyond the Fix: Once your repair is complete and cured, consider applying a quality ceramic coating or sealant to the entire bumper. This will protect the new finish and make future cleaning even easier.
Frequently Asked Questions
Q1: Can I really fix my C-Class bumper myself?
A1: For minor scuffs, scratches, and small dents, absolutely! Many C Class owners successfully perform these repairs at home with basic tools and patience, saving time and money. For significant damage, professional help is advisable.
Q2: What is the best way to fix a deep scratch on my C-Class bumper?
A2: For deep scratches that have removed paint, the best DIY approach involves careful cleaning, applying color-matched touch-up paint in thin layers, followed by clear coat. If needed, fine-grit wet sanding and polishing can help blend the repair.
Q3: How do I get a dent out of my C-Class bumper without damaging the paint?
A3: Gently heating the dented area with a heat gun or hairdryer on a low setting to make the plastic pliable, then carefully pushing it out from the back, is a common and effective method. Cool rapidly to set the shape.
Q4: What type of paint should I use for C Class bumper touch-ups?
A4: Always use automotive-grade touch-up paint specifically matched to your Mercedes-Benz C-Class’s paint code. You can find this code on your car’s identification sticker. Ensure you also use a compatible clear coat for protection.
Q5: How do I find my C-Class’s paint code?
A5: The paint code is typically located on a sticker inside the driver’s side doorjamb, under the hood, or in your owner’s manual. Consult your vehicle’s documentation for the exact location on your specific model year.
Q6: Is plastic welding difficult for a beginner?
A6: Plastic welding requires specific tools and practice to achieve a strong, clean bond. While possible for dedicated DIYers, it’s generally considered an advanced repair technique for C Class bumper cracks. For most beginners, adhesive-based plastic repair kits are more accessible.
Q7: If my bumper has a crack, will a repair hold up long-term?
A7: A properly executed repair of a small, isolated crack using appropriate plastic adhesives or welding can be very durable. However, the longevity depends heavily on the quality of the repair materials used, the preparation, and the skill of the applicator. For any crack affecting structural integrity or located in a high-stress area, professional assessment is recommended.


