Mercedes-Benz C Class Buffing: The Ultimate Perfect Shine
Get a flawless C Class shine with expert buffing techniques. This guide breaks down paint correction, from choosing pads to achieving that showroom gleam, making it easy for any Mercedes owner to master.
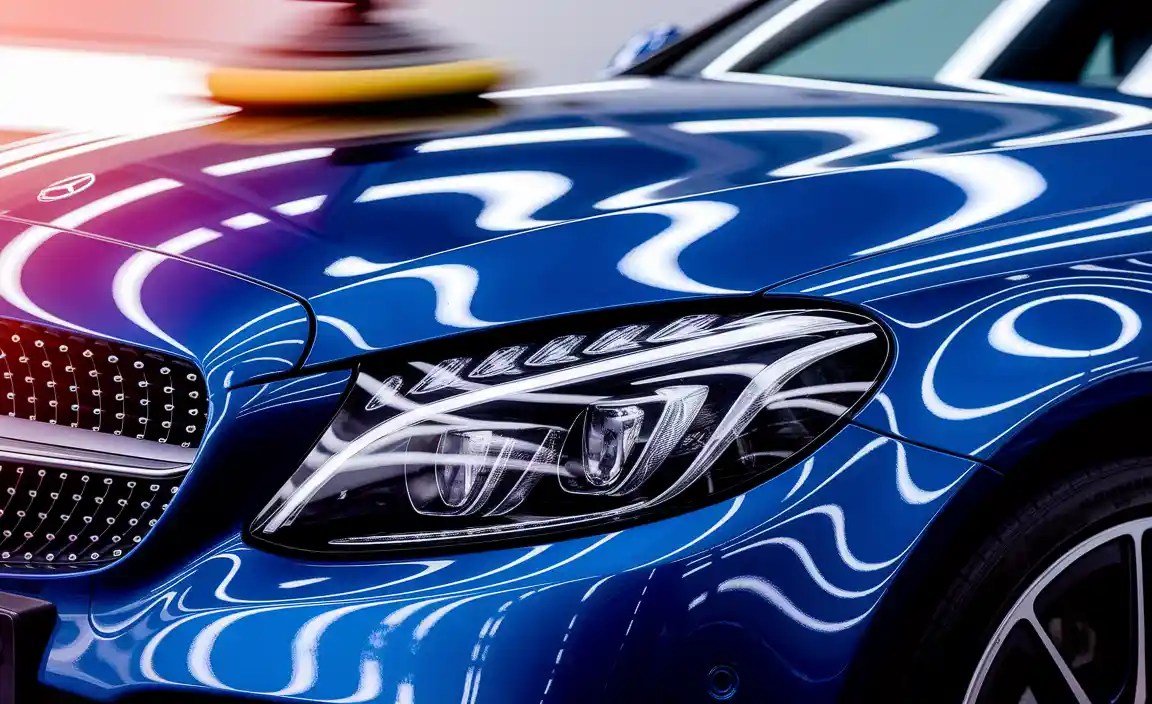
Your Mercedes-Benz C-Class is a masterpiece of engineering and design, and its paintwork is no exception. Over time, daily driving can leave your C-Class’s finish looking dull, marred by swirl marks, scratches, and oxidation. It’s a common frustration for any proud owner who wants their car to look its absolute best. But don’t worry, achieving that perfect, mirror-like shine is well within your reach.
This guide will walk you through the process of C-Class buffing, demystifying paint correction and empowering you to restore your car’s paint to its former glory. We’ll cover everything you need to know, from understanding paint layers to performing each step safely and effectively.

Understanding Your C-Class’s Paintwork: The Foundation of Shine
Before you grab a buffer, it’s crucial to understand what you’re working with. Modern car paint isn’t just a single layer of color; it’s a sophisticated system designed for protection and aesthetics. Understanding these layers is key to buffing effectively and safely.

Automotive paint typically consists of several distinct layers:
- Clear Coat: This is the outermost layer, acting as a protective shield against UV rays, environmental contaminants, and minor abrasions. It’s also where most minor imperfections like swirl marks and light scratches reside. When you buff, you are primarily working within this clear coat layer.
- Base Coat: This layer contains the color pigment of your C-Class. It provides the visual appeal.
- Primer: This layer adheres the base coat to the metal surface and provides further protection against corrosion.
- Electrocoat (E-coat): This is the first layer applied to the bare metal, providing essential corrosion protection.
- Metal Panel: The bare steel or aluminum body of your C-Class.
The goal of buffing, or paint correction, is to gently remove a microscopic amount of the clear coat to level out imperfections. This process effectively “cuts” away the damaged or uneven surface, revealing a fresh, smooth layer beneath. It’s crucial to remember that you can only remove a finite amount of clear coat. Aggressive buffing can burn through this layer, exposing the base coat and leading to much more serious and expensive repairs.
For a deeper dive into automotive paint technology and to understand the importance of clear coat health, you can explore resources from organizations like the U.S. Environmental Protection Agency (EPA), which provides information on environmental regulations related to automotive coatings that also highlight their layered structure and function.
The C-Class Buffing Process: A Step-by-Step Guide
Achieving that perfect shine on your C-Class involves a systematic approach. Skipping steps or using the wrong products can lead to disappointing results or even damage. Follow this detailed guide for a professional finish.
Step 1: Thorough Washing – The Essential First Pass
The most critical step before any polishing or buffing is a comprehensive wash. Any dirt, grit, or debris left on the surface can be ground into the paint by your buffing pads, creating new scratches. This is often referred to as the “two-bucket method” for a reason.
Tools & Supplies:
- Two large buckets (e.g., 5-gallon)
- Grit guards for each bucket
- pH-neutral car wash soap
- High-quality wash mitt (microfiber or chenille)
- Wheel cleaner and brushes
- Hose with a gentle spray nozzle or pressure washer with a wide fan tip
- Clean microfiber drying towels
Method:
- Prepare the Buckets: Place a grit guard in the bottom of each bucket. Fill one bucket with clean water (this is your rinse bucket) and the other with water mixed with the pH-neutral car wash soap (this is your wash bucket).
- Pre-Rinse: Thoroughly rinse the entire vehicle with water. Start from the top and work your way down, removing loose dirt and debris. Pay attention to wheel wells and lower panels.
- Wash Wheels: A dedicated wheel cleaner and brushes are necessary for this task. Always wash wheels first to prevent brake dust and grime from transferring to your paint later in the wash process.
- Wash the Body: Dip your wash mitt into the soapy water. Wash one section of the car at a time, starting from the roof and working downwards in straight lines.
- Rinse the Mitt: Crucially, before dipping back into the soapy water, rinse your mitt thoroughly in the plain water bucket. This washes away the dirt picked up from the paint, preventing it from being re-applied.
- Re-lather: Now, dip your clean mitt back into the soapy water for the next section.
- Final Rinse: Once the entire car is washed, perform a final, thorough rinse, again working from top to bottom.
- Drying: Gently dry the vehicle using clean, plush microfiber drying towels. Blot rather than rub to minimize the risk of creating new swirls. Lift the towel as you move to a dry section.
Step 2: Decontamination – Removing Bonded Contaminants
Even after a thorough wash, your C-Class’s paint might still have bonded contaminants that you can feel. These can include industrial fallout, tar, tree sap, and embedded road grime. These need to be removed before buffing to ensure a smooth surface and prevent those contaminants from being worked into the paint.
Tools & Supplies:
- Clay bar or clay mitt/towel
- Clay lubricant (specific spray or diluted car wash soap)
- Microfiber towels
Method:
- Lubricate the Surface: Mist a section of your car’s paint with clay lubricant. Don’t let the surface dry out.
- Glide the Clay: Take a portion of the clay bar (or use gloved hands with a clay mitt/towel) and gently glide it over the lubricated section in overlapping straight lines. You should feel it catching initially.
- Check the Clay: As the clay picks up contaminants, it will become dirty. Fold the clay onto itself to expose a clean surface. If the clay drops on the ground, discard it immediately – it’s now full of abrasive grit.
- Wipe Clean: After buffing the section with clay, wipe the area dry with a clean microfiber towel.
- Repeat: Work your way across the entire vehicle, section by section.
Clay bar treatments are essential for restoring a silky-smooth surface. If you can’t feel the contaminants after washing, you might be able to skip this step, but it’s generally recommended for thorough paint preparation. For more information on automotive surface preparation, look for guides on the Society of Automotive Engineers (SAE) or reputable automotive detailing associations.
Step 3: Inspection and Planning – Knowing Your Enemy
Before you start buffing, you need to assess the condition of your C-Class’s paint. This involves identifying the types and severity of defects.
Tools & Supplies:
- Bright LED inspection light or detailer’s light
- Magnifying glass (optional)
- Clean microfiber towels
Method:
- Inspect in Good Lighting: In a well-lit area (preferably outdoors in the shade or under strong artificial lights), use your inspection light to examine the paint surface.
- Identify Defects: Look for:
- Swirl Marks: Fine, spiderweb-like scratches usually caused by improper washing and drying.
- Scratches: Deeper marks that can range from clear coat scratches to deeper gouges.
- Oxidation: A dulling of the paint’s gloss, often due to sun exposure.
- Water Spots: Mineral deposits left behind after water evaporates.
- Pest Droppings/Bug Splatter: Etching marks left by corrosive substances.
- Assess Depth: Run your fingernail lightly over any scratches. If your nail catches, it’s likely a deeper scratch that may not be fully removable by buffing alone.
- Plan Your Approach: Based on the severity of defects, you’ll determine the type of polishing compound and pad combination needed. Lighter defects require less aggressive correction.
Step 4: Choosing Your Tools – The Right Pad and Polish Match
This is where many beginners get overwhelmed. The combination of polishing pads and compounds is crucial for effective paint correction. Each has a different level of aggressiveness, from heavy cutting to light polishing.
| Pad Type | Aggressiveness | Typical Use |
|---|---|---|
| Wool Compounding Pad | Very Aggressive | Heavy defects, deep scratches, severe oxidation. Used with heavy-duty compounds. Use with extreme caution. |
| Foam Cutting Pad | Aggressive | Moderate to heavy swirl marks, scratches, and oxidation. Used with compounds. |
| Foam Polishing Pad | Medium | Lighter swirl marks, minor imperfections, and refinement after compounding. Used with polishes. |
| Foam Finishing Pad | Light/Mild | Removing light hazing, enhancing gloss, applying waxes or sealants. Used with finishing polishes or glazes. |
| Compound/Polish Type | Aggressiveness | Typical Use |
|---|---|---|
| Compound (Rubbing Compound) | Aggressive | Deep scratches, heavy oxidation, severe swirl marks. Often leaves a slight haze that needs follow-up polishing. |
| Polish | Medium | Removes moderate imperfections, swirl marks, and light scratches. Restores gloss. |
| Finishing Polish | Mild | Removes very light haze or marring, enhances gloss to a show-car level. Often used after a compounding step. |
For your C-Class, you’ll likely need a combination of a medium-cut foam pad with a polish, and perhaps a finishing pad with a finer polish, depending on the initial condition of your paint. If you have significant damage, a more aggressive foam cutting pad might be necessary first.
Step 5: Machine Buffing – The Core of Paint Correction
While hand polishing is possible, achieving significant results and efficiency on a car like the C-Class is best done with a machine polisher. There are two main types:
- Rotary Polisher: This spins in a single direction. It’s powerful and can remove defects quickly but generates significant heat and can easily burn paint if not used correctly. It requires considerable skill.
- Dual Action (DA) Polisher: This spins in an offset pattern, creating an orbital motion and also rotating. DA polishers are much safer for beginners as they generate less heat and are less prone to burning paint. They are highly effective for most paint correction needs on a C-Class.
For most Mercedes-Benz owners looking to achieve a perfect shine, a dual-action polisher is the recommended choice.
Tools & Supplies:
- Dual Action (DA) Polisher (e.g., Griot’s Garage Random Orbital, Porter Cable 7424XP)
- Appropriate foam pads (cutting, polishing)
- Automotive polish (all-in-one, or separate compound/polish)
- Microfiber towels for wiping residue
- Painter’s tape (for masking trim)
Method:
- Masking: Apply painter’s tape to any sensitive trim, rubber seals, plastic, or emblems on your C-Class. This prevents polish from staining or abrading these areas.
- Apply Polish to Pad: Apply 3-4 pea-sized dots of polish directly onto the foam pad. Don’t over-apply.
- Prime the Pad: On a low speed setting (e.g., 1 or 2), spread the polish thinly across a small working section of the paint (about 2×2 feet). This ensures even distribution.
- Buff the Section: Increase the polisher speed to a medium setting (e.g., 4-5 for a DA polisher), and begin working the polish over the section in overlapping, figure-eight or cross-hatch patterns. Apply light, consistent pressure. Work the polish until it becomes clear or starts to break down (check your polish manufacturer’s instructions).
- Wipe Off Residue: Immediately after working a section, use a clean microfiber towel to gently wipe away the polish residue.
- Inspect: Use your inspection light to check the results. You may see a significant improvement, but you might need to repeat the process or use a different pad/polish combination for stubborn defects.
- Refine (if necessary): If you used a compounding pad with a sharper polish, you’ll likely need to follow up with a polishing pad and a finer polish to remove any hazing and maximize gloss. This is the “jeweling” stage.
- Work in Sections: Continue this process for the entire vehicle, working in manageable sections.
For professional results and to learn the nuances of machine polishing, consider visiting resources like the Autopia Car Care Forums, a well-regarded community for detailing enthusiasts, where expert advice and techniques are shared.
Step 6: Final Wipe Down and Protection – Locking in the Shine
Once you’ve completed the polishing stages, your C-Class’s paint will be incredibly smooth and glossy. However, the polish itself doesn’t offer long-term protection. You need to seal in that newfound shine.
Tools & Supplies:
- High-quality car wax, sealant, or ceramic coating
- Applicator pads (foam or microfiber)
- Clean, soft microfiber towels for buffing off protection
Method:
- Choose Your Protection:
- Waxes: Traditional, offer a warm depth of shine. Durability varies (weeks to a few months).
- Sealants: Synthetic, offer a sharper, glass-like shine and typically last longer than waxes (several months).
- Ceramic Coatings: Advanced polymer-based coatings offering superior hardness, chemical resistance, hydrophobic properties, and the longest durability (years). These often require meticulous surface prep and application.
- Apply: Follow the manufacturer’s instructions for your chosen protection product. Generally, apply a thin, even layer to the paintwork using an applicator pad. Work in sections.
- Haze and Buff: Allow the product to haze over according to its directions. Then, gently buff off the haze with clean, soft microfiber towels until a streak-free shine is achieved.
- Cure Time: Some products (especially ceramic coatings) require a specific cure time, during which the vehicle should not be washed or exposed to harsh elements.
Hand Buffing vs. Machine Buffing for Your C-Class
While machine buffing is the most effective way to achieve professional results, it’s helpful to understand the differences and limitations of hand buffing, especially for beginners or for very minor touch-ups.

| Aspect | Hand Buffing | Machine Buffing (Orbital/DA) | Machine Buffing (Rotary) |
|---|---|---|---|
| Effort Level | High physical effort, slow progress. | Moderate effort, significantly faster than hand buffing. | Moderate effort, fastest for defect removal. |
| Defect Removal Capability | Very limited; can only remove very light imperfections. | Excellent; can handle swirl marks, light scratches, and moderate oxidation. | Superior; can remove deep scratches and heavy defects quickly. |
| Risk of Paint Damage | Very low. | Low for DA polishers; manageable heat. | High; risk of burning paint if not skilled. |
| Skill Required | Basic. | Beginner to intermediate; manageable learning curve. | Advanced; requires |


