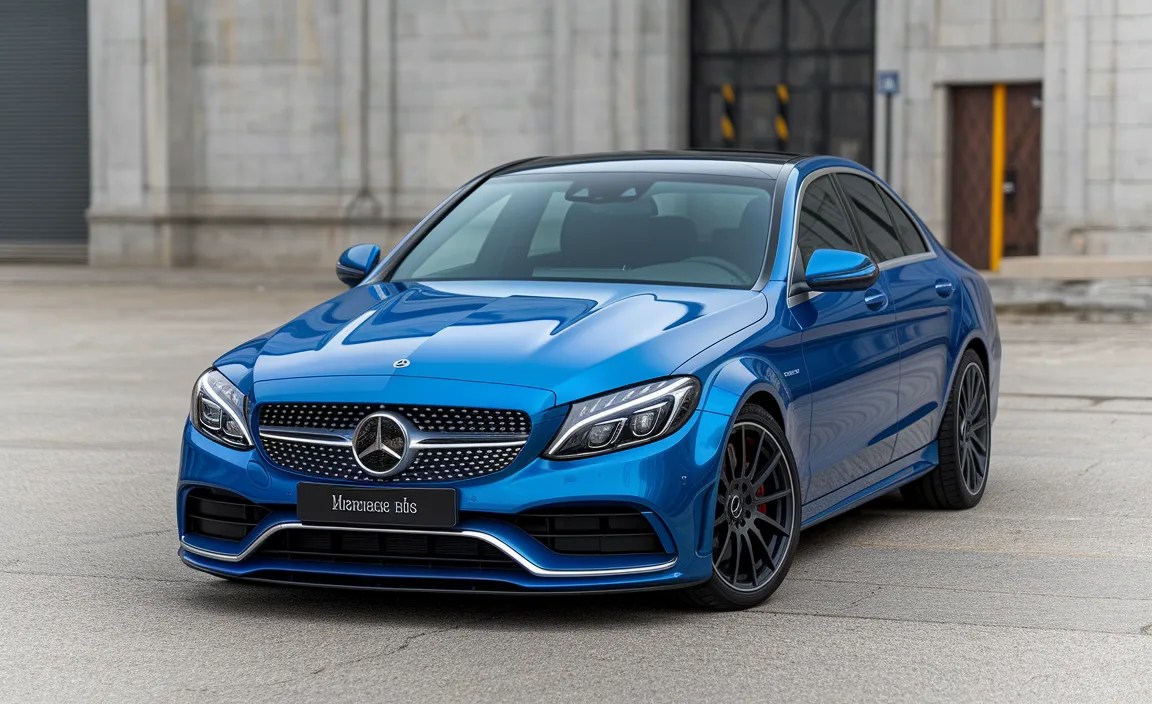
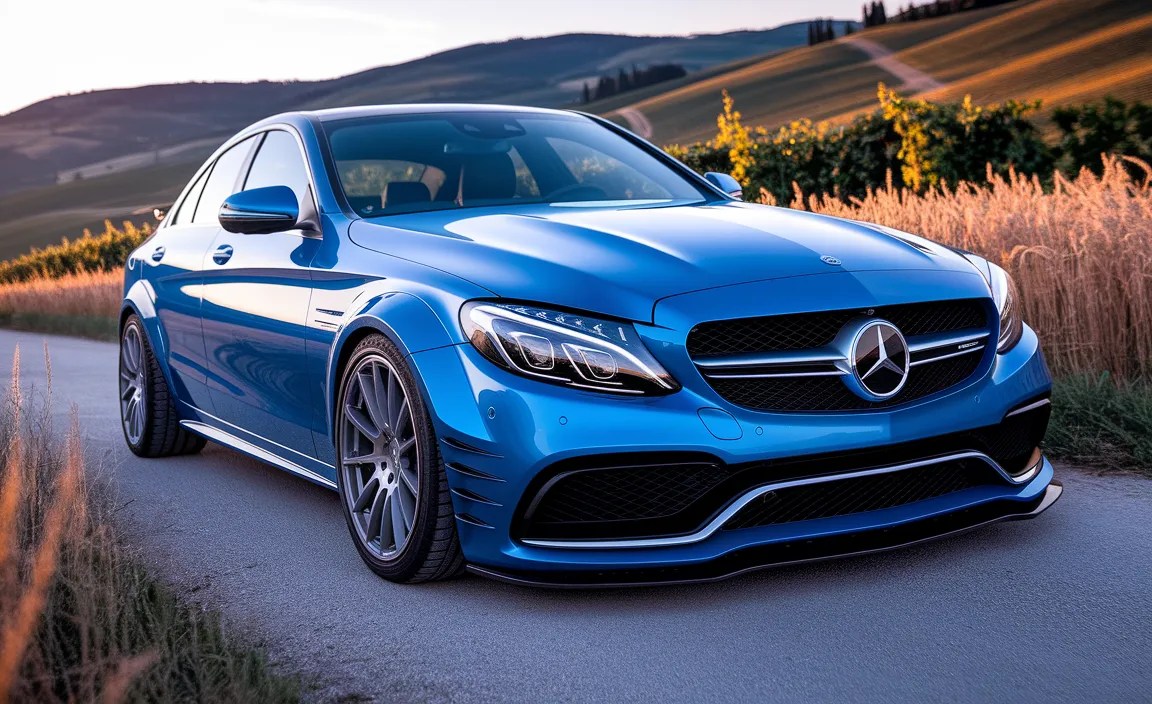
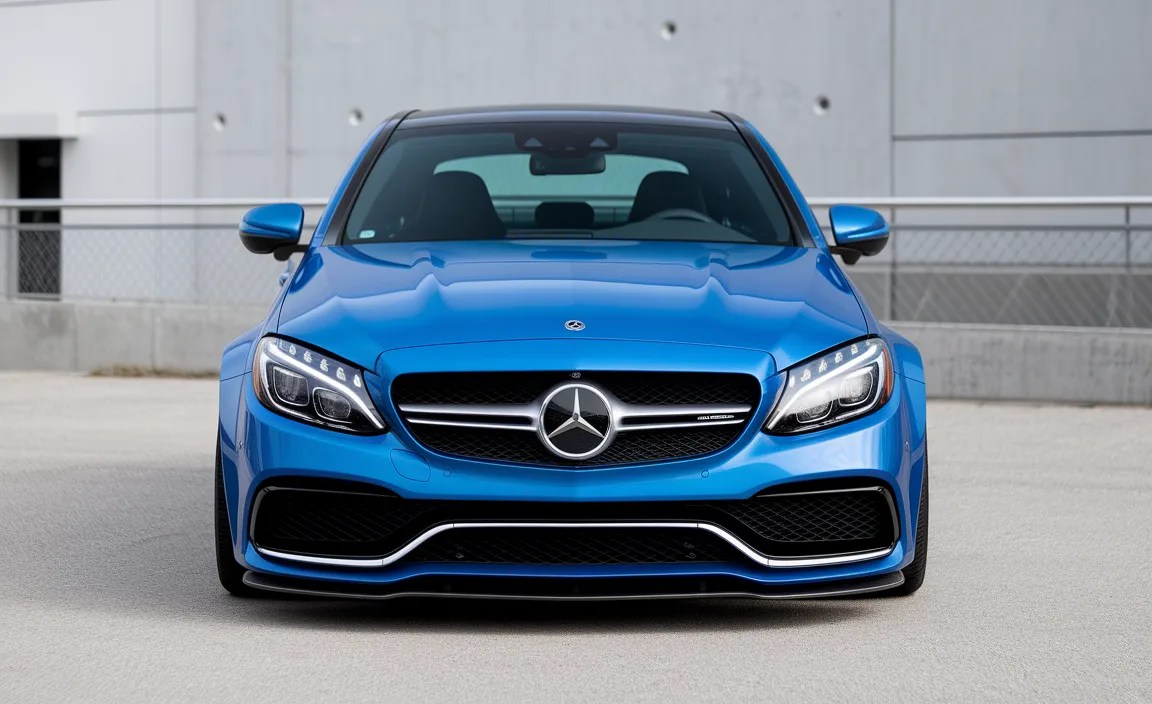
Mercedes-Benz C Class Body Kit: Ultimate Performance, Stunning Design
C Class Body Kit: Enhance Your Mercedes-Benz with Ultimate Performance and Stunning Design. A body kit can transform your C-Class, offering aerodynamic improvements and a head-turning aesthetic. This guide covers selection, installation, and benefits.
Driving a Mercedes-Benz C-Class is an experience in refinement and performance. Yet, for enthusiasts eager to push the boundaries of both aesthetics and driving dynamics, a C Class body kit offers a compelling way to personalize their luxury sedan. These kits are more than just cosmetic enhancements; they can subtly influence airflow, reduce drag, and even contribute to improved handling.
On the flip side, they also provide an unparalleled opportunity to sculpt a vehicle’s appearance, making it truly unique. If you’ve ever dreamed of your C-Class looking more aggressive, sportier, or simply distinct from the rest, exploring the world of body kits is your next exciting step. We’ll guide you through what to look for, the benefits they bring, and what to expect.

Why Consider a C Class Body Kit? Unpacking the Advantages
Adding a C Class body kit to your Mercedes is a decision driven by a desire for enhanced visual appeal and, often, a subtle boost in performance. Think of it as tailoring your already exquisite vehicle to better reflect your personal style and driving aspirations. Let’s break down the key benefits.

Elevating Aesthetics: A Personalized Masterpiece
The most immediate and often the primary motivation for installing a body kit is its transformative effect on a car’s appearance. Stock vehicles, while beautifully designed, adhere to a manufacturer’s vision. A body kit allows you to deviate from that, infusing your personal taste and creating a statement piece.
Aggressive Stance: Many kits feature wider fenders, deeper side skirts, and more sculpted front and rear bumpers. This creates a lower, wider, and more muscular profile.
Sporty Lines: Designs often mimic those found on high-performance AMG models or track-inspired machines, adding sharp lines and dynamic contours.
Unique Identity: Your C-Class will stand out from the crowd, projecting a sense of individuality and automotive passion.
Performance Enhancements: More Than Just Looks
While aesthetics are front and center, a well-designed C Class body kit can offer tangible performance benefits, especially concerning aerodynamics:
Improved Aerodynamics: Components like front splitters, diffusers, and spoilers are engineered to manage airflow more effectively. This can reduce drag, increase downforce, and improve stability at higher speeds.
Brake Cooling: Strategically placed air ducts in front bumpers can direct more air towards the brakes, helping to keep them cooler during spirited driving or track use.
Weight Reduction: While not always a primary goal, some aftermarket kits made from materials like carbon fiber can be lighter than the original components, leading to a marginal reduction in overall vehicle weight.
Material Choices: Balancing Durability and Weight
The material of your body kit plays a significant role in its durability, weight, and cost. Understanding these options is crucial for making an informed decision.
Polyurethane (PU): This is the most common material for aftermarket body kits. It’s flexible, making it resistant to minor impacts and cracks. It’s also relatively inexpensive and easy to paint, offering a good balance of cost and durability for everyday use.
Fiberglass (FRP): Fiberglass is lighter and more rigid than polyurethane, offering a premium feel. However, it can be more brittle and prone to cracking on impact. Installation may require more precise fitting, and it needs careful prep work before painting.
Carbon Fiber: The pinnacle of body kit materials, carbon fiber is incredibly strong, lightweight, and offers a high-tech, racing-inspired look due to its distinctive weave pattern. It’s also the most expensive option, often left exposed without paint to showcase its premium nature.
Choosing the Right C Class Body Kit: A Step-by-Step Approach
Selecting the perfect body kit for your Mercedes-Benz C-Class involves careful consideration of your goals, budget, and the overall aesthetic you wish to achieve. Here’s a methodical way to approach the process.

Step 1: Define Your Goals and Style
Before even looking at specific kits, ask yourself: what do you want to achieve?
Subtle Enhancement or Aggressive Transformation? Are you aiming for a slightly sportier look, or do you want a dramatic, head-turning redesign?
Performance Focus or Purely Aesthetic? Will you be tracking your car, or is it primarily a street-driven luxury vehicle? This influences the importance of aerodynamic features.
Matching Your Existing Style: Consider your current wheel setup, tire profile, and any other modifications. The body kit should complement these elements.
Step 2: Research Reputable Brands and Manufacturers
The aftermarket automotive industry is vast, and quality can vary significantly. It’s vital to choose brands known for their precision fitment, quality materials, and excellent customer support. Some well-regarded manufacturers often produce high-quality kits for Mercedes-Benz vehicles. Look for brands that specialize in European luxury car tuning.
OEM+ Look: Brands that aim to replicate or enhance the factory AMG styling often provide excellent fit and finish.
Performance-Oriented Brands: Those focusing on aerodynamic efficiency for track or spirited driving might offer more aggressive designs.
Step 3: Understand Kit Components
A “body kit” can be a comprehensive package or a collection of individual parts. Be clear on what each component does:
Front Bumper/Splitter: Affects front-end aerodynamics, cooling, and appearance. Splitters add downforce and a more aggressive look.
Side Skirts: Visually lower the car and can help manage airflow along the sides.
Rear Bumper/Diffuser: The diffuser aids in managing underbody airflow, reducing drag and potentially increasing downforce. It often adds a sporty, performance-oriented aesthetic.
Fender Flares/Widebody Kits: These significantly widen the car’s stance, allowing for wider wheels and tires, and giving a very aggressive look.
Spoilers/Wings: Can improve rear downforce and stability. Spoilers are typically trunk-mounted and follow the body lines, while wings are often larger and mounted higher.
Step 4: Consider Fitment and Installation Requirements
This is arguably the most critical factor after choosing your style.
Vehicle Specificity: Ensure the kit is designed for your exact C-Class model and year. Even within the C-Class range, there are variations (e.g., W205 vs. W206, standard vs. AMG Line).
Quality of Fitment: Poorly manufactured kits may not align correctly, leading to gaps, uneven lines, and difficult installation. This can end up looking worse than a stock car. Always check reviews or ask for installation examples from the manufacturer or seller.
Professional Installation Recommended: Unless you have significant experience with auto body work, professional installation is highly recommended. A skilled body shop will ensure proper fitment, alignment, and a seamless finish. They can also handle any minor modifications needed and ensure all mounting points are secure.
Step 5: Evaluate Material and Finish
As discussed earlier, material choice impacts durability, weight, and cost.
Unpainted vs. Pre-Painted: Most kits come unpainted (primed). This allows a custom shop to match your car’s exact paint code with professional precision. Buying pre-painted can be convenient but risks a slight mismatch in color.
Material Durability: For daily drivers, polyurethane often offers the best compromise between cost and resilience against minor bumps.
Step 6: Budget Allocation
Body kits vary greatly in price. Factor in not just the kit itself but also:
Shipping Costs: Large automotive parts can be expensive to ship.
Painting: A professional paint job can add a significant amount to the total cost.
Installation Labor: Professional installation is crucial for a good result.
Potential for Modifications: Any unexpected fitting issues that require skilled labor.
A table summarizing common kit components and their typical materials can be helpful:
| Component | Common Materials | Primary Function | Aesthetic Impact |
|---|---|---|---|
| Front Bumper | Polyurethane, Fiberglass | Aerodynamics, Cooling, Aesthetics | Aggressive, Sporty |
| Side Skirts | Polyurethane, Fiberglass | Visually Lowering, Airflow Management | Sporty, Integrated Look |
| Rear Diffuser | Polyurethane, Fiberglass, Carbon Fiber | Underbody Aerodynamics, Aesthetics | Performance-Oriented, Aggressive |
| Fender Flares/Widebody Kit | Fiberglass, Polyurethane | Wider Stance, Accommodate Wider Wheels | Very Aggressive, Track-Inspired |
| Spoiler (Trunk/Lip) | Fiberglass, Carbon Fiber | Minor Downforce, Visual Enhancement | Sporty, Refined |
| Wing | Fiberglass, Carbon Fiber | Significant Downforce, Visual Statement | Aggressive, Racing-Inspired |
Installation Process: What to Expect from Your Body Kit Upgrade
The installation of a C Class body kit is not a simple bolt-on affair like replacing a mirror. It requires precision, skill, and often specialized tools. Even for experienced DIYers, considering professional help is wise, as improper installation can compromise both aesthetics and safety.

The Precautionary Stage: Preparation is Key
Before any new parts are fitted, meticulous preparation is essential.
Inspection: Thoroughly inspect all components of the body kit upon arrival. Check for any damage incurred during shipping and verify that all pieces are present and accounted for.
Test Fitting (Dry Fit): This is a crucial step. The new bumper, skirts, and other components are temporarily placed on the car without any permanent fixings or paint. This allows the installer to identify any areas needing adjustment, trimming, or modification to achieve a perfect fit. Manufacturers strive for excellent fitment, but minor adjustments are sometimes necessary.
Surface Preparation: All surfaces of the new kit components and the areas on the car where they will attach need to be thoroughly cleaned, degreased, and sometimes lightly sanded to ensure optimal adhesion for primers, paints, and bonding agents.
The Process: From Old to New
Here’s a general overview of what happens during installation. The specifics will vary depending on the kit and vehicle.
Removal of Factory Parts: The original bumpers, side skirts, or other components are carefully removed. This often involves releasing clips, undoing bolts, and disconnecting any sensors (like parking sensors or ambient temperature sensors) that are integrated into these parts.
Modification and Fitment: Based on the test fit, the installer may need to trim edges, drill new mounting holes, or slightly reshape sections of the kit. For instance, if a kit includes larger air intakes, modifications might be needed to accommodate the vehicle’s existing ducting or radiator.
Attachment of New Components: Once fitment is confirmed, the new parts are attached. This can involve a combination of:
Bolting: Using factory mounting points where possible, or custom-drilled holes.
Adhesion: High-strength automotive adhesives (like 3M VHB tape or specialized body panel adhesives) are often used for a secure and seamless bond, especially for items like side skirts and splitters.
Riveting/Screwing: In some cases, small rivets or screws might be used in less visible locations for added security.
Sensor Integration: Any removed sensors are transferred to the new body kit components or reinstalled if the new kit is designed to accommodate them in their original positions.
Final Quality Check: The installer will perform a final inspection to ensure all gaps are even, all lines are straight, and everything is securely fastened.
The Finishing Touches: Painting and Detailing
The aesthetic success of a body kit often hinges on the quality of its finishing.
Primer Application: After all fitment is confirmed and sections are sometimes detached for easier access, the kit components are typically primed. Primer helps paint adhere better and reveals any minor imperfections that can be smoothed out.
Paint Matching: The unpainted kit is then painted in a professional paint booth. The painter will use your car’s original paint code to achieve a perfect color match, ensuring a factory-fresh look. The process involves multiple coats of base coat, clear coat, and an appropriate curing time. More information on automotive paint can be found on resources like the The Society for Protective Coatings (SSPC), which offers insights into coating best practices relevant to the automotive world.
Reassembly and Detailing: Once dried and cured, the painted components are reinstalled. The installer will then reattach any trim pieces, emblems, and ensure all electrical connections for sensors are reconnected. Finally, the car is thoroughly cleaned and detailed.
Typical Tools Required for Installation:
Socket Set and Wrenches
Screwdriver Set (Phillips and Flathead)
Trim Removal Tools (Plastic Pry Tools)
Drill and Drill Bits
Rivet Gun (if applicable)
Automotive-Specific Adhesives and Applicator Guns
Masking Tape and Paper
Safety Glasses and Gloves
Heat Gun or Blower (for flexibility of some materials like PU)
This process, especially the painting and precise fitting, is best entrusted to a professional auto body shop specializing in custom work or luxury vehicle modifications. It ensures longevity, a flawless finish, and a result that truly enhances your Mercedes-Benz.
Maintaining Your C Class Body Kit’s Pristine Look
A body kit enhances the look of your C-Class, but like any part of your car, it requires proper care to maintain its pristine appearance and integrity. Regular cleaning and attention to potential issues will keep your personalized Mercedes looking its best for years to come.

Daily Care: Keeping It Clean
The most effective way to maintain your body kit is through consistent cleaning.
Regular Washing: Wash your car regularly, just as you would without a body kit. Use a pH-neutral car shampoo, plenty of clean water, and soft microfiber wash mitts. Gently wash all surfaces of the new kit components, paying attention to nooks and crannies where dirt can accumulate.
Drying: Always dry your car with clean microfiber drying towels to prevent water spots. Avoid letting water air dry, especially on freshly painted surfaces or in direct sunlight.
Waxing/Sealing: After washing and drying, applying a quality car wax or paint sealant will protect the paint, add gloss, and make future cleaning easier. Use products suitable for automotive paint.
Dealing with Minor Imperfections
Even with careful driving, minor scuffs or scratches can occur, especially with lower-profile body kits.
Minor Scuffs: For light scuffs on polyurethane, sometimes a plastic cleaner or a very mild polish can remove them. If done to painted fiberglass or carbon fiber, a fine-grit polishing compound may be needed, followed by a protective wax.
Small Chips: Small paint chips can be carefully touched up using a touch-up paint pen matched to your vehicle’s paint code. This prevents rust and further damage. A professional detailer can often perform this service seamlessly.
Addressing Larger Issues and Professional Care
While body kits are designed to be durable, more significant damage may require professional intervention.
Cracks or Significant Damage: If you experience a more substantial impact that cracks or significantly damages a body kit component, it will likely require repair by a professional body shop. They have the expertise and materials to mend fiberglass, polyurethane, or even carbon fiber effectively. For carbon fiber, repairs can be complex and expensive.
Alignment Issues: If you notice any gapping or misalignment over time, consult the installer or a reputable body shop. It’s possible a mounting point has shifted or requires adjustment.
Winter and Road Salt Care: In regions with harsh winters, pay extra attention to washing after exposure to road salt and de-icing chemicals. These can be corrosive and damage paint and protective coatings. Flush undercarriage and lower body panels frequently.
Material-Specific Considerations
Polyurethane: Generally resilient. Avoid using harsh solvents that can degrade the plastic.
Fiberglass: Can be prone to spider-web cracks if stressed. Gentle handling is key.
Carbon Fiber: While strong, it can be scratched or chipped. Use specialized cleaners designed for clear-coated carbon fiber. Avoid abrasive materials. Professional ceramic coating can offer an extra layer of protection for carbon fiber.
By following these maintenance tips, you’ll ensure your C Class body kit remains a stunning, integrated part of your Mercedes-Benz, enhancing its visual appeal and performance for the long haul.
C Class Body Kit FAQ
Here are some common questions beginners have about C Class body kits.
What exactly is a C Class body kit?
A C Class body kit is a set of aftermarket exterior enhancements designed to modify the car’s appearance and sometimes its aerodynamic profile. Kits can include front bumpers, rear diffusers, side skirts, fender flares, and spoilers, all made to fit a specific C-Class model.
Will a body kit affect my car’s warranty?
Generally, installing aftermarket parts can potentially affect your car’s warranty, particularly if the modification directly causes a failure. While a body kit itself is unlikely to void your entire warranty, any issues related to the installation or the parts themselves (e.g., sensors malfunctioning due to improper fitting) might not be covered by Mercedes-Benz.
Are body kits legal to install on my car?
In most regions, C Class body kits are legal as long as they do not obstruct lights, significantly alter the vehicle’s overall dimensions beyond legal limits, or create a safety hazard. Always check local regulations regarding vehicle modifications.


