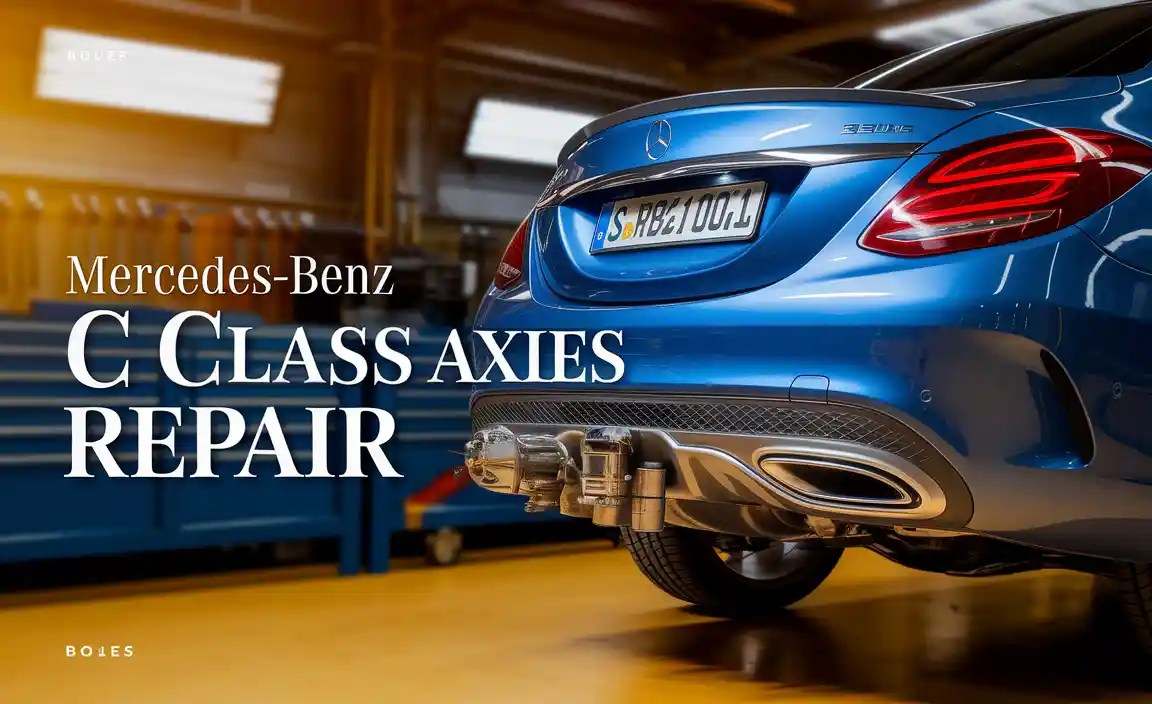
Mercedes-Benz C Class Axles Repair: The Ultimate Effortless Solution
C Class axles repair is achievable with the right guidance. This guide covers common issues, diagnostic steps, and repair procedures, making it straightforward for Mercedes-Benz owners to keep their C-Class driving smoothly.
Your Mercedes-Benz C-Class is a masterpiece of engineering, designed for a smooth and responsive ride. However, like any vehicle, its components can experience wear over time. Among these, the axles play a critical role in transferring power from the transmission to the wheels. When C-Class axles need repair, it’s not just about fixing a part; it’s about restoring that signature Mercedes-Benz driving feel and ensuring your safety.
Many owners find axle issues daunting, often associating them with complex mechanics and hefty repair bills. But understanding the signs and knowing the basic repair approach can demystify the process. We’re here to break down C-Class axle repair into simple, actionable steps. Whether you’re a seasoned DIYer or looking to better understand what your mechanic is doing, this guide will provide clarity and confidence, helping you get back on the road with peace of mind.
Let’s explore the world of C-Class axles and how to effectively address their repair needs.
Understanding Your Mercedes-Benz C-Class Axles
Before diving into repairs, it’s essential to grasp what C-Class axles are and what they do. The axle, technically known as a drive shaft or half-shaft, is a crucial part of your car’s drivetrain. It’s a metal rod that connects your vehicle’s differential (which splits power to the wheels) to the wheels themselves. For a front-wheel-drive or all-wheel-drive car like many C-Class models, these axles are known as CV (Constant Velocity) axles.

What Are CV Axles?
CV axles are designed to transmit power smoothly and efficiently, even when the suspension moves or the wheels are turned. This is thanks to the Constant Velocity joints, which are universal joints that can operate at an angle while maintaining a constant rotational speed. These joints are typically covered by protective rubber boots (also called CV boots) filled with grease.
Why are C-Class Axles Important?
The axles are directly responsible for making your wheels turn. If they aren’t functioning correctly, you’ll notice issues with performance, handling, and even safety. A damaged axle can lead to:
Power Loss: Inefficient power transfer to the wheels.
Vibrations: Especially noticeable during acceleration or when turning.
Unusual Noises: Clicking, popping, or grinding sounds.
Compromised Steering and Traction: Affecting your control over the vehicle.
Understanding these functions helps in recognizing potential problems early.
Common C-Class Axle Problems and Symptoms

Identifying an axle issue before it becomes a major problem is key. Mercedes-Benz vehicles are known for their meticulous engineering, but even the most robust components can wear out. Here are the most common problems you might encounter with your C-Class axles:
1. Damaged CV Boots
This is by far the most frequent issue. The protective rubber boots can crack, tear, or become dislodged due to age, UV exposure, or road debris.
Symptoms:
Grease Splatter: You might see black grease flung onto the inside of your wheels or suspension components.
Clicking or Popping Noise: This is especially pronounced when turning the wheel sharply, either left or right.
2. Worn or Damaged CV Joints
When the CV boots fail, dirt and moisture can enter the joint, and the protective grease can escape. This leads to premature wear and tear on the joint’s metallic components.
Symptoms:
Loud Clicking/Popping: This sound becomes more persistent and louder as the damage worsens.
Vibrations: You might feel vibrations through the steering wheel or floorboard, particularly during acceleration and turning.
Stiff Steering: In severe cases, you might experience difficulties in steering.
3. Bent or Cracked Axle Shaft
While less common for typical driving, severe impact (like hitting a large pothole at speed or a collision) can bend or crack the axle shaft itself.
Symptoms:
Severe Vibrations: Felt consistently during driving, not just when turning.
Wheel Wobble: The wheel may appear to wobble or be misaligned.
Grinding Noises: A continuous grinding sound that changes with speed.
Sudden Loss of Drivetrain: In rare, catastrophic failures.
4. Loose Axle Nut or Bolt Issues
Over time, the nuts or bolts that secure the axle to the wheel hub or the differential can loosen due to vibrations or improper installation.
Symptoms:
Clunking Noises: Especially when shifting into gear or starting/stopping.
Vehicle Pulling to One Side: Due to uneven power distribution.
Excessive Play in Wheel: If you can wiggle the wheel by hand.
Diagnosing C-Class Axle Problems: A Step-by-Step Approach
Accurate diagnosis is the first step to an effective repair. Before you assume it’s an axle, let’s systematically check for common symptoms.
Step 1: Listen for Unusual Noises
While Driving Straight: Pay attention to humming, growling, or grinding sounds. These could indicate wheel bearing issues or internal differential problems.
While Turning: Sharp, rhythmic clicking or popping sounds are the classic sign of a failing CV joint. Try making slow, wide turns in both directions in an empty parking lot to pinpoint the sound.
During Acceleration: Vibrations that increase with speed or are felt primarily under acceleration can point to axle issues.
Step 2: Inspect for Visual Damage
This requires getting a closer look, ideally with the vehicle safely supported on jack stands.
Examine the CV Boots: Look for any signs of tearing, cracking, or grease leakage. Check both the inner and outer boots on both front and rear axles (if applicable to your C-Class model).
Check for Grease Splatter: If a boot is leaking, you’ll likely see black, greasy residue on suspension components.
Inspect the Axle Shaft: Look for any obvious bends, twists, or damage to the shaft itself.
Step 3: Check for Play in the Axle
While the vehicle is safely supported, you can gently try to move the axle shaft.
Outer Joint: With the wheel off the ground, try to rock the axle shaft back and forth. If there’s significant play at the outer CV joint, it may be worn.
Inner Joint: This is harder to check without removing components but is less prone to wear than the outer joint unless there’s a different underlying issue.
Step 4: Test Drive and Observe
Feel for Vibrations: Note when and at what speeds the vibrations occur. Do they change when you accelerate, decelerate, or turn?
Steering Input: Observe if the steering feels unusual or if there’s any resistance when turning.
DIY Repair vs. Professional Service for C-Class Axles
Deciding whether to tackle C-Class axle repair yourself or take it to a professional depends on your comfort level with car mechanics, the tools you have available, and the complexity of the issue.
When DIY is a Good Option:
CV Boot Replacement: This is often the most manageable DIY repair. If the axle shaft and joints are still sound, replacing just the torn boot is possible.
Minor Repairs: If you have prior experience and the right tools, you might be able to manage more complex repairs.
When to Call a Professional:
Damaged CV Joints: Replacing the entire CV axle assembly is generally recommended if the joints themselves are noisy or damaged. This involves more complex disassembly.
Bent or Broken Axle Shaft: This is a serious mechanical issue requiring precise alignment and specialized tools.
Lack of Tools or Experience: If you don’t have a well-equipped garage or feel uncertain, it’s safer and often more cost-effective in the long run to seek professional help.
Complex Drivetrain Issues: Your C-Class may have a sophisticated all-wheel-drive system, making repairs more intricate.
DIY C-Class Axle Repair: Replacing a CV Boot
Replacing a CV boot is a common DIY repair. It’s less expensive than replacing the entire axle and can prevent further damage. This guide assumes you have basic mechanical knowledge and access to a safe workspace with the necessary tools.
Tools and Supplies You’ll Need:
New CV boot kit (specific to your C-Class model)
Jack and jack stands
Lug wrench
Socket set and ratcheting wrench
Pry bar
Hammer
Pliers (hose clamp or specific boot clamp pliers)
Wire brush
Grease (high-temperature CV joint grease)
Safety glasses and gloves
Torque wrench
Wheel chocks
Step-by-Step CV Boot Replacement:
1. Prepare the Vehicle: Park on a level surface, engage the parking brake, and place wheel chocks behind the wheels that will remain on the ground. Loosen the lug nuts on the affected wheel slightly.
2. Lift and Support: Safely jack up the vehicle and support it securely with jack stands.
3. Remove the Wheel: Fully remove the lug nuts and the wheel.
4. Disconnect the Axle: This can vary between C-Class models but often involves removing the outer ball joint from the steering knuckle, or sometimes the entire axle can be gently pried out from the differential side once loosened. Consult your specific C-Class service manual for the exact procedure.
5. Cut Off Old Boot: Carefully cut away the damaged CV boot. Be very careful not to nick the CV joint itself.
6. Clean the Joint: Use a clean rag and degreaser to thoroughly clean the CV joint. A wire brush can help remove old grease and grime.
7. Install the New Boot: Slide the new boot onto the axle shaft. It typically has a larger end that goes towards the transmission and a smaller end towards the wheel.
8. Pack with Grease: Apply the new CV joint grease provided in the kit. Pack the joint liberally, ensuring all internal surfaces are coated.
9. Secure the Boot: Position the new boot over the joint. Use the provided clamps (or new ones) to secure both the inner and outer ends of the boot tightly. Ensure a good seal to prevent contamination.
Tip: If the boot is a universal type and hard to slide over the joint, a specialized CV boot expander tool can be used, but this is less common for DIYers and often the boot is designed to be installed before the joint snaps into place.
10. Reassemble: Reconnect any components you disconnected (e.g., ball joint). Reinstall the wheel, tightening lug nuts by hand.
11. Lower and Torque: Lower the vehicle. Using a torque wrench, tighten the lug nuts to the manufacturer’s specifications. Torque the axle nut (if applicable) to the correct specification.
12. Final Checks: Double-check all connections and ensure the boot is secure. Take a short, slow test drive to listen for any abnormal noises.
Important Note: If the CV joint itself is making noise or feels gritty, replacing the entire CV axle assembly is the recommended course of action.
When to Replace the Entire C-Class CV Axle Assembly
If your diagnosis reveals worn CV joints, a damaged axle shaft, or if a boot replacement is proving too difficult, replacing the entire CV axle assembly is the most reliable solution. This is a more involved process than just a boot replacement.
Tools and Supplies for Full Axle Replacement:
Many tools from the CV boot replacement are needed, plus:
New C-Class CV axle assembly (ensure it’s the correct part for your specific model and year)
Penetrating oil (for stubborn bolts)
Torque wrench capable of high torque values (for the axle nut)
Possibly a pickle fork for separating ball joints
A breaker bar for loosening tough bolts
Steps for Replacing the Full CV Axle Assembly:
1.Preparation and Wheel Removal: Same as steps 1-3 for CV boot replacement.
2. Disconnect Brake Caliper and Rotor: You may need to remove these to gain access to the axle nut or to allow the knuckle to pivot more freely.
3. Remove Axle Nut: Locate the large nut at the center of the wheel hub. This often requires a breaker bar and significant force. Note its torque value from the service manual for reinstallation.
4. Disconnect Lower Control Arm/Ball Joint: You’ll likely need to separate the lower ball joint from the steering knuckle. This allows the knuckle assembly to be pushed away from the axle assembly.
5. Remove Axle from Hub: Once the axle nut is removed and the knuckle moved, you can often push the axle shaft out from the hub.
6. Separate Axle from Differential: The inner end of the axle (tripod joint or similar) is connected to the differential. This connection may involve bolts or a snap ring. Carefully pry or unbolt it, being prepared for a small amount of fluid to leak from the differential.
7. Remove Old Axle: Once both ends are free, you can remove the entire old CV axle assembly.
8. Install New Axle:
Inner Joint: Lubricate and insert the inner joint into the differential. Secure it with the appropriate retaining clip or bolts.
Outer Joint: Guide the outer joint through the steering knuckle and into the hub.
9. Reconnect Components: Reattach the lower control arm/ball joint, ensuring it’s properly seated. Torque bolts to specifications.
10. Install New Axle Nut: Install a new axle nut (recommended) and torque it to the manufacturer’s very high specification using your torque wrench and potentially a breaker bar. This is critical for safety.
11. Reinstall Brake Components and Wheel: Reassemble the brake caliper, rotor, and reinstall the wheel.
12. Lower and Torque: Lower the vehicle and torque the lug nuts to specification.
13. Fluid Check (Differential): If differential fluid leaked out, check the level and top it off as needed according to your owner’s manual.
14. Test Drive: Perform a thorough test drive, listening for any issues and checking for vibrations.
C-Class Axle Repair Cost Factors
The cost of C-Class axle repair can vary significantly based on several factors:
| Factor | Description | Impact on Cost |
Part Type | OEM (Original Equipment Manufacturer) vs. Aftermarket replacement axle assembly. | High |
| Labor Rate | Hourly rates at independent Mercedes-Benz specialists vs. dealership service centers. | High |
| Specific Model| Different C-Class generations (W204, W205, etc.) and driveline (RWD vs. AWD like 4MATIC) affect part price. | Medium |
| Work Needed | Replacing a CV boot is cheaper than replacing the entire axle assembly. | High |
| Location | Cost of living and market demand in your geographic area. | Medium |
Average Cost Estimates:
CV Boot Replacement (Part only): $30 – $70
CV Boot Replacement (DIY labor saves $$): $100 – $250 (including boot kit and grease)
CV Boot Replacement (Professional): $200 – $500 per boot
Full CV Axle Assembly Replacement (Part only): $100 – $300 per axle (aftermarket) to $400+ (OEM)
Full CV Axle Assembly Replacement (Shop): $400 – $800+ per axle (parts and labor), depending on complexity and location.
For the absolute latest and most accurate pricing information, it’s always best to consult your local Mercedes-Benz dealership or a trusted independent specialist.
Preventative Maintenance for C-Class Axles

While wear and tear are inevitable, you can extend the life of your C-Class axles and prevent costly repairs with simple preventative maintenance.
Regular Inspections: During routine maintenance like oil changes, have your mechanic (or yourself) check the CV boots and axles for any signs of damage or leakage. Even a small tear can quickly lead to major issues.
Keep Them Clean: While not always practical in daily driving, try to keep the area around the axles clean. Flushing with water can sometimes remove abrasive debris that might be clinging to the boots.
Avoid Harsh Driving: Frequent aggressive acceleration, harsh braking, and sharp turns can put extra stress on the drivetrain components, including the axles.
Address Leaks Promptly: If you notice any grease splatters or tears in the CV boots, get them addressed as soon as possible. Replacing a boot is significantly cheaper than replacing the entire axle assembly.
By paying attention to these small details, you can significantly improve the longevity of your Mercedes-Benz C-Class axles.
Frequently Asked Questions
- Q1: How do I know if my C-Class needs axle repair?
- The most common signs are a clicking or popping noise when turning sharply, vibrations felt during acceleration, and visible grease splatters around the wheels or suspension components. You might also experience a rougher ride.
- Q2: Can I drive with a torn CV boot?
- It is not recommended to drive with a torn CV boot for an extended period. Dirt and moisture will quickly enter the joint, causing rapid Wear and potential failure of the CV joint. This can lead to more expensive repairs.