C Class Audio Upgrade: The Ultimate Sound
Welcome to MercedesBlue, where we demystify the world of Mercedes-Benz ownership. Many C-Class owners love their car’s refined driving experience, but the stock audio system can sometimes feel… a bit muted. It’s perfectly functional for casual listening, but it doesn’t always capture the depth and nuance that great music deserves. You might find yourself wishing for clearer highs, richer bass, or just a more engaging overall soundstage.
Frustrating, isn’t it? You’ve invested in a luxury vehicle; you deserve a luxury sound experience to match. Don’t worry, upgrading your C-Class audio doesn’t have to be a complex or overwhelming task. We’re here to guide you through making a significant sonic improvement, step by step. Get ready to hear your favorite tracks like never before.
Understanding Your C-Class Audio System
Before we dive into upgrades, let’s briefly touch upon what comes standard in many Mercedes-Benz C-Class models. Most C-Class vehicles are equipped with a base audio system that prioritizes functionality over audiophile performance. This typically includes a set of relatively standard speakers designed to deliver acceptable sound quality for everyday use. Higher trims or optional packages might include a more advanced system, such as the Burmester® Surround Sound system, which offers enhanced clarity and power. However, even these premium factory options can often be improved upon by enthusiasts seeking the “ultimate sound.”
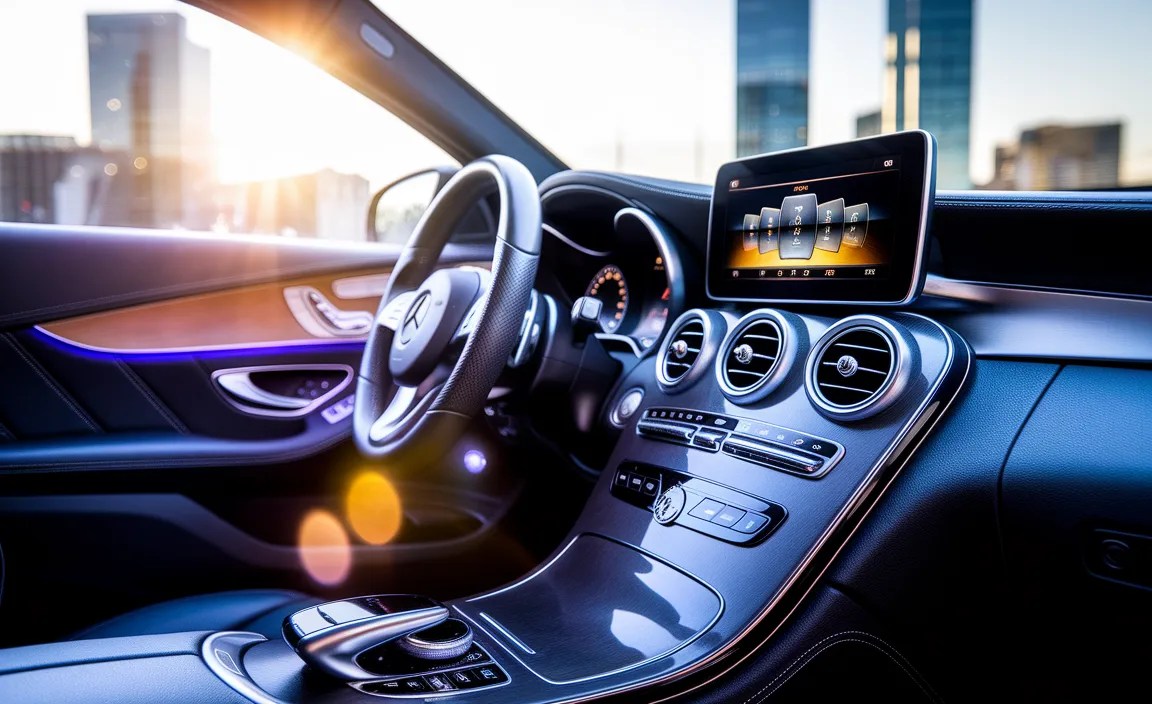
The factory system serves its purpose, but its limitations often become apparent when listening to music with complex dynamics, intricate details, or deep bass. You might notice distortion at higher volumes, a lack of crispness in higher frequencies, or a muddy, indistinct low end. This is where a thoughtful upgrade can make a world of difference. Understanding the basic components of any car audio system will help you appreciate the impact of each upgrade element.
Key Components of a Car Audio System:
- Head Unit (Stereo): The brain of the system, controlling sources (radio, Bluetooth, USB) and amplifier signals.
- Speakers: Transducers that convert electrical signals into sound waves. They come in various sizes and types (woofers, tweeters, mid-range).
- Amplifier: Boosts the audio signal from the head unit, providing more power to the speakers for clarity and volume.
- Subwoofer: A specialized speaker designed to reproduce low-frequency sounds (bass).
- Cabling: Wires that carry the audio signal and power throughout the system.
Why Upgrade Your C-Class Audio?
The decision to upgrade your C-Class audio system is often driven by a desire for a more profound and enjoyable listening experience. While factory systems are designed for broad appeal, they rarely cater to dedicated music lovers. Here’s why an upgrade is so compelling:
- Enhanced Clarity: Hear every detail – the subtle pluck of a guitar string, the breath of a vocalist, the delicate shimmer of cymbals.
- Deeper Bass: Experience the rumble of the low frequencies without distortion or muddiness.
- Improved Soundstage: Create a sense of space and dimension, as if the musicians are performing right in front of you.
- Greater Dynamic Range: Enjoy the full spectrum of sound, from the quietest whisper to the loudest crescendo, without compression.
- Reduced Distortion: Listen at higher volumes with cleaner sound, free from the harshness of an overtaxed factory system.
- Personalization: Tailor your sound to your specific musical tastes and preferences.
For those who spend significant time in their vehicle, the audio system becomes an integral part of the driving experience. A premium sound system can transform tedious commutes into immersive musical journeys, making every drive a pleasure.
Planning Your C Class Audio Upgrade
A successful audio upgrade begins with a solid plan. Jumping in without forethought can lead to mismatched components, unnecessary costs, and disappointing results. Here’s how to lay the groundwork for your C Class audio upgrade:
1. Define Your Goals and Budget
What do you want to achieve? Are you looking for slightly clearer speakers, or do you want a concert-hall immersion? Be realistic about your desired outcome and the budget you can allocate. A minor speaker swap can be relatively inexpensive, while a full system overhaul involving amplifiers, subwoofers, and advanced sound processing can be considerably more. A good starting point for a significant upgrade might range from $1,000 to $3,000+, depending on the components and whether you opt for professional installation. The Federal Trade Commission offers great advice on setting a budget, which is applicable even for car upgrades.
2. Understand Your C-Class Audio Options
Research the existing audio system in your specific C-Class model year. Does it have a basic system, or did it come with an upgraded Burmester® system from the factory? This will influence which components are easiest to replace and what level of improvement is possible. Some C-Class models have premium speaker locations and wiring that can be leveraged for upgrades.
3. Component Selection Strategy
You don’t have to upgrade everything at once. Consider a phased approach:
- Start with Speakers: This often yields the most noticeable improvement for the cost.
- Add an Amplifier: If you desire more volume and clarity, an amplifier can significantly boost performance.
- Include a Subwoofer: For deep, impactful bass, a dedicated subwoofer is essential.
- Consider Digital Sound Processor (DSP): For the ultimate control over sound tuning, a DSP is key.
4. DIY vs. Professional Installation
Are you comfortable with car electronics, or would you prefer an expert? Installing audio components involves removing trim panels, wiring, and potentially modifying existing structures. If you’re new to this, professional installation ensures proper fitment and function, and often comes with a warranty.
Step-by-Step C Class Audio Upgrade Guide
Let’s break down the process into actionable steps. We’ll focus on common upgrades that offer the most bang for your buck.

Step 1: Upgrading the Speakers
This is often the most impactful first upgrade. Factory speakers in many cars, including some C-Class models, are made with less durable materials and are designed for basic sound reproduction. Replacing them with component speakers (which often include separate woofers, tweeters, and crossovers) or high-quality coaxial speakers can dramatically improve clarity, detail, and frequency response.
Tools You’ll Likely Need:
- Trim removal tool kit (to avoid scratching panels)
- Screwdrivers (Phillips and flathead)
- Socket set or wrench set
- Wire strippers and crimpers
- Electrical tape or heat shrink tubing
- C-Class specific speaker adapter plates (if needed)
- Soldering iron (optional, for more secure connections)
Procedure:
- Disconnect the Battery: Always a crucial safety step before working on any electrical components. Locate your C-Class battery (often in the trunk or under the hood) and disconnect the negative terminal.
- Access the Speaker Location: This varies depending on the speaker. Door speakers are common starting points. Carefully use trim removal tools to pry away door panels or speaker grilles. Be gentle to avoid damaging the plastic clips or the panels themselves. You can find many vehicle-specific guides on YouTube by searching “[Your C-Class Model Year] door panel removal.”
- Remove the Factory Speaker: Unbolt the old speaker. You may need to cut or de-pin the factory wiring connector.
- Install the New Speaker: If the new speaker has a different mounting pattern, you might need an adapter plate. Mount the new speaker securely. Wire it up using your adapter harness or by connecting the new speaker wires to the car’s wiring (pay attention to polarity: positive to positive, negative to negative).
- Test the Speaker: Temporarily reconnect the battery and turn on your head unit to test the new speaker. Ensure it’s working correctly and sounds as expected.
- Reassemble: Reinstall the trim panels and speaker grilles. Reconnect the negative battery terminal.
Considerations for Speakers:
- Impedance (Ohms): Ensure new speakers have an impedance compatible with your head unit or amplifier. Most aftermarket speakers are 4 ohms.
- Sensitivity: Higher sensitivity speakers produce more volume with less power, which is beneficial for systems without an aftermarket amplifier.
Step 2: Adding an Amplifier
If your upgraded speakers aren’t as loud or clear as you’d hoped when turning up the volume, an amplifier is likely the next step. A dedicated amplifier provides clean power to your speakers, allowing them to perform at their best without distortion.
Types of Amplifiers:
- 2-Channel: Powers two speakers (e.g., front left and right).
- 4-Channel: Powers four speakers (e.g., front and rear). This is very common for powering all door speakers.
- Monoblock (5-Channel): Powers four speakers and a subwoofer.
Installation Considerations:
- Wiring Kit: You’ll need a quality amplifier wiring kit, including power wire, ground wire, remote turn-on wire, and RCA cables (or speaker-level inputs). An understanding of electrical safety basics is paramount.
- Power Source: The main power wire runs directly from the battery’s positive terminal (with an inline fuse near the battery for safety) to the amplifier.
- Ground: A solid ground connection is critical. Find a clean, unpainted metal surface on the car’s chassis and securely attach the ground wire.
- Remote Turn-On: This small wire tells the amplifier when to turn on and off, typically connecting to the head unit’s accessory power or the factory amplifier’s turn-on signal.
- Signal Input: RCA cables connect from the head unit to the amplifier for aftermarket head units. If using the factory head unit, speaker-level inputs on the amplifier are needed.
- Mounting Location: Amplifiers generate heat and require ventilation. Common mounting spots include under a seat, in the trunk, or behind panels.
Bridging: Some 2-channel amplifiers can be “bridged” to operate as a more powerful monoblock amplifier for a subwoofer, or to power a pair of main speakers with more grunt. Check your amplifier’s manual for compatibility.
Step 3: Integrating a Subwoofer
For those who crave deep, resonant bass that you can feel, a subwoofer is essential. Adding a subwoofer takes the strain off your main speakers, allowing them to reproduce mid-range and treble more cleanly.
Subwoofer Options:
- Component Subwoofer: Requires a separate enclosure and amplifier. Offers the most flexibility and potential for high-quality bass.
- Powered Subwoofer: A subwoofer, enclosure, and amplifier all in one unit. Easier to integrate but often less powerful than separate components. Compact “under-seat” or “trunk” subwoofers are popular options.
Enclosure Types:
The enclosure significantly impacts bass performance:
- Sealed: Offers tight, accurate bass. Requires more power.
- Ported (Vented): Produces louder, more boomy bass. Can be less accurate than sealed.
- Bandpass: A hybrid design, offering high output but less flexibility in tuning.
Installation Notes:
Similar to adding an amplifier, a subwoofer installation involves wiring, a power source, and a ground. If you’re using a separate subwoofer and amplifier, you’ll connect the RCA outputs (or speaker-level inputs) from your head unit/DSP to the subwoofer amplifier. The amplifier then powers the subwoofer. For powered subwoofers, you’ll connect power, ground, a remote turn-on, and either speaker-level or line-level inputs from your main system.
Quick Tip: If you’re using the factory head unit, installing a subwoofer and amplifier effectively often requires a line-output converter (LOC) to convert the factory speaker-level outputs into a low-level RCA signal that aftermarket amplifiers can use. Some amplifiers have built-in speaker-level inputs, simplifying this.
Step 4: The Digital Sound Processor (DSP) – For the Ultimate Control
If you’re serious about achieving “ultimate sound,” a Digital Sound Processor (DSP) is where you’ll want to focus. A DSP is a powerful tool that allows for precise tuning of your audio system. It acts as the brain, taking your audio source and allowing you to manipulate it before it reaches your amplifiers and speakers.
What a DSP Can Do:
- Equalization (EQ): Adjust the frequency response of each channel to correct for vehicle acoustics and speaker characteristics. This is far more granular than basic bass/treble controls.
- Time Alignment: Precisely delay the signal to closer speakers so that sound from all speakers reaches your ears at the same time, creating a more coherent soundstage.
- Crossover Control: Assign specific frequency ranges to specific speakers (e.g., lows to subwoofer, mids to door speakers, highs to tweeters).
- Phase Control and Level Matching: Fine-tune individual channel volumes and speaker phasing for optimal sound blending.
DSP Integration:
A DSP typically sits between your head unit (or factory radio’s output) and your amplifiers. Installation involves careful wiring for power, ground, remote turn-on, and routing all audio signals through the DSP. Tuning a DSP is complex and often best left to professionals or experienced DIYers using specialized software and measurement equipment, like a microphone. Resources like Audison’s explanation of DSP can offer a deeper dive.
C Class Audio Upgrade Options at a Glance
Here’s a comparative look at the typical components and their impact. This is a generalized guide, and specific product choices will vary.
| Upgrade Component | Typical Cost Range (Parts Only) | Impact on Sound Quality | Complexity of Installation |
|---|---|---|---|
| Aftermarket Speakers (Set) | $150 – $600 | Moderate to High (Clarity, detail, frequency range) | Low to Moderate |
| 4-Channel Amplifier | $200 – $700 | High (Volume, dynamics, reduced distortion, speaker control) | Moderate |
| Subwoofer (e.g., powered trunk sub) | $200 – $800 | High (Deep bass impact, system balance) | Moderate |
| Digital Sound Processor (DSP) | $300 – $1,000+ | Very High (Tuning, soundstage, imaging, system optimization) | Moderate to High (Tuning complexity is high) |
| Component System (Speakers + Crossovers + Tweeters) | $300 – $1,000+ | Very High (Superior stereo separation, detail, soundstage) | Moderate |
Note: Professional installation costs are not included and can add 30-50% to the total price.
Upgrading a Factory Premium System (e.g., Burmester®)
If your C-Class came equipped with a premium factory system like the Burmester® Surround Sound, it’s already a step up. However, they can still be improved. The challenge often lies in integrating aftermarket components seamlessly with the factory head unit and amplifier. Many factory premium systems use proprietary digital signal processing and unique speaker impedance, which can complicate direct replacement. In these cases, you might focus on:
- Upgraded Component Speakers: Replace the factory speakers with high-end aftermarket components that offer superior fidelity, while still being compatible with the factory amplifier’s output.
- Adding a Subwoofer: Integrate an aftermarket subwoofer and amplifier system, potentially using the factory system’s outputs via a high-quality LOC or by tapping into specific factory amplifier channels.
- Using a DSP: A high-end DSP can often be integrated to take over signal processing from the factory system, allowing for much more precise tuning and control. Some DSPs are specifically designed to work with factory systems, even digital ones.