C Class Alternator: The Ultimate Performance Upgrade
Considering a C Class alternator upgrade? A higher-output alternator can be a significant performance enhancer, especially for modified Mercedes-Benz C-Class vehicles. This guide explains why upgrading and how to ensure your electrical system keeps pace with your car’s demands.
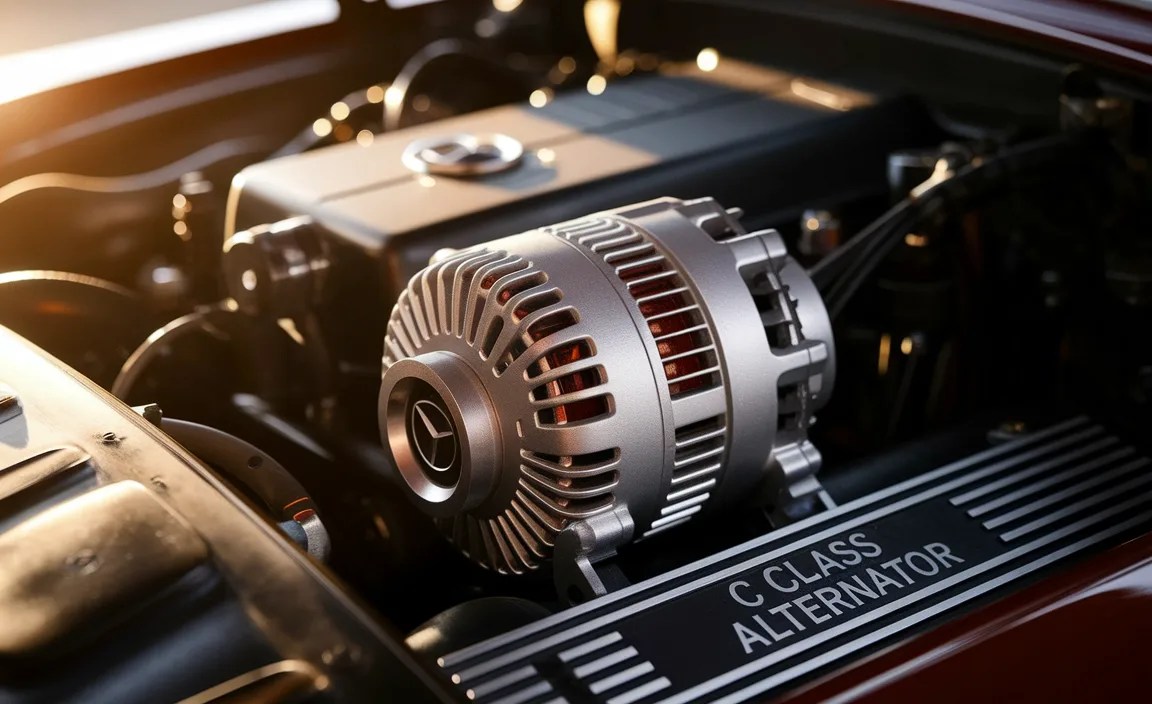
Your Mercedes-Benz C-Class is a marvel of engineering, designed to deliver precision and power. However, as you add more accessories, enhance audio systems, or push performance boundaries, the stock alternator might struggle to keep up. A flickering dashboard light, dim headlights under load, or struggling for power with aftermarket electronics are all signs your C Class alternator may be working overtime. Don’t worry, upgrading your alternator is a common and highly effective way to ensure your Mercedes-Benz has all the electrical power it can handle. We’ll guide you through understanding why this upgrade is so beneficial for your C-Class and what steps are involved in making this essential performance enhancement.
Why Upgrade Your C Class Alternator? Powering Performance and Reliability
The alternator is the heart of your vehicle’s electrical system, converting mechanical energy from the engine into electrical energy to power everything from your headlights to your sophisticated engine management systems. For a standard C-Class, the OEM (Original Equipment Manufacturer) alternator is perfectly adequate. However, the moment you deviate from stock, its limitations can become apparent.
Here’s why an upgrade might be the smartest move for your C-Class:
- Supporting Aftermarket Electronics: Modern cars are packed with technology, and enthusiasts often add more. This includes powerful sound systems, advanced lighting (LEDs, HID), performance engine management units, dashcams, and other electronic accessories. These devices draw significant current, potentially overloading the factory alternator.
- Enhanced Audio Systems: High-performance car audio setups require a stable and abundant power supply. An upgraded alternator ensures your amplifiers get the clean juice they need without draining your battery prematurely, preventing audio distortions or system shutdowns.
- Performance Tuning & Modifications: If you’ve tuned your C-Class for increased power, you might also be running more demanding engine components or fueling systems that require greater electrical support. An upgraded alternator provides the necessary headroom.
- Battery Health and Longevity: When an alternator is consistently running at or near its maximum capacity, it can put undue stress on both the alternator itself and the battery. An upgraded unit operating at a lower percentage of its capacity can extend the life of both components.
- Preventing Electrical Gremlins: Insufficient power from the alternator can lead to a cascade of issues, including dimming lights, dashboard warning lights, erratic gauge readings, and even starting problems. A robust alternator eliminates these potential headaches.
- Future-Proofing: Even if you aren’t adding accessories now, planning for future modifications or simply wanting a more robust electrical system for peace of mind is a valid reason to upgrade.
Understanding Alternator Output: Amps and Volts
Alternators are rated by their amperage (A) and voltage (V). For most passenger cars, including the Mercedes-Benz C-Class, the standard voltage is 12V. The critical factor for an upgrade is increasing the amperage output.
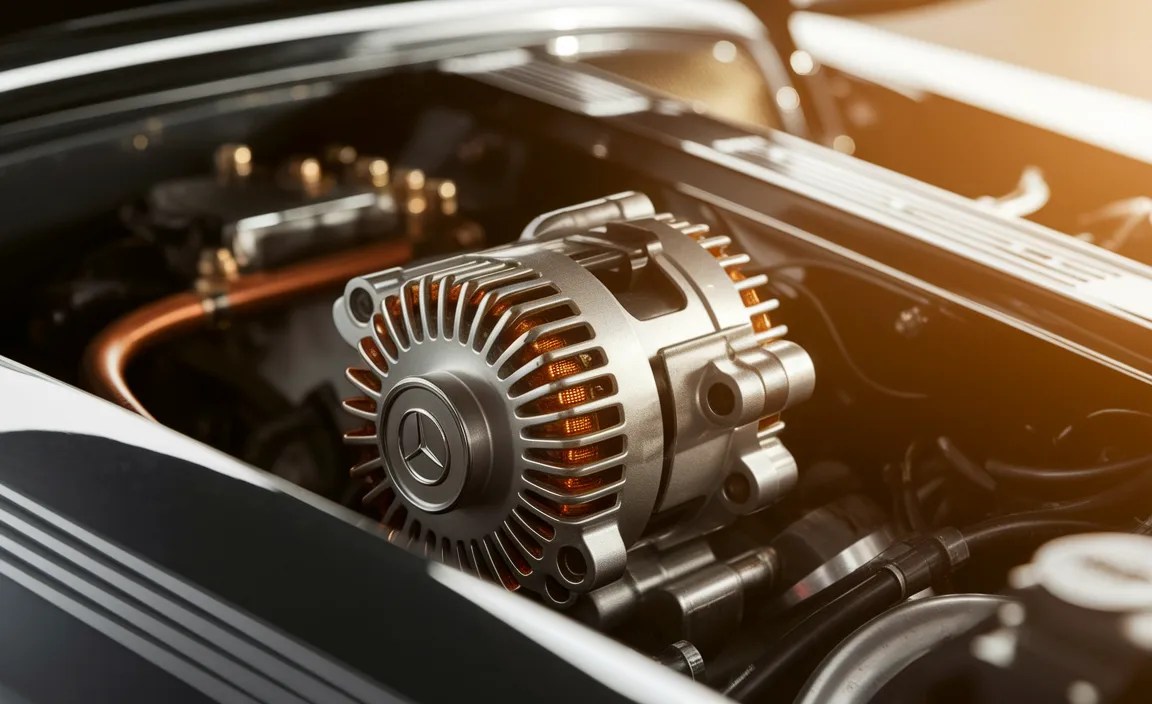
Amperage (A): This measures the amount of electrical current the alternator can produce. More amps mean more power available.
Voltage (V): This measures the electrical pressure. Maintaining the correct voltage (around 13.5V to 14.5V when running) is crucial for charging the battery and operating electronics. An upgrade shouldn’t significantly alter the voltage, but rather the capacity at that voltage.
Consider this: A stock alternator might be rated at 100-150 amps. A performance upgrade could see outputs ranging from 180 amps all the way up to 300 amps or more, depending on the C-Class model and specific upgrade path.
Choosing the Right C Class Alternator Upgrade
Not all upgrades are created equal. Selecting the right alternator involves understanding your current and future needs, compatibility, and quality.

Types of Alternator Upgrades
1.OEM High-Output Alternators: Some high-performance variants of the C-Class (like certain AMG models) come with a more powerful alternator from the factory. Sourcing one of these can sometimes be a direct fit with a significant gain.
2.Aftermarket High-Output Alternators: Specialized companies manufacture performance alternators designed for significantly higher amperage than stock. These are often built with more robust components and improved cooling for sustained high output.
3.Rebuilt/Modified OEM Alternators: Some specialists take OEM alternators and rebuild them with upgraded internal components to increase their amperage rating. This can be a cost-effective solution.
Key Considerations When Selecting

Amperage Rating: This is paramount. Calculate your estimated total electrical demand. Add up the typical draw of your existing and planned accessories. Professionals can help with this, but a rough estimate: headlights (10A), stereo (50A+ for powerful systems), ECU (10A), fans (15A each), etc. Choose an alternator that provides at least 25-50% more amperage than your calculated maximum demand for a comfortable margin.
Direct Fit vs. Modification: Many aftermarket alternators are designed as direct bolt-in replacements. Others might require minor modifications to the mounting bracket or pulley system. Always confirm compatibility with your specific C-Class model and year.
Pulley Style: Ensure the pulley on the new alternator matches your existing serpentine belt setup (e.g., V-belt, ribbed belt, Serpentine Groove Per Inch – GPI).
Internal vs. External Voltage Regulator: Most modern vehicles, including the C-Class, use an internal voltage regulator. Ensure your replacement is compatible.
Brand Reputation and Warranty: Stick with reputable manufacturers known for quality and reliability. A good warranty is a sign of confidence in the product.
For Mercedes-Benz vehicles, enthusiasts often look to brands specializing in high-performance automotive electrical components. Researching forums dedicated to your specific C-Class generation (e.g., W205, W204) can reveal popular choices and trusted suppliers.
The C Class Alternator Upgrade Process: A Step-by-Step Guide
Upgrading your C Class alternator is a moderately challenging DIY task. If you’re comfortable working on your vehicle, have the right tools, and follow safety precautions, you can tackle this. However, if you’re not experienced, it’s highly recommended to have a professional automotive technician perform the installation.
Disclaimer: Working on vehicle electrical systems can be dangerous. Incorrect installation can damage your vehicle’s electronics or cause injury. Always disconnect the battery before starting work. If unsure, consult a qualified mechanic.
Tools and Materials You’ll Need:
- New high-output alternator
- Socket set (metric)
- Wrench set (metric)
- Pry bar or strong flathead screwdriver
- Serpentine belt tool (often required to release tension)
- Battery terminal puller (optional, but helpful)
- Torque wrench
- Safety glasses
- Gloves
- Wire brush and electrical contact cleaner
- Zip ties or automotive loom (for wire management)
- Multimeter (for testing)
Step-by-Step Installation:
1.Safety First: Disconnect the Battery: Locate the battery (usually in the trunk or under the hood) and disconnect the negative (-) terminal first, then the positive (+) terminal. Ensure the terminals are secured away from the battery posts.
2.Access the Alternator: This is often the most variable step depending on your C-Class model. You may need to remove engine covers, air intake components, or other obstruction. Consult your vehicle’s service manual for specific instructions on accessing the alternator for your year and model.
3.Relieve Belt Tension: Identify the serpentine belt tensioner. Most Mercedes-Benz models use an automatic tensioner. Use the appropriate serpentine belt tool to rotate the tensioner and move the belt off the alternator pulley. If it’s a manual tensioner, you’ll use a wrench to apply pressure.
4.Disconnect Electrical Connectors: Carefully detach the electrical connector(s) from the rear of the alternator. There might be a main wire harness connector and a single wire (B+ terminal, usually covered by a red cap). Remove this cap carefully.
5.Remove the Alternator Mounting Bolts: The alternator is typically held in place by two or three mounting bolts. Loosen and remove these. You might need to use a pry bar to gently lever the alternator away from its mounts, especially if it’s seized in place.
6.Remove the Old Alternator: Once the bolts are out, carefully maneuver the old alternator out of its bay. It might be heavy, so support it properly.
7.Prepare the New Alternator:
Ensure the pulley style matches your old one.
Clean the mounting bracket and the alternator mounting ears with a wire brush.
If your new alternator has a different plug than the old one, you may need an adapter harness (often included or available from the manufacturer).
Inspect the B+ terminal stud for any corrosion.
8.Install the New Alternator:
Position the new alternator in its mounting bracket.
Start the mounting bolts by hand to ensure they thread correctly.
Tighten the mounting bolts evenly. Consult your service manual for torque specifications. An under/over-tightened bolt can cause significant issues.
9.Reconnect Electrical Connectors:
Connect the main wire harness connector(s).
Connect the B+ cable securely to the stud. Ensure the nut is tight but don’t overtighten and strip the threads. Reinstall the protective cap.
10.Reinstall the Serpentine Belt:
Ensure the belt is routed correctly around all pulleys.
Use the serpentine belt tool to release tension on the tensioner.
Slip the belt onto the alternator pulley.
Slowly release the tensioner to apply tension to the belt. Check that the belt is seated properly on all pulleys.
11.Reassemble Components: Reinstall any engine covers, air intake parts, or other components you removed. Ensure all connections are secure.
12.Reconnect the Battery: Reconnect the positive (+) battery terminal first, then the negative (-) terminal. Ensure they are tight.
13.Test the System:
Start the engine. Listen for any unusual noises.
Check if the battery warning light on the dash turns off.
Use a multimeter to check the voltage across the battery terminals while the engine is running. It should be between 13.5V and 14.5V.
Turn on various electrical accessories (headlights, A/C, stereo) and re-check the voltage to see if it remains stable.
For detailed torque specifications and specific procedures for your Mercedes-Benz C-Class model and year, it is highly recommended to consult a factory service manual or a reputable online resource like an NHTSA-registered repair manual provider.
Maintaining Your Upgraded Electrical System
A higher-output alternator isn’t just a plug-and-play solution. It works in conjunction with your battery and wiring to deliver optimal performance.
Battery Considerations
Battery Age and Health: An older or weak battery will struggle to accept a full charge, even from a powerful new alternator. Consider testing your battery and replacing it if it’s nearing the end of its lifespan. A new, healthy battery is crucial for a stable electrical system.
Battery Type: Ensure your new alternator is compatible with your car’s existing battery type (e.g., lead-acid, AGM). High-output alternators are often paired with upgraded batteries, especially AGM, which can handle higher charge rates and are more resilient.
Wiring and Grounding
Gauge of Wiring: For significant amperage increases, especially on high-demand systems like powerful audio setups, you may need to upgrade the main power and ground wires connecting the alternator to the battery and distribution blocks. Thicker gauge wires can handle more current with less resistance, reducing voltage drop and heat buildup.
Grounding Points: Ensure all major electrical components have clean, solid ground connections to the chassis. Corrosion or loose grounds can impede current flow and cause inexplicable electrical issues.
Monitoring Your System
Voltage Gauge: Installing a digital voltmeter in your dashboard can provide real-time feedback on your electrical system’s health. This helps you quickly identify any voltage drops under load.
Amperage Draw Meter: For extreme setups, an inline amperage meter can show how much current your accessories are actually drawing from the alternator.
Professional Installation
If you’re unsure about any aspect of the installation or electrical system upgrades, always book an appointment with a qualified Mercedes-Benz specialist or a reputable performance tuning shop. They have the expertise and specialized tools to ensure everything is installed correctly and safely. For instance, some high-end audio installers can also advise on and integrate complex electrical system upgrades.
C Class Alternator Upgrade: Pros and Cons
Every modification comes with trade-offs. Understanding these can help you make an informed decision.
Pros of Upgrading
Reliable Power: Provides ample electricity for all your accessories, no matter how demanding.
Improved Performance Stability: Prevents voltage fluctuations that can affect engine performance and electronic functions.
Supports Future Modifications: Gives you the headroom to add more power-hungry components later.
Extended Battery Life: A healthier alternator charges the battery more efficiently.
Peace of Mind: Eliminates worries about electrical system capacity.
Cons of Upgrading
Cost: High-output alternators and associated wiring can be expensive.
Installation Complexity: Can be a challenging DIY job, potentially requiring professional labor.
Potential Wiring Upgrades: May necessitate upgrading wiring for optimal performance.
Increased Engine Load (Slight): A more powerful alternator requires slightly more parasitic drag from the engine, though this is usually negligible.
Compatibility Issues: Ensuring the correct fit and electrical integration is critical.
C Class Alternator Specifications: A Comparative Glance
To illustrate the difference, here’s a general comparison of typical alternator outputs for a Mercedes-Benz C-Class. Please note that exact specifications can vary significantly by model year, engine, and trim level.
| Feature | Standard C-Class Alternator (Approx.) | High-Output C-Class Alternator (Approx.) |
| :—————- | :———————————— | :————————————— |
| Amperage (A) | 100A – 150A | 180A – 300A+ |
| Voltage (V) | 12V | 12V |
| Primary Purpose | Standard Vehicle Electrical Needs | Powering Multiple High-Demand Accessories |
| Cost | Lower | Higher |
| Installation | Relatively Straightforward | Can be Complex, May Require Modifications |
Note: This table provides general ranges. Always verify specifications for your specific vehicle and intended upgrade.
Frequently Asked Questions (FAQ)
Q1: Is a C Class alternator upgrade necessary for a daily driver?
A1: For most daily drivers with stock accessories, a C Class alternator upgrade is generally not necessary. It’s most beneficial for vehicles with significant aftermarket electronics, high-performance audio systems, or other power-hungry modifications.
Q2: Can I install a higher amperage alternator myself?
A2: If you have experience with automotive electrical systems and the correct tools, you may be able to. However, it can be complex and carries risks. If unsure, professional installation is recommended to avoid damaging your vehicle or electrical components.
Q3: Will a higher amperage alternator drain my battery faster?
A3: No, quite the opposite. A higher amperage alternator can charge your battery more efficiently and provide consistent power, potentially extending battery life and preventing the battery from being drained by accessories.


