B Class Drive Shaft: Perfect, Powerful Performance
The B Class drive shaft is a vital component that ensures efficient power transfer from the transmission to the wheels. Keeping it in top condition guarantees your Mercedes-Benz B-Class delivers its characteristic smooth, powerful, and reliable performance.
Driving a Mercedes-Benz B-Class is an experience of refined power and effortless control. The heart of this connection between the engine and the road lies in a critical, yet often overlooked, component: the drive shaft. This sturdy rod is the unsung hero, diligently working to send the engine’s might to your wheels, allowing you to accelerate, corner, and navigate with confidence.
When this component is functioning perfectly, you feel a seamless surge of power and a quiet, stable ride. However, when issues arise with the B Class drive shaft, that smooth experience can quickly turn into a source of vibrating discomfort and reduced performance. This guide is designed to demystify the B Class drive shaft – what it does, why it’s important, and how to ensure it’s always performing at its peak. We’ll break down its function, common signs of trouble, essential maintenance, and what perfect performance truly means for this key part of your vehicle.

What is a B Class Drive Shaft and Why Does It Matter?

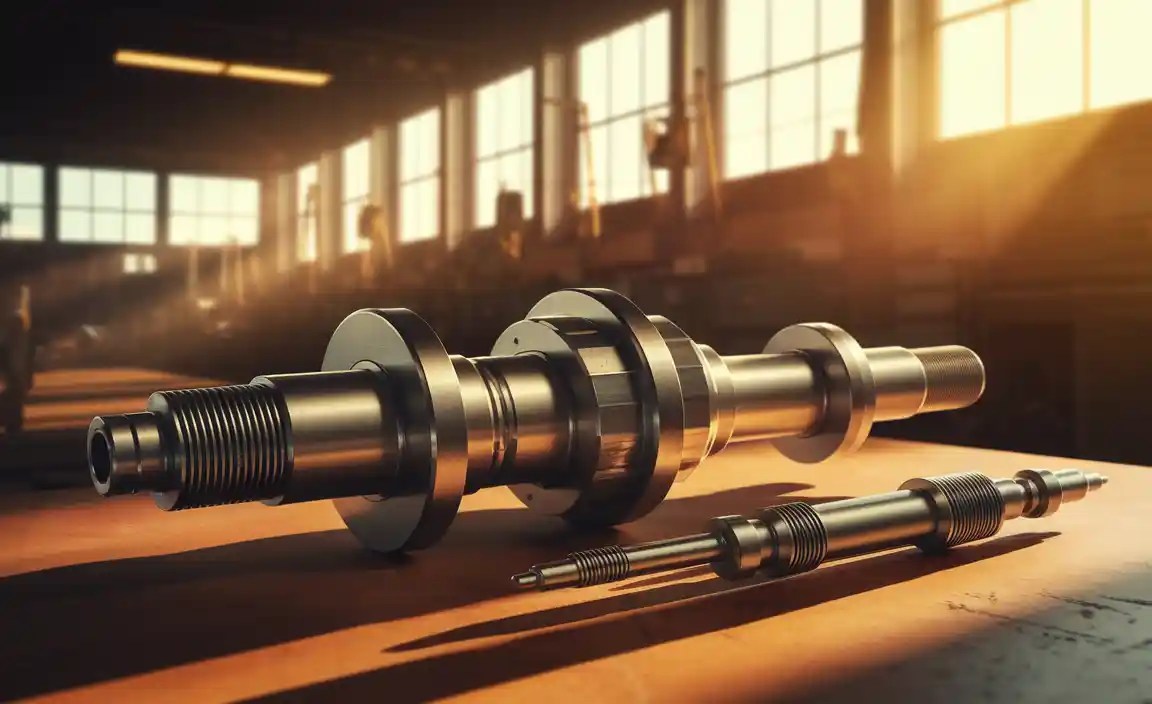
At its core, the drive shaft, also known as a propeller shaft or even just a “prop shaft,” is a mechanical component used to transmit torque from a power source, like the engine and transmission, to other parts of a system. In your Mercedes-Benz B-Class, this means it’s the crucial link that transfers rotational force from the gearbox to the differential, which then directs it to the wheels. Think of it as a strong, spinning rod that bridges a gap, often accommodating movement and angles between these components.
For a front-wheel-drive vehicle like many B-Class models, you’ll have two primary drive shafts, often called CV (Constant Velocity) axles or half-shafts. These connect the transmission (transaxle in FWD) to the front wheels. Rear-wheel-drive or all-wheel-drive variants will also have a longer drive shaft running from the transmission or transfer case to the rear differential. These shafts are engineered to handle significant forces and operate at varying angles as your suspension moves and your car steers.
The importance of a well-functioning B Class drive shaft cannot be overstated. It’s directly responsible for:
- Power Delivery: Ensuring that engine power smoothly reaches the wheels.
- Smooth Acceleration: Allowing for consistent and responsive acceleration without jerks or hesitations.
- Handling and Stability: Contributing to the car’s overall stability, especially during turns and at higher speeds.
- Comfortable Ride: Minimizing vibrations and noise transmitted to the cabin.
When the drive shaft is compromised, you’ll notice a direct impact on how your B-Class drives, potentially leading to more serious mechanical issues if left unaddressed. Understanding its role helps us appreciate the engineering that goes into maintaining that signature Mercedes-Benz driving feel.
Understanding Your B Class Drive Shaft: Components and Function
To truly appreciate the drive shaft, let’s break down its typical components and how they work together. While specific designs can vary slightly across B-Class generations and drivetrain configurations (front-wheel-drive vs. all-wheel-drive), the fundamental principles are the same.
Key Components of a Drive Shaft Assembly
For a typical front-wheel-drive Mercedes-Benz B-Class, you’ll likely be dealing with what are commonly called axle shafts or CV axles. These are integrated units that serve the role of the drive shaft.
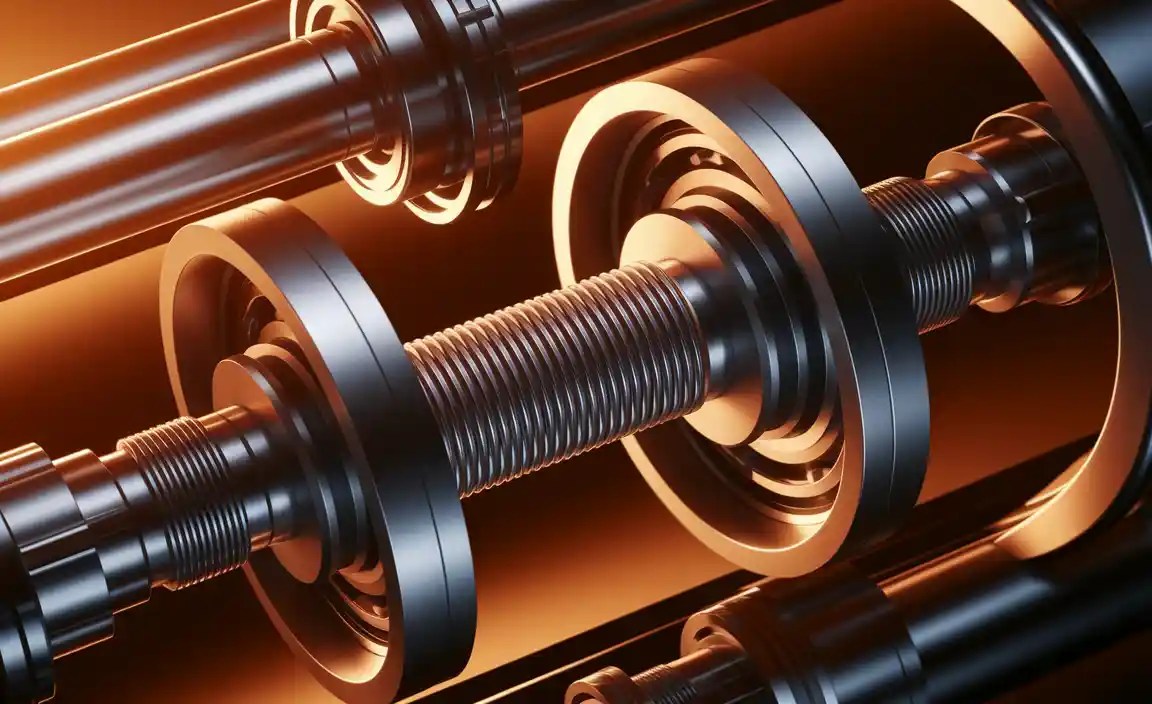
- Axle Shaft (or Drive Shaft): This is the main shaft itself, usually made of strong, forged steel. It’s designed to withstand twisting forces (torque) and rotational stresses.
- Constant Velocity (CV) Joints: These are the star players in modern automotive drive shafts, especially for front-wheel drive.
- Outer CV Joint: Located at the wheel hub, this joint allows for the significant angular movement needed for steering and suspension travel. It transmits power to the wheel even when the wheel is turned sharply.
- Inner CV Joint: Located at the transmission end, this joint allows for some angular change due to suspension movement but primarily handles the extension and compression of the shaft as the suspension moves up and down.
- CV Boots: These are flexible rubber or neoprene bellows that cover the CV joints. Their critical role is to keep the grease inside the joints (essential for lubrication and cooling) and to prevent dirt, water, and debris from entering the joints, which would quickly cause wear and failure.
- Splines: The ends of the axle shaft have splines – grooves that fit into corresponding splines on the transmission output shaft and the wheel hub assembly. This ensures a strong, positive connection for torque transfer.
- Universal Joints (U-Joints – More Common in RWD/AWD longer shafts): While less common on the primary front axles of most B-Class models, longer drive shafts in RWD or AWD versions use U-joints. These are cross-shaped components with bearings that allow the shaft to transmit power through changing angles between the transmission/transfer case and the differential.
- Center Support Bearing (for longer shafts): In longer drive shafts (RWD/AWD), a center support bearing is sometimes used to reduce vibration and provide extra support for the shaft.
How it Works: The Power Flow
The process is elegantly simple yet mechanically complex:
- The engine generates rotational power.
- The transmission modifies this power (gears, ratios).
- The output shaft of the transmission rotates.
- For FWD B-Class, the inner CV joint attaches to the transmission’s differential.
- The inner CV joint transmits torque to the axle shaft.
- The axle shaft spins.
- The outer CV joint, connected to the wheel hub, receives this torque.
- The outer CV joint allows the wheel to be steered while continuously receiving power.
- The wheel rotates, propelling the car.
The genius of the CV joints is their ability to maintain a constant rotational speed to the wheel, regardless of the angle between the shaft and the wheel hub, which is crucial for smooth driving during turns and over uneven surfaces. This is what gives them their “Constant Velocity” name.
Signs of a Failing B Class Drive Shaft
Your Mercedes-Benz B-Class is built with robust components, but like any part, drive shafts can wear out over time or suffer damage. Recognizing the signs of a failing drive shaft early can save you from more extensive and costly repairs. Here are the most common indicators:
Common Symptoms to Watch For
- Clunking or Knocking Noises: This is often the first and most noticeable sign, especially when accelerating from a stop, changing direction (like turning out of a parking spot), or shifting between drive and reverse. It suggests looseness or wear in the CV joints or U-joints. For FWD B-Class, a particularly sharp “clack” when turning can indicate an outer CV joint issue.
- Vibrations: A failing drive shaft can cause vibrations that you feel through the floor or steering wheel. These vibrations often become more pronounced as you increase speed. They can stem from an unbalanced shaft, worn U-joints, or damaged CV joints.
- Squeaking or Chirping Noises: A persistent squeaking or chirping sound, particularly when turning, is often a classic symptom of a dry or damaged CV joint. This happens when the protective CV boot has failed, allowing grease to escape and contaminants to enter.
- Grease Leaks: Inspecting the areas around the CV joints (where the rubber boots are) is crucial. If you see black, greasy residue slung around the inside of the wheel wells or underside of the car, it’s a strong indicator that a CV boot has torn or cracked, compromising the CV joint.
- Uneven Tire Wear: While less direct, a misaligned or damaged drive shaft can subtly affect wheel angle and suspension geometry, leading to premature and uneven wear on your tires.
- Reduced Acceleration or Power: In severe cases, a drive shaft that is binding (due to severe wear or damage) might feel like it’s hindering the flow of power, making your car feel sluggish.
Don’t ignore these symptoms. Prompt attention can prevent a catastrophic failure, which could leave you stranded and potentially damage other drivetrain components.
Diagnosing Drive Shaft Issues: What Mechanics Look For
When you bring your B-Class into a workshop with concerns about the drive shaft, experienced technicians have a systematic approach to pinpoint the problem. Accurate diagnosis is key to ensuring you get the right repair for the right issue. Here’s a glimpse into their process:
Inspection and Testing Procedures
- Visual Inspection:
- The technician will first carefully examine the drive shaft(s), CV boots, and surrounding areas for obvious signs of damage. This includes torn or cracked boots, grease leaks, dents, or corrosion on the shaft itself.
- They will check for any fluid leaks from the transmission or differential that might be related.
- Physical Manipulation:
- With the vehicle safely supported (on a lift), the technician will try to move the drive shaft and CV joints by hand. They are feeling for excessive play or looseness in the CV joints or U-joints.
- They might also rotate the shaft to listen for grinding or clicking sounds.
- Road Test:
- A test drive is essential to replicate the symptoms you reported. The technician will listen for noises and feel for vibrations at different speeds, under acceleration, braking, and cornering.
- They might perform specific maneuvers, like sharp turns or quick acceleration from a standstill, to exaggerate any faults.
- Drivetrain Component Check:
- While focused on the drive shaft, they will also check related components like the transmission mounts, differential seals, and wheel bearings, as issues in these areas can sometimes mimic or cause drive shaft problems.
For front-wheel-drive B-Class models, the focus will be heavily on the CV axles. For RWD/AWD models, the longer drive shaft connecting to the rear differential will be inspected for U-joint wear, driveshaft balance (if weights are missing), and center bearing condition.
B Class Drive Shaft Maintenance: Keeping Performance Peak
Proactive maintenance is the cornerstone of ensuring your B Class drive shaft, and indeed your entire Mercedes-Benz, performs optimally for years to come. While drive shafts and CV joints are largely sealed units, there are key maintenance aspects to be aware of.
Essential Maintenance Practices
- Regular Inspections: The most critical aspect is regular visual inspections. During routine oil changes or tire rotations, ask your mechanic (or do it yourself if you’re comfortable and have a safe way to lift the car) to check the CV boots for any signs of cracking, tearing, or grease leakage. This simple check can prevent major damage.
- Cleanliness: While not a direct maintenance task, keeping the areas around the drive shafts and CV joints clean can help in spotting leaks early. Avoid high-pressure washing directly at the boots, as this can sometimes force contaminants past compromised seals.
- Timely Repair of Damaged Boots: If you discover a torn or cracked CV boot, it’s imperative to get it repaired or replaced immediately. Often, you can replace just the boot and re-grease the joint, which is significantly cheaper than replacing the entire drive shaft. However, if the joint has already become noisy or rough, the entire shaft assembly may need replacement.
- Proper Lifting and Jacking: Always use jack stands when working under your vehicle. Never rely solely on a jack. Ensure the vehicle is stable and on a level surface. Incorrect jacking can put undue stress on components.
- Driving Habits: While not strictly maintenance, aggressive driving habits like hard acceleration from a standstill, sudden braking, and sharp, high-speed cornering can place extra stress on the drive shaft and CV joints, potentially accelerating wear.
Mercedes-Benz vehicles, like the B-Class, are engineered for durability. By being vigilant with inspections and addressing minor issues promptly, you can maintain the perfect, powerful performance of your drive shaft.
Common Drive Shaft Problems and Solutions
When a B Class drive shaft encounters issues, the solutions typically involve repairing or replacing the affected component. The specific problem dictates the best course of action.
Problem & Solution Table
| Problem | Symptoms | Solution |
|---|---|---|
| Torn or Cracked CV Boot | Squeaking/chirping noises when turning, visible grease leaks. | Option 1: Replace the CV boot and re-grease the joint. This is cost-effective if the joint is not yet damaged. Option 2: Replace the entire axle shaft assembly. This includes a new boot and pre-greased joint. |
| Worn CV Joint | Clicking or popping noises when turning sharply (especially outer joint), vibrations. | Replace the entire axle shaft assembly. CV joints are typically not serviceable and must be replaced as a unit. |
| Damaged or Bent Axle Shaft | Vibrations that increase with speed, uneven tire wear. | Replace the axle shaft assembly. A bent shaft cannot be straightened and balanced reliably. |
| Worn or Damaged U-Joints (RWD/AWD) | Clunking noise when accelerating or decelerating, vibrations, rattling. | Option 1: Replace the U-joint(s) if they are riveted and serviceable. Option 2: Replace the entire drive shaft assembly if U-joints are integral or if the shaft is also damaged/out of balance. |
| Imbalanced Drive Shaft (RWD/AWD) | Vibrations that worsen with speed, often felt in the rear of the vehicle. | Re-balance the drive shaft or replace it. Missing balance weights are a common cause. |
| Failed Center Support Bearing (RWD/AWD) | Humming or whining noise, vibrations, especially at mid-range speeds. | Replace the center support bearing. |
Choosing between replacing just a boot or the entire assembly often depends on the mileage of the vehicle and the condition of the CV joint itself. If there’s any doubt, replacing the complete axle shaft provides peace of mind and new joint performance.
DIY vs. Professional: Replacing a B Class Drive Shaft
Replacing a drive shaft or axle shaft assembly can be a moderately challenging DIY project. It requires mechanical aptitude, the right tools, and a safe working environment. For many Mercedes-Benz owners, understanding when to tackle it personally and when to enlist a professional is key.
DIY Considerations:
Pros:
- Cost savings on labor.
- Sense of accomplishment.
- Learning more about your vehicle.
Cons:
- Requires specialized tools (e.g., ball joint separator, torque wrench, large sockets).
- Risk of incorrect installation, leading to further damage or safety issues.
- Time-consuming.
- Need of a safe space with a lift or sturdy jack stands.
- Dealing with stubborn, rusted bolts.
Tools Typically Needed for Front Axle Replacement (FWD):
- Jack and jack stands
- Lug wrench
- Socket set (metric)
- Wrench set (metric)
- Torque wrench
- Ball joint separator or pickle fork
- Pry bar
- Hammer
- Wire brush
- Penetrating oil (like PB Blaster)
- New axle shaft(s)
- New hub nut (often a one-time use item)
- Brake cleaner
- Blue Loctite (for hub nut if specified)
Steps (Simplified):
- Safely lift and support the front of the vehicle.
- Remove the front wheel.
- Remove the brake caliper and rotor (or suspend the caliper out of the way).
- Remove the ball joint nut and separate the ball joint from the control arm.
- Remove the cotter pin and castle nut holding the hub to the axle shaft.
- Protect the CV boot, then carefully pry or hit the hub to loosen the outer CV joint from the wheel bearing hub assembly.
- Access and remove the inner CV clamp or bolts securing the inner CV joint to the transmission/transaxle.
- Carefully maneuver the old axle shaft out of the way and remove it.
- Reverse the process with the new axle shaft, ensuring all connections are seated properly.
- Torque all fasteners to manufacturer specifications, especially the hub nut.
A comprehensive guide, such as those found on reputable Mercedes-Benz forums or through specific repair manuals like those from.