B Class Color Change: Stunning, Effortless Luxury
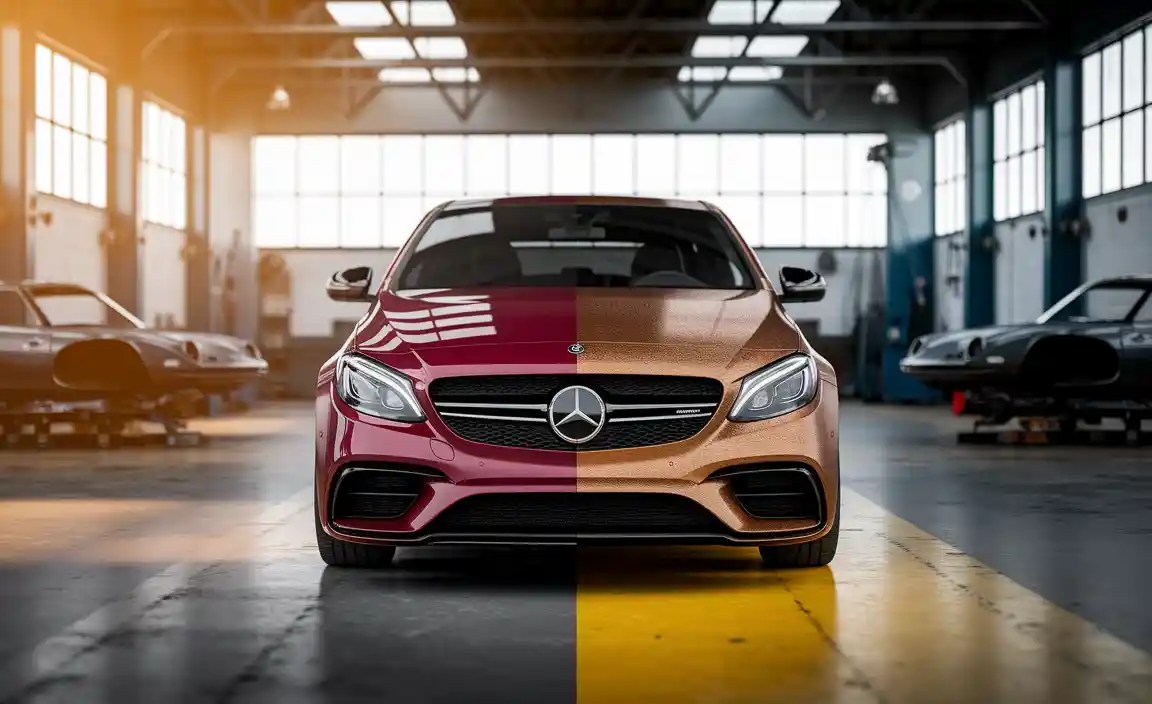
Yes, you can change the color of your Mercedes-Benz B-Class, offering a stunning and effortless way to refresh its luxury appeal. This guide breaks down your options, from professional wraps to DIY films, ensuring a beautiful transformation that suits your style and budget.
It’s a common thought for any luxury car owner: “What if my Mercedes-Benz B-Class was a different color?” Whether you’ve just acquired a pre-loved model or simply crave a fresh aesthetic for your current ride, changing your B-Class’s color can feel like getting a brand new car. The good news is that achieving a stunning, luxurious look is more accessible than you might think. This guide will walk you through the exciting world of B-Class color changes, making the process clear and manageable. We’ll explore your options, from professional applications to DIY possibilities, so you can confidently achieve the effortless luxury you desire.
Understanding Your B-Class Color Change Options
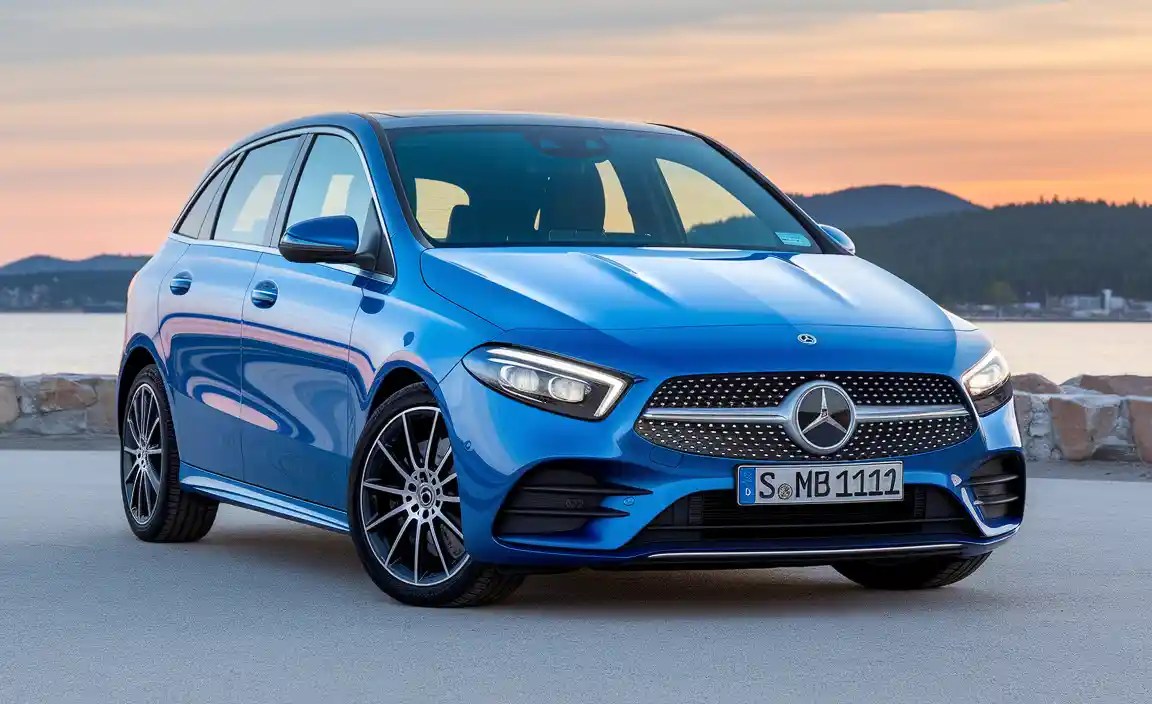
When we talk about changing the color of your Mercedes-Benz B-Class, there are two primary methods: paint and vinyl wrapping. Each offers distinct advantages, costs, and longevity. Understanding these differences is crucial for making the best decision for your vehicle and your expectations.
Option 1: Professional Vehicle Wrapping
Vehicle wrapping involves applying a large sheet of vinyl film to the exterior of your car. This is the most popular method for color changes today, offering versatility and protection.
How Professional Wrapping Works
The process starts with a thorough cleaning and preparation of your B-Class’s surface. A skilled installer then meticulously applies large sections of vinyl film, using heat and specialized tools to conform it perfectly to every curve and crevice of your vehicle. Seams are usually hidden in panel gaps for a factory-finished look.
Pros of Professional Wrapping
- Variety of Finishes: Beyond standard colors, you can choose from matte, satin, gloss, metallic, chrome, carbon fiber, and even textured finishes.
- Non-Permanent: Vinyl wraps are removable, meaning you can revert to the original paint color when you’re ready to sell or simply want a change.
- Paint Protection: The wrap acts as a protective layer, shielding your original paint from minor scratches, stone chips, and UV damage.
- Relatively Quick: A full B-Class wrap can often be completed in just a few days, much faster than a traditional repaint.
- Cost-Effective Compared to Repainting: While not cheap, professional wrapping is generally less expensive than a high-quality repaint.
Cons of Professional Wrapping
- Durability Limitations: While durable, wraps have a lifespan (typically 3-7 years depending on quality and care) and can be susceptible to tears or lifting if not maintained properly.
- Potential for Paint Damage (if done incorrectly): Poor installation or removal can damage the underlying paint.
- Cost: It’s still a significant investment, ranging from $2,000 to $5,000+ depending on the vehicle, film type, and installer.
- Not a Permanent Solution: If you want a truly permanent color change, paint is the only option.
Choosing the Right Vinyl Film
The type of vinyl you choose significantly impacts the look and longevity. Reputable brands like 3M, Avery Dennison, and KPMF offer vast selections.
- Cast Vinyl: This is the gold standard for car wraps. It’s thinner, more conformable, and more durable, making it ideal for complex curves and long-term applications.
- Calendered Vinyl: This type is thicker and less conformable, best suited for flat surfaces or simpler applications. It’s generally less expensive but may not be ideal for a B-Class.
Finding a Professional Installer
This is critical. Look for installers with a strong portfolio, good reviews, and experience with luxury vehicles. Many vinyl manufacturers have lists of certified installers on their websites. For instance, 3M provides a Certified Graphics Installer locator.
Option 2: Professional Respraying (Repainting)
A traditional repaint involves stripping down your B-Class and applying new layers of automotive paint. This delivers a permanent, factory-quality finish.
How Professional Repainting Works
This is a labor-intensive process. It begins with disassembling parts of the car, sanding down the existing paint, applying primer, then multiple coats of base color, and finally, a clear coat for gloss and protection. The car is then baked to cure the paint.
Pros of Professional Respraying
- Permanent Color Change: The color is fused with your car’s body, lasting potentially for the life of the vehicle with proper care.
- Highest Quality Finish: A professional paint job can achieve a deeper gloss and seamless finish that is often unparalleled.
- Covers Existing Damage: It can effectively hide imperfections, scratches, and faded paint on the original surface.
Cons of Professional Respraying
- Most Expensive Option: A high-quality repaint can easily cost $5,000 to $10,000 or more, depending on the complexity and the shop.
- Time-Consuming: The entire process can take several weeks due to disassembly, prep work, painting, and curing times.
- Irreversible: Unless you repaint again, the new color is permanent.
- Potential for Issues: If not done by experts, issues like poor adhesion, overspray, or uneven application can occur.
Choosing a Paint Color
Consider Mercedes-Benz’s own color palette for inspiration, or opt for a custom shade. When repainting, it’s essential to use high-quality automotive paint brands like PPG, Sikkens, or Glasurit for best results.
DIY B-Class Color Change: Vinyl Wrapping for the Enthusiast
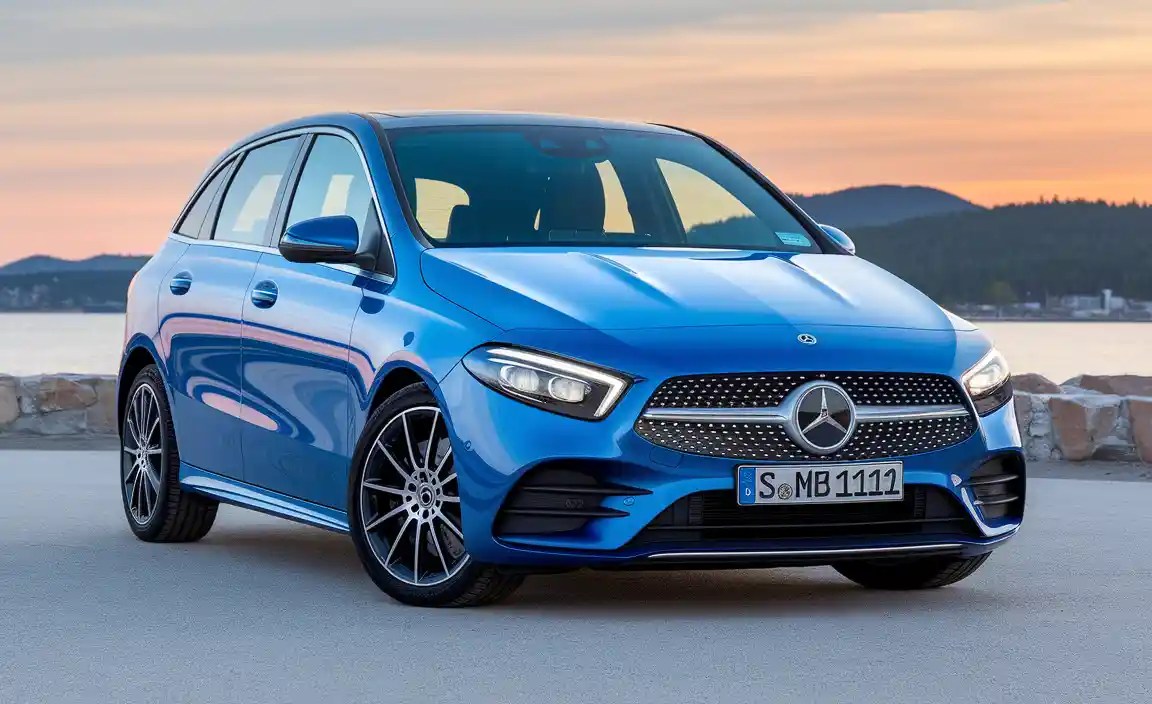
For the hands-on Mercedes-Benz owner, a DIY vinyl wrap is a challenging but potentially rewarding project. It requires patience, precision, and the right tools.
Is DIY Wrapping Right for Your B-Class?
Before you dive in, honestly assess your skills. Have you worked with large adhesive films before? Are you comfortable with intricate work and potentially costly mistakes? If your B-Class has complex body lines or you’re aiming for a flawless finish, professional installation is usually recommended. However, for a refresh on a budget or a learning experience, DIY can be an option.
Steps for a DIY B-Class Vinyl Wrap
This is a simplified overview. Each step requires careful attention to detail.
Step 1: Gather Your Materials and Tools
- High-Quality Vinyl Wrap Film: Choose a reputable brand (e.g., 3M 2080, Avery Dennison SW900). Purchase enough for your B-Class, plus extra for mistakes (around 15-20 yards for a compact SUV like the B-Class).
- Squeegees: A variety of soft and firm squeegees with felt edges.
- Heat Gun or Heat Blower Gun: Essential for stretching and conforming the vinyl.
- Cutting Tools: A sharp utility knife or specialized wrap-cutting blades (e.g., Olfa).
- Magnets: To hold the vinyl in place while you work.
- Application Fluid/Lubricant: To help reposition the vinyl and prevent premature adhesion (often a mix of water and a tiny amount of soap).
- Primer-Pens: For edges and seams (e.g., 3M edge sealer).
- Cleaning Supplies: Isopropyl alcohol, microfiber towels, soap, and water.
- Gloves: To avoid transferring oils from your hands to the vinyl.
- Masking Tape: To protect paintwork around edges.
- Safety Glasses.
Step 2: Prepare Your B-Class
- Thorough Wash and Decontamination: Wash your car meticulously. Use a clay bar to remove any embedded contaminants.
- Degrease: Wipe down the entire vehicle with isopropyl alcohol to remove any remaining oils or residues.
- Remove or Tuck Trim: Remove mirrors, door handles, badges, and any other trim pieces where possible. If not removable, carefully tuck the vinyl around them.
- Repair Imperfections: Any significant dents or scratches should be fixed before wrapping, as the vinyl will highlight them.
Step 3: Cutting and Laying the Vinyl
This is the most intricate part. You’ll typically work panel by panel.
- Cut a piece of vinyl larger than the panel you’re covering, leaving ample overlap.
- Peel back the liner on one edge of the vinyl.
- Position the vinyl onto the panel, using magnets to hold it.
- Begin to lay down the vinyl, using a squeegee to push out air bubbles and inches of vinyl at a time.
- Apply heat with the heat gun to make the vinyl pliable. Stretch and conform it over curves, being careful not to over-stretch (which can cause discoloration or premature failure).
- Work from the center outwards, constantly squeegeeing to remove air and ensure adhesion.
Step 4: Trimming and Finishing Edges
Proper trimming and sealing are key to a professional look and durability.
- Once the main body of the panel is covered, carefully trim the excess vinyl using your sharp blade. Aim to leave a few millimeters of overlap to tuck into seams or around edges.
- Use heat to gently warm the edges and tuck them using a squeegee or specialized tool.
- Apply edge sealer to areas that might be prone to lifting, such as around sharp body lines or edges.
Step 5: Reassemble and Inspect
- Reinstall any trim pieces that were removed.
- Inspect the entire vehicle for squeaks, bubbles, or loose edges. Make any necessary corrections.
DIY Vinyl Wrap Resources
For detailed tutorials, YouTube is an invaluable resource. Channels like CK Wraps, Yiannimize, and MetroRestyling offer extensive guides on wrapping techniques. You can also find detailed installation manuals on the websites of vinyl manufacturers like 3M.
Color Options for Your B-Class Facelift
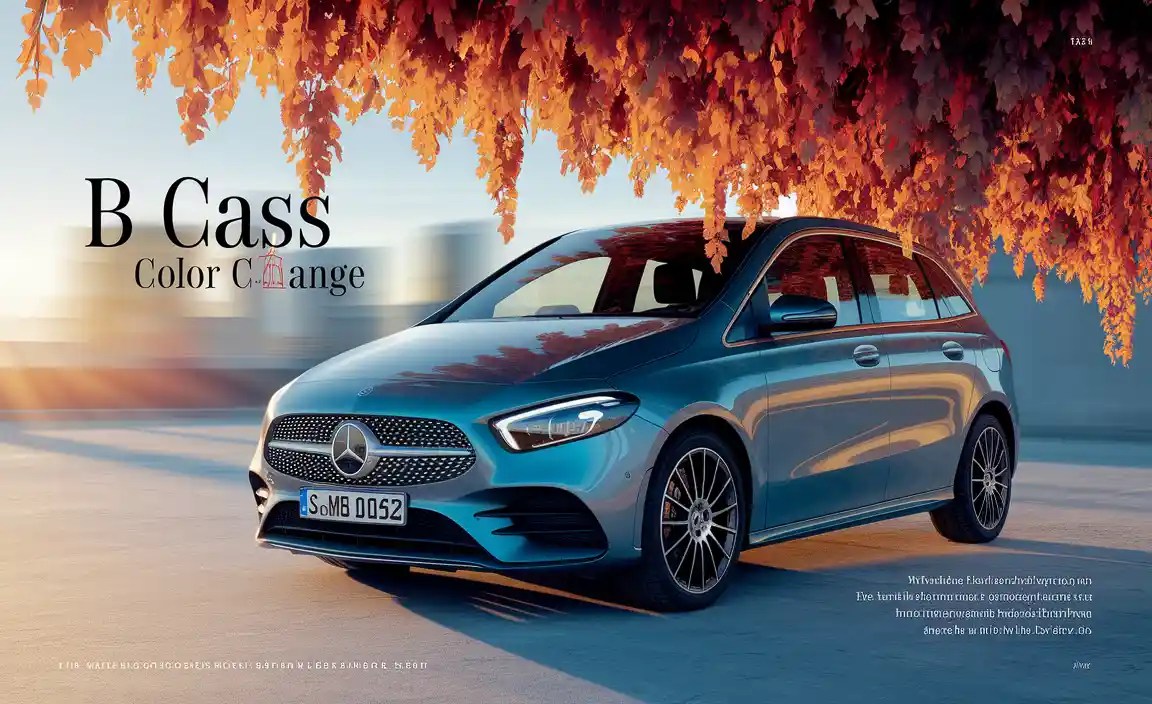
The aesthetic possibilities are virtually endless when changing your B-Class’s color. Consider how different finishes affect the car’s perceived luxury and style.
Popular B-Class Color Choices
- Classic Black (Gloss or Satin): Always elegant and timeless. A gloss black wrap can mimic a deep paint finish, while satin offers a softer, modern look.
- Metallic Silver or Gray: Enhances the B-Class’s sophisticated lines and offers a premium feel.
- Deep Navy Blue or Forest Green (Satin or Metallic): Offers a unique yet understated luxury, setting your car apart without being ostentatious.
- White (Pearl or Gloss): Clean, bright, and modern. A pearlescent white can add a touch of opulence.
- Matte or Satin Finish: These finishes inherently exude a modern, exclusive luxury. They absorb light differently than gloss, giving a sophisticated, understated appeal.
Unique and Bold Choices
Don’t shy away from more adventurous colors if it suits your personality.
- Matte or Chrome Colors: Think matte red, satin purple, or even a brushed aluminum finish for a truly statement-making vehicle.
- Color-Shifting (Chameleon) Wraps: These films subtly change hue depending on viewing angle and light, offering a dynamic and cutting-edge look. These are usually more expensive.
Maintaining Your B-Class’s New Look
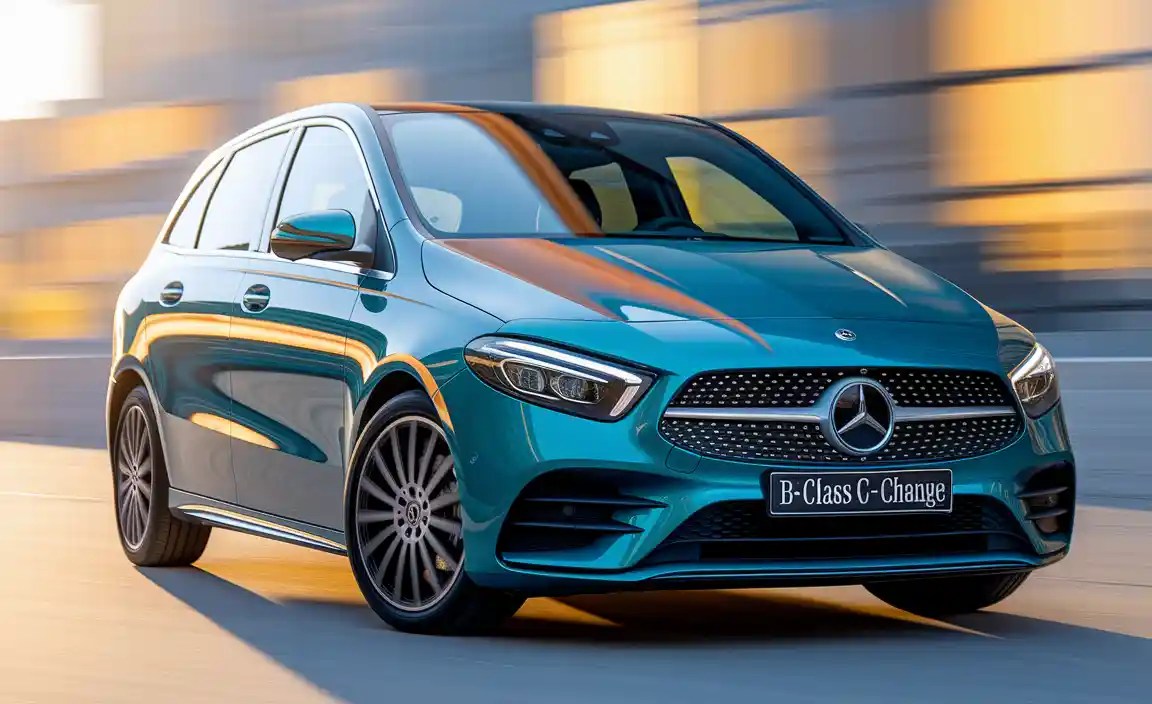
Whether you’ve opted for a wrap or a repaint, proper maintenance is key to preserving its stunning appearance and ensuring longevity.
Care for Wrapped B-Class Vehicles
Washing: Hand wash your car regularly using pH-neutral car soap and clean water. Avoid abrasive brushes or automatic car washes with harsh brushes. Use the two-bucket method to prevent scratching.
Drying: Gently pat dry with a soft microfiber towel or use a leaf blower to remove excess water.
Avoid Harsh Chemicals: Do not use harsh solvents, degreasers, or abrasive cleaners on the wrap. Stick to products specifically designed for vinyl wraps.
Parking: Try to park in shaded areas to protect the vinyl from excessive UV exposure, which can cause fading or degradation over time.
Post-Installation Care: For the first week after wrapping, avoid washing the car, waxing, or exposing it to extreme temperatures.
Care for Repainted B-Class Vehicles
Curing Time: After a repaint, allow the paint to fully cure. This can take anywhere from 30 days to several months, depending on the paint type and conditions. During this time, avoid waxing and harsh washing.
Regular Washing: Use a mild car wash soap and a soft cloth or sponge.
Waxing and Polishing: Once cured, you can wax and polish your B-Class to maintain its shine. Use high-quality carnauba waxes or synthetic sealants. Consult with your painter about recommended products.
Protection: Consider a ceramic coating applied over the paint for enhanced protection against scratches, UV rays, and chemical etching.
Comparing Costs: Paint vs. Wrap for Your B-Class
The financial aspect is a significant consideration. Here’s a general breakdown of what you can expect.
| Service | Estimated Cost (USD) | Longevity | Pros | Cons |
| :———————- | :——————- | :————— | :———————————- | :————————————————— |
| Professional Wrap | $2,000 – $5,000+ | 3-7 years | Removable, paint protection, quicker | Not permanent, can be damaged, cost is still high |
| Professional Repaint| $5,000 – $10,000+ | Lifetime (if cared for) | Permanent, highest quality finish | Most expensive, time-consuming, irreversible |
| DIY Wrap | $500 – $1,500+ | 1-3 years (variable) | Lowest cost, learning experience | High risk of errors, requires significant skill/time |
Note: Costs are estimates and vary widely based on location, vehicle condition, specific materials used, and the reputation of the service provider.*
B Class Color Change FAQ
Q1: Can I change the color of my Mercedes-Benz B-Class myself?
Yes, it’s possible to change the color yourself by applying vinyl wrap film. However, it’s a complex DIY project requiring specific tools, patience, and a good amount of skill to achieve a professional-looking finish. Mistakes can be costly, so carefully consider your abilities before attempting it.
Q2: How long does a vinyl wrap on a B-Class last?
A professionally applied vinyl wrap typically lasts between 3 to 7 years, depending on the quality of the film used, the installation quality, and how well you maintain it. Environmental factors like extreme sun exposure can reduce its lifespan.
Q3: Is wrapping my B-Class cheaper than repainting it?
Generally, yes. A professional vinyl wrap is usually less expensive than a high-quality, professional repaint, often costing half to two-thirds of a repaint’s price. However, a DIY wrap can be significantly cheaper than either professional option.
Q4: Will wrapping damage the original paint of my B-Class?
When applied and removed correctly by a professional, a vinyl wrap should not damage your B-Class’s original paint. In fact, it can protect it from minor scratches and UV rays. However, poorly done installation or aggressive removal could potentially damage the paint.
Q5: What is the best color for a Mercedes-Benz B-Class wrap?
The “best” color is subjective and depends on your personal taste and desired aesthetic. Popular choices for luxury vehicles include sophisticated metallics (silver, gunmetal gray), classic blacks, deep blues, and modern matte or satin finishes. Unique options like color-shifting or brushed metal wraps also offer a striking look.
Q6: How do I clean a wrapped B-Class?
Clean your wrapped B-Class by hand washing it with mild soap and water. Use a soft microfiber cloth and avoid abrasive materials or high-pressure washers directed at the edges of the wrap. It’s best to avoid automatic car washes with abrasive brushes.
Conclusion: A New Hue for Your B-Class
Transforming your Mercedes-Benz B-Class with a color change is an exciting way to enhance its visual appeal and personalize your ownership experience. Whether you elect for the protective, versatile nature of a professional vinyl wrap, the enduring permanence of a repaint, or the hands-on challenge of a DIY wrap, the outcome is a refreshed vehicle that exudes stunning, effortless luxury.
By understanding the options, costs, and maintenance involved, you can confidently embark on this automotive upgrade. A new color – or even a sophisticated new finish – can breathe new life into your beloved B-Class, making every drive a more visually satisfying occasion. Choose wisely, prepare thoroughly, and enjoy the elevated presence of your beautifully transformed Mercedes-Benz.

